


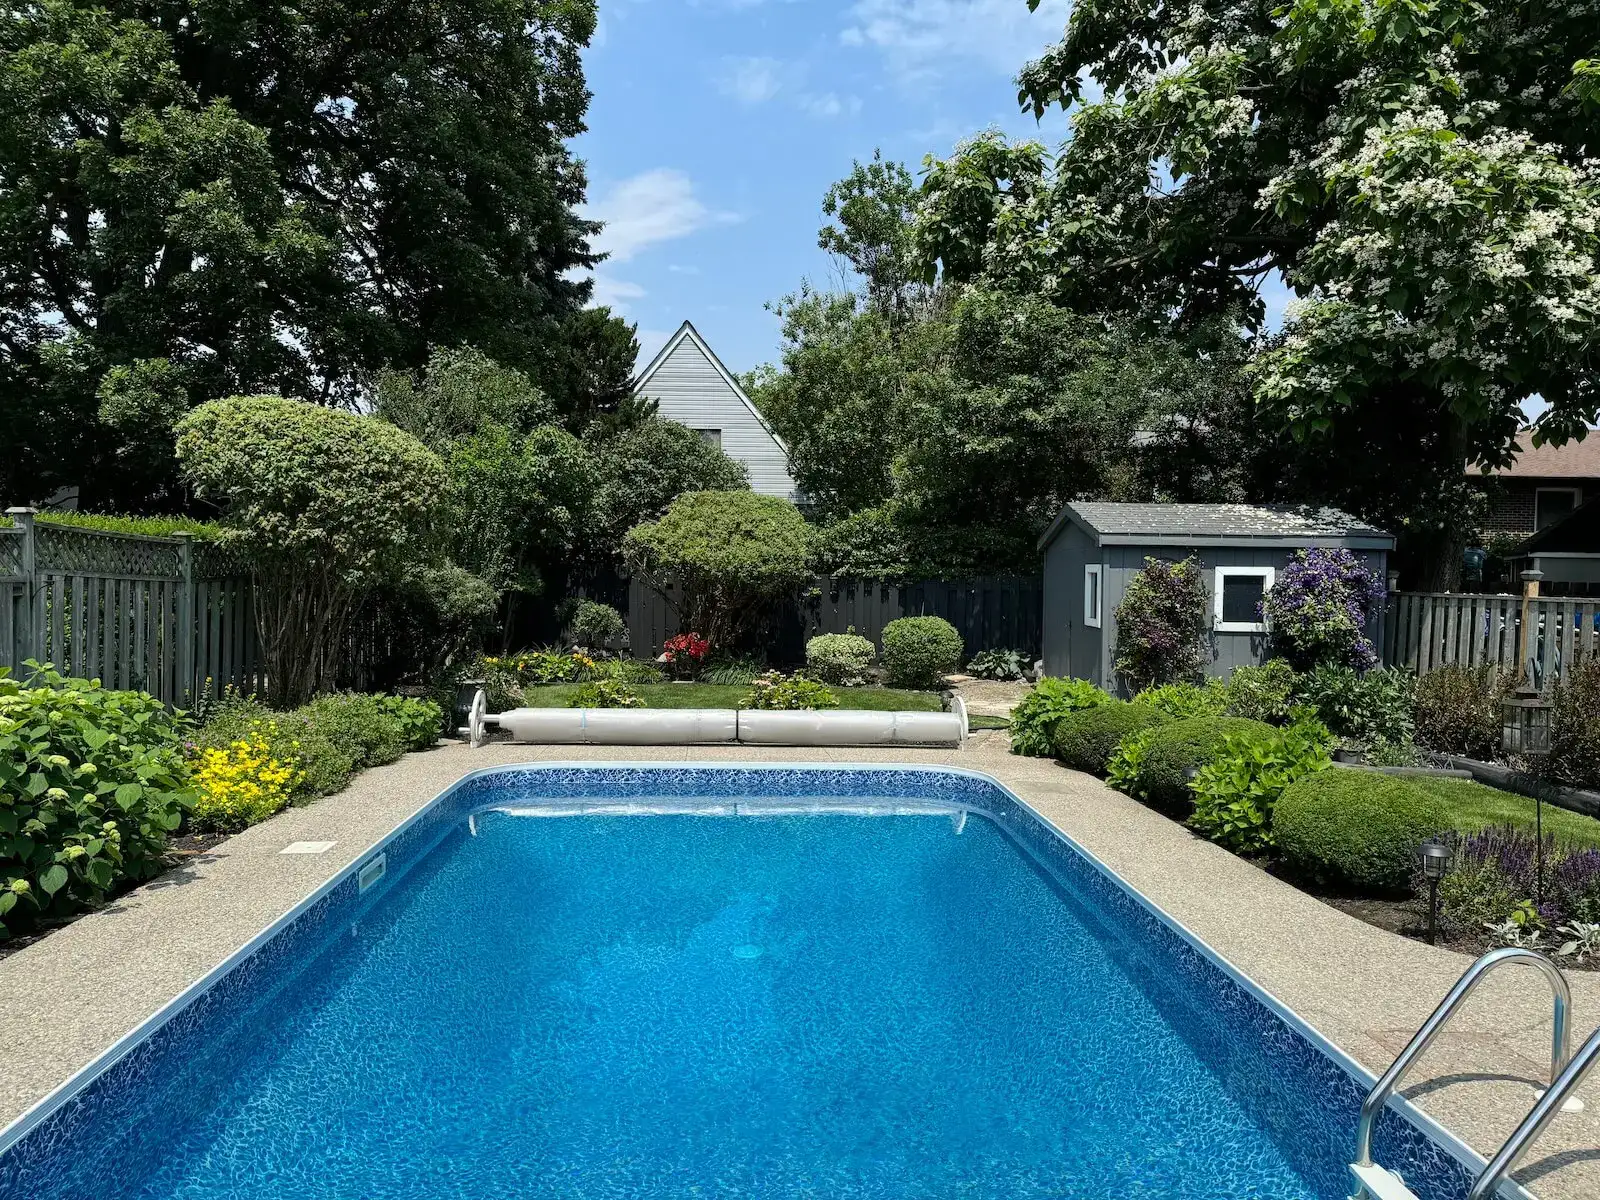
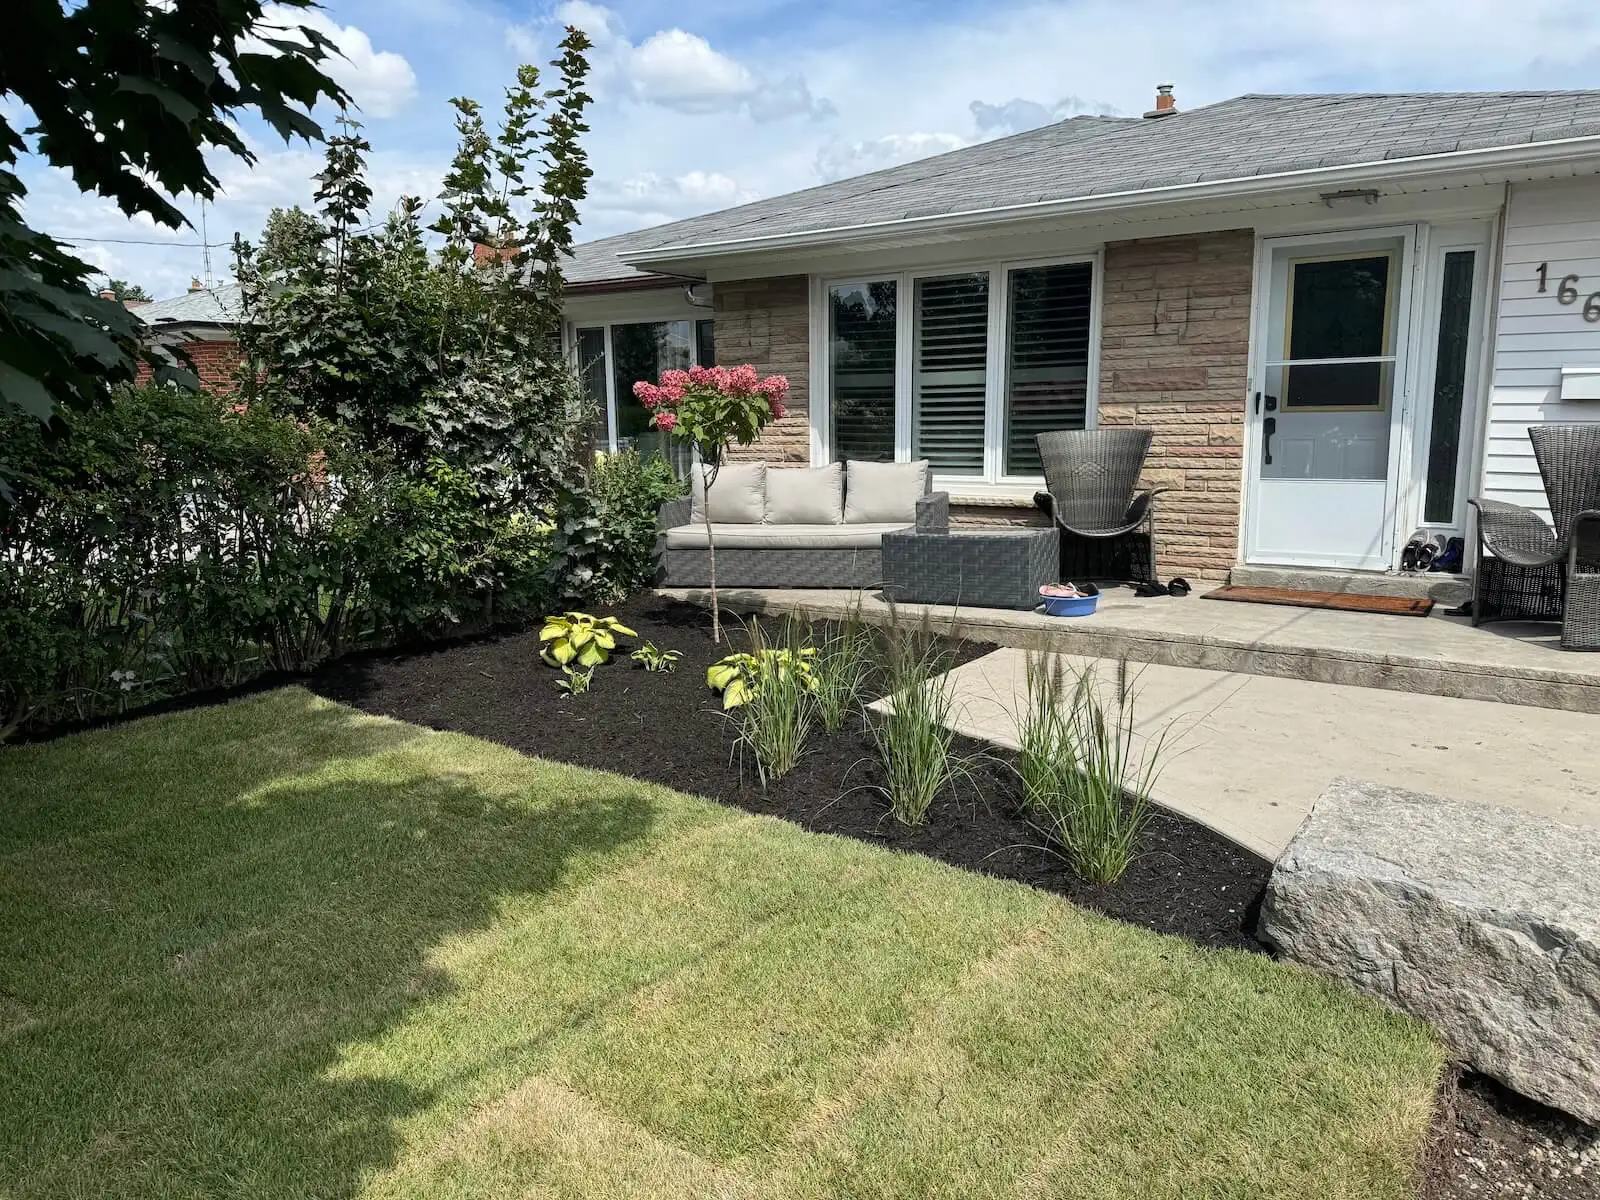
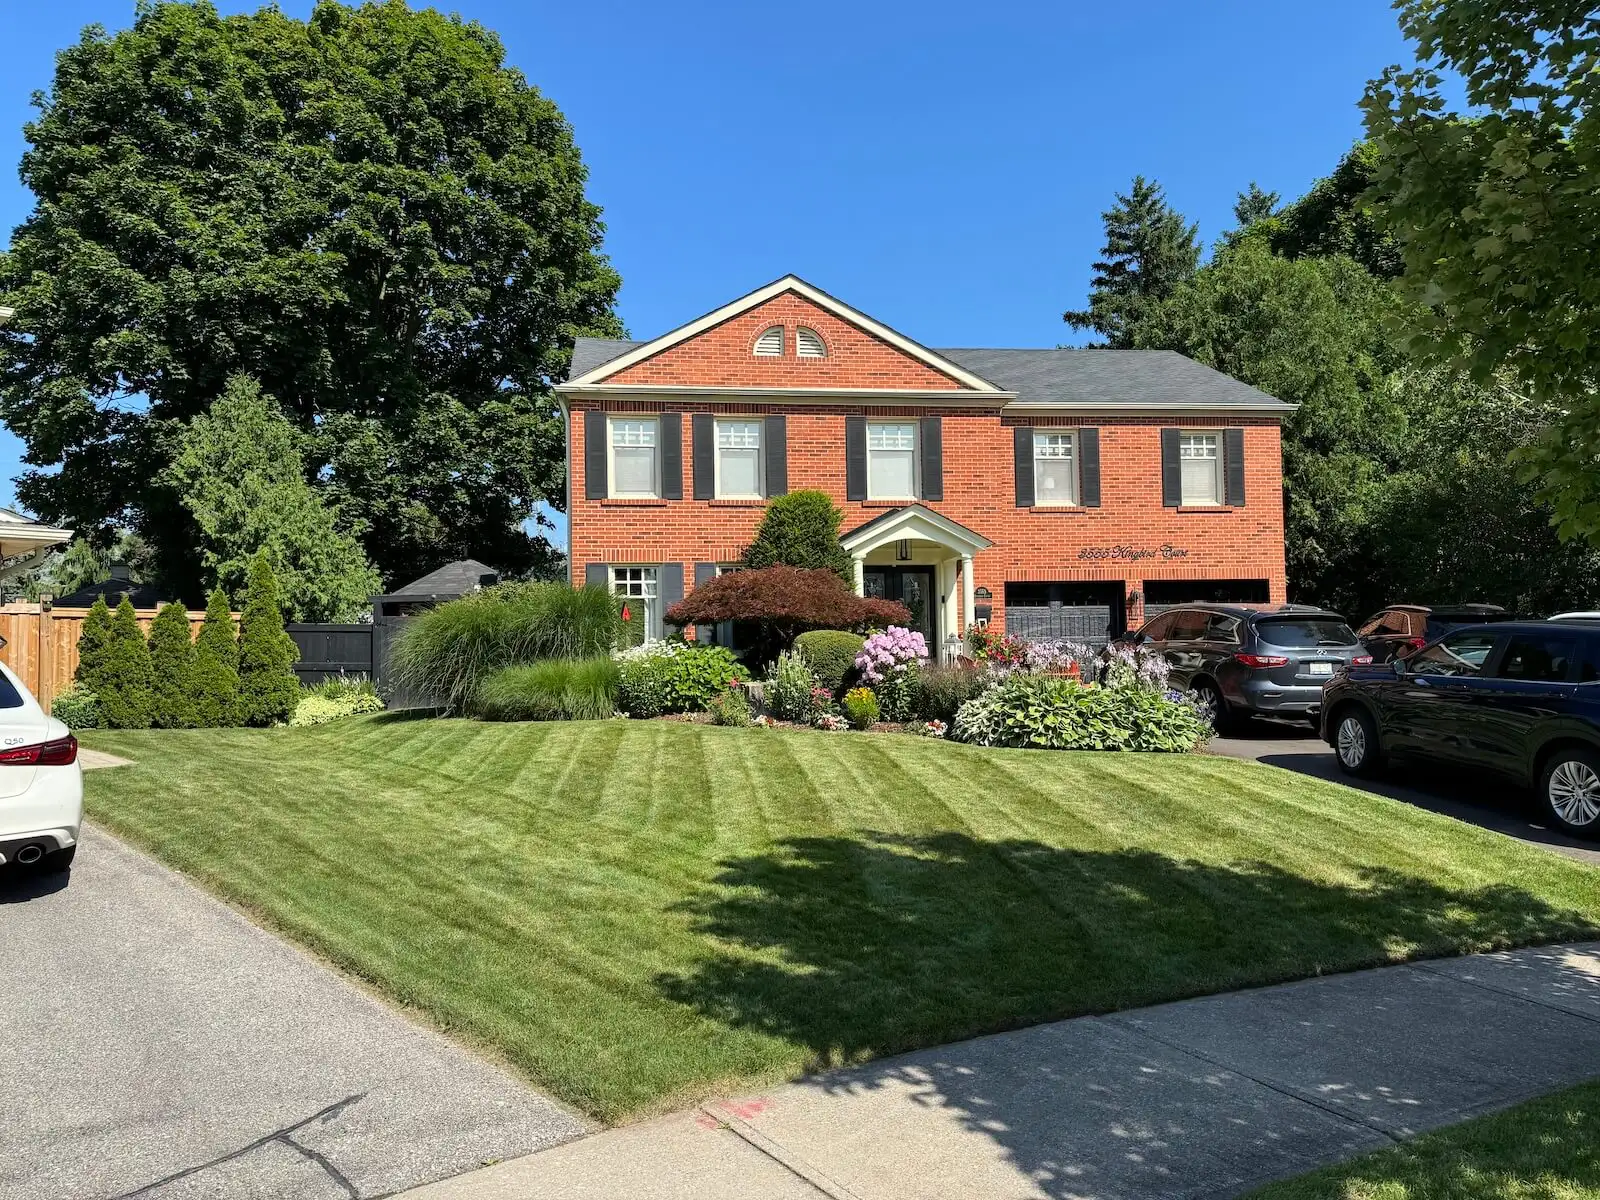
Installing sod is a fast and effective way to get a lush green lawn in Oakville. However, doing a sod installation yourself means you’ll need the right tools on hand. Oakville’s climate – warm summers and cold, wet winters – can be tough on lawns, so proper preparation is key. As local landscaping experts, we know that a successful DIY sodding project comes down to having these essential tools. In this article, we’ll cover the top five sodding tools every Oakville homeowner should have, and how they help you achieve professional-looking results.
1. Sod Cutter (for Removing Old Lawn)
Before laying new sod, you must remove the old grass or weeds. A sod cutter is a specialized tool that cuts beneath the grass roots and slices old turf into strips for easy removal. This machine saves you hours of backbreaking labor compared to digging up sod with a shovel. By producing a smooth, even surface, a sod cutter creates the ideal base for your new sod. Most homeowners don’t own sod cutters (they’re used infrequently and can be expensive), but you can rent one from a local Oakville equipment rental or hardware store instead of buying. For small patches, you might get by with a flat shovel, but for larger lawn projects a sod cutter will make the job faster and ensure better results.
Tip
If you plan a DIY sod project in Oakville, check local rental centers or home improvement stores (like Home Depot) for half-day sod cutter rentals. Removing the old lawn cleanly is an important first step – it gives your new sod a clean slate to take root.
2. Shovel and Spade (Digging Tools)
No DIY landscaping project is complete without a good shovel. For sodding, it’s best to have two types of shovels: a flat square shovel for scraping and lifting old sod or soil, and a pointed digging spade for deeper digging and edging work. You’ll use a shovel to dig out any remaining grass patches, to remove rocks or roots, and to shape the soil grade along flower beds or walkways. In fact, experts recommend having a few quality shovels on hand – a square shovel and a spade – to handle different tasks during sod preparation.
A shovel is also vital for adding or re-distributing topsoil. Oakville yards often have compacted clay or uneven spots, so you may need to shovel in some fresh topsoil to level low areas. Use the spade to outline and cut neat edges along gardens, driveways, or sidewalks so your new sod will fit perfectly. A sturdy shovel will make it easier to shape the soil and dig as needed, ensuring your lawn bed is properly graded before the sod goes down. Remember to work safe: wear work gloves and lift with your legs when shoveling heavy soil or old turf.

3. Rake (Landscaping Rake for Leveling)
Once the old grass is removed and any new topsoil added, you’ll need a rake to prepare a smooth, level surface for the sod. A standard garden bow rake or, even better, a wide landscaping rake is ideal for this job. Raking the soil breaks up clumps of dirt, removes small rocks and debris, and helps level out uneven areas. Oakville’s soil can be chunky or compacted after winter, but a good rake will loosen the topsoil so new sod roots can contact soil evenly.
A landscape rake (which is wider than a normal rake) is especially useful for achieving a smooth grade across larger areas. By covering more area with each pass, a wide rake makes it easier to eliminate high spots and fill in low spots, preventing puddles or dips where water could collect. Go over the area in multiple directions with your rake to ensure you haven’t missed any bumps or hollows. A final pass with the flat back of the rake can help really flatten the soil. Taking the time to properly grade and level the ground with a rake will pay off – your sod will sit flush and uniform, leading to a lawn that not only looks even but also drains properly.
Tip: Keep an extra leaf rake or a broom handy to lightly rake the sod pieces after installation, removing footprints or soil on top of the new grass. But for soil prep, a heavier metal rake is the tool that does the trick.
4. Sod Knife or Utility Knife (for Cutting Sod Pieces)
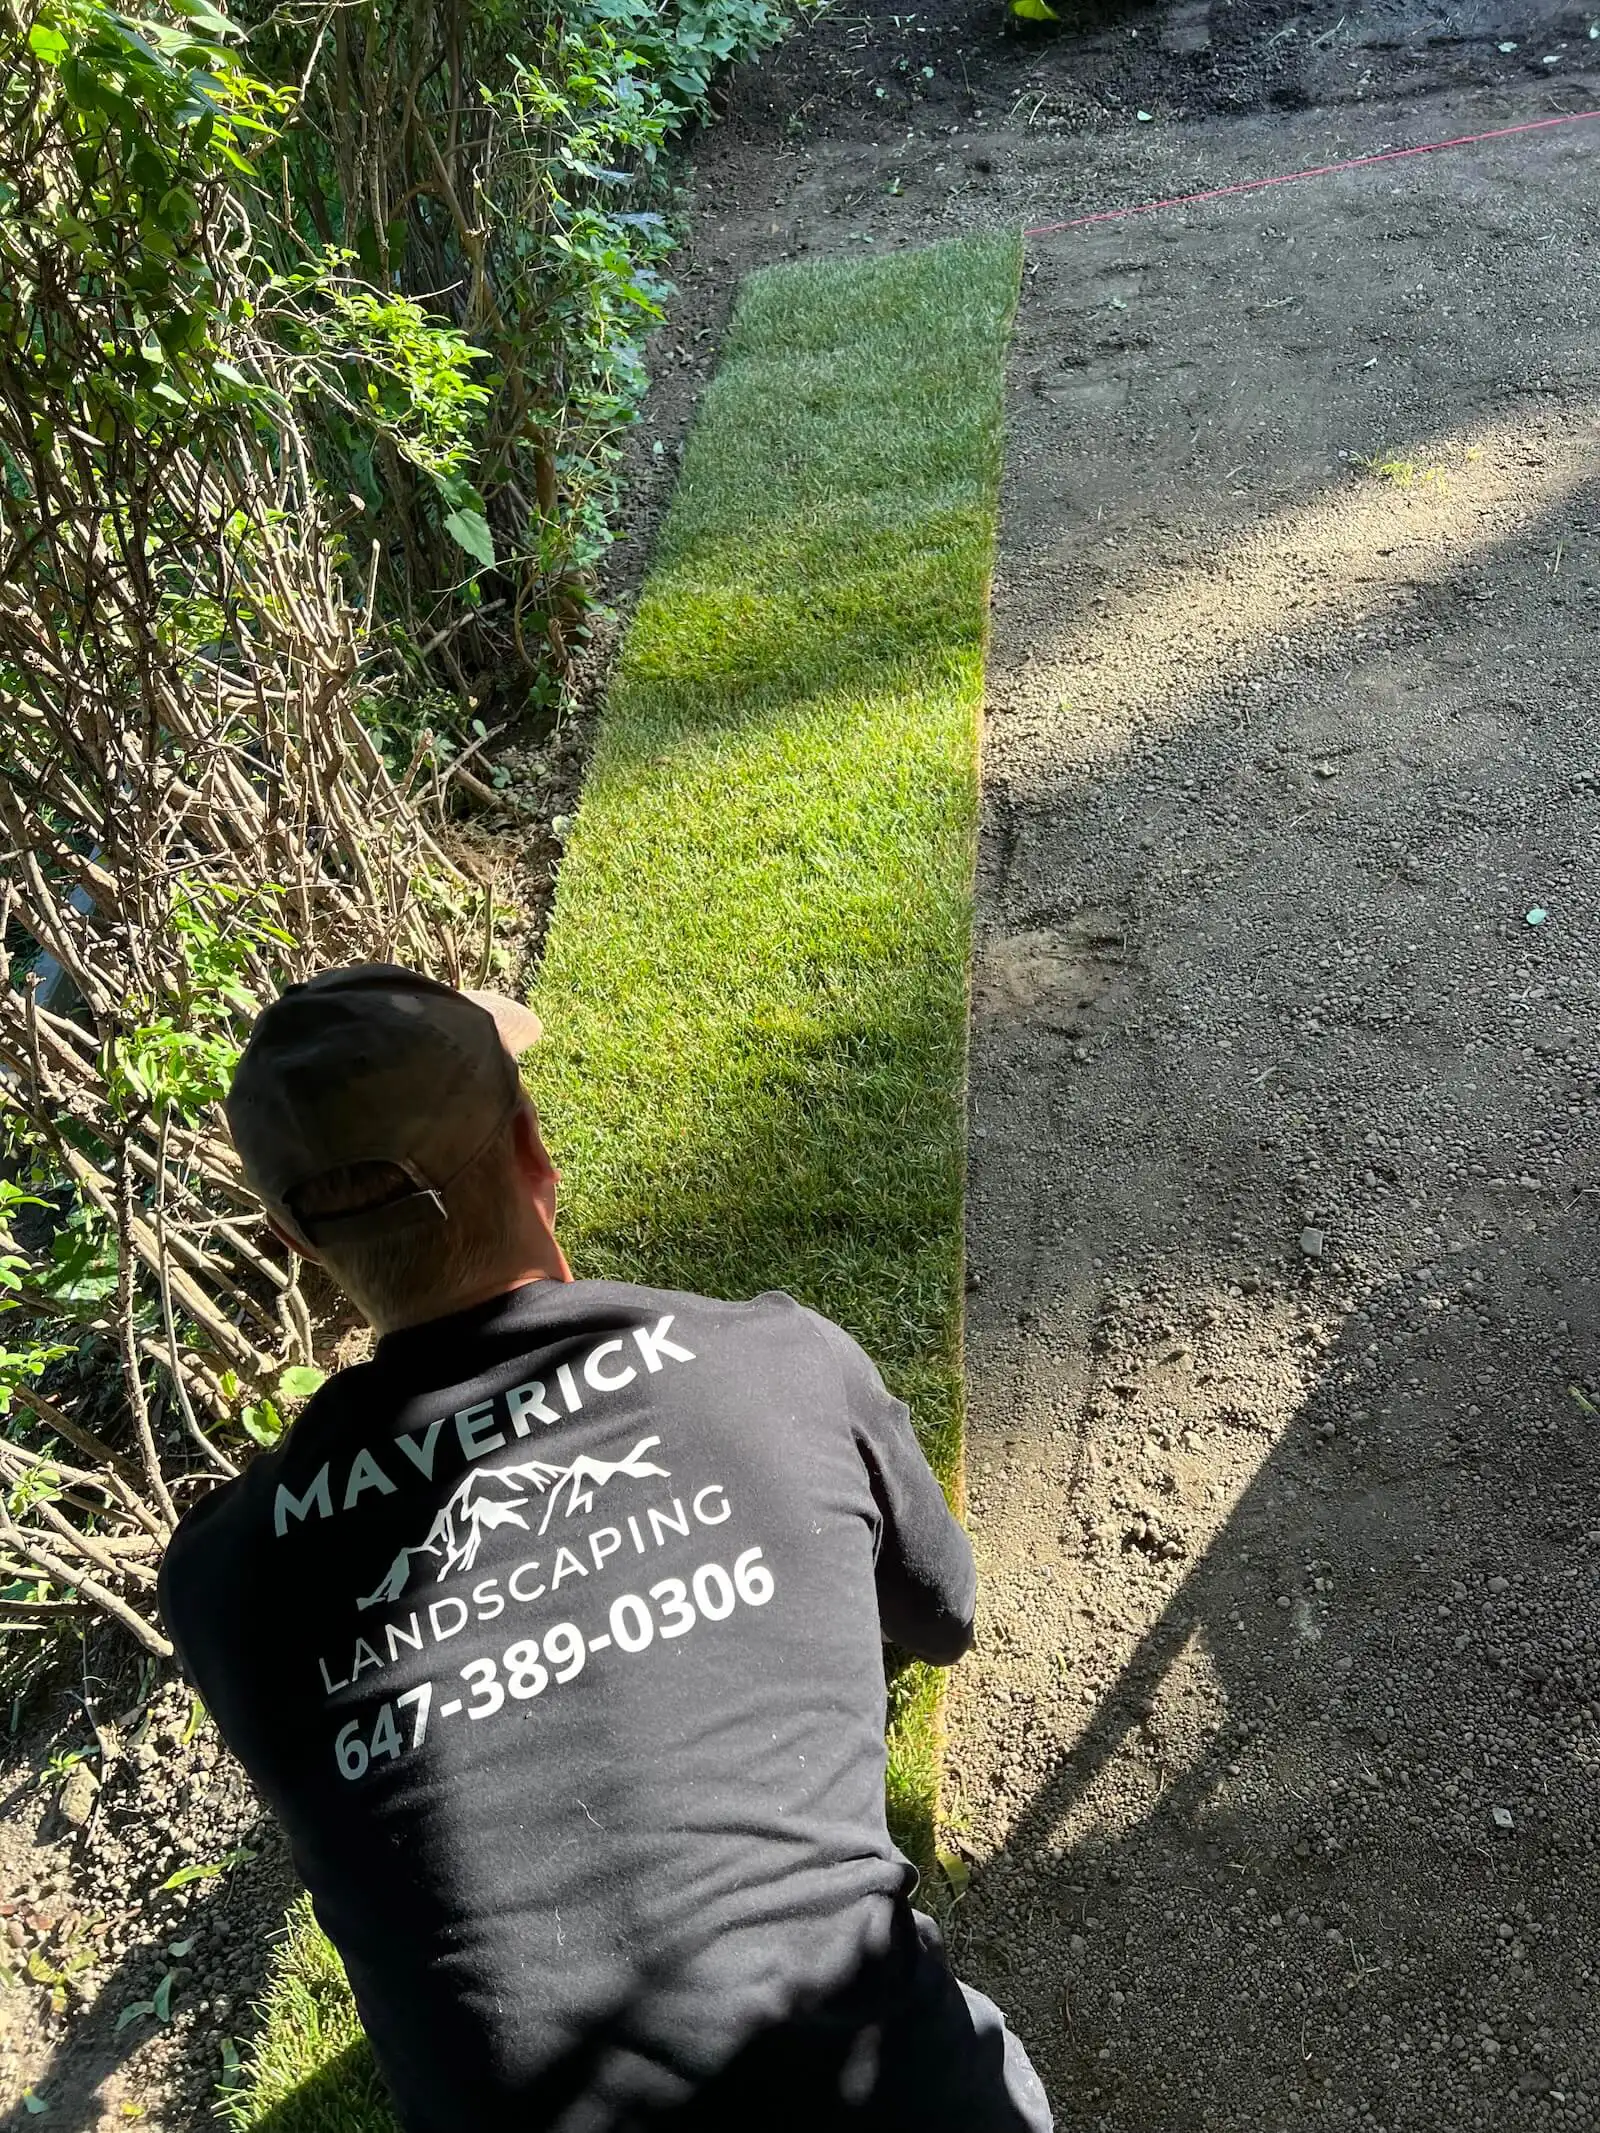
A landscaper uses a special sod-cutting knife to trim a piece of sod for a perfect fit around an edge. Having a sharp sod knife or utility knife is essential when laying sod, because you’ll need to trim pieces to fit your lawn’s shape and obstacles. Once you start rolling out sod, you’ll encounter areas where a full roll doesn’t fit exactly – for example, along curved garden beds, around trees, or next to sprinkler heads. A knife allows you to cut sod strips to size so they fill every gap without overlap. In fact, when laying sod, you should butt pieces tightly together; a knife lets you cut precise edges and around any irregular spots to achieve that perfect fit.
Many DIYers simply use a standard utility knife with a fresh blade. The razor-sharp blade will slice through sod easily (be sure to have spare blades on hand, as cutting through soil and roots will dull them). For bigger jobs, you might invest in a serrated sod knife, which is designed for this purpose and can make cleaner cuts through thick sod. Either way, cutting each piece to fit is a crucial step for a neat finish.
For instance, you’ll often need to trim the last piece in a row, cut out holes for sprinkler heads, or shape the sod around curved edging. A quality knife ensures you can do this accurately. As a bonus, a sturdy garden knife can also come in handy for other tasks like weeding or digging small holes, so it’s a good multi-purpose tool in your kit.
When cutting sod, always slice from the soil side (bottom) of the piece upward through the grass – this gives a cleaner cut on the visible side. Kneel on a board or piece of plywood to avoid denting the sod as you work. With a sharp knife, you’ll be able to customize your sod layout so that it fits your lawn’s unique shape like a glove.

5. Lawn Roller (Water-Filled Roller for Sod)
After all the new sod is laid out and cut to fit, the final must-have tool is a lawn roller. This is a heavy cylindrical roller (often you fill it with water for weight) that you push across the sod. Rolling the new sod is critical because it presses the grass roots firmly into contact with the soil, eliminating air pockets under the sod. Good sod-to-soil contact helps the roots begin to knit into the ground, which is what you want for a healthy, secure lawn. By removing small air gaps beneath the sod, a roller also prevents sections of sod from drying out or shrinking unevenly. Essentially, the roller ensures your sod conforms to the soil surface for best rooting.
Using a roller is straightforward: after laying sod, gently roll the entire area once in one direction, then again at a perpendicular angle (forming a grid pattern) to press everything uniformly. If you notice any low spots or squishy areas, you can lift the sod and add a bit more soil, then lay it back down and roll again.
For most home lawns, you won’t own a roller (it’s not a tool you need often), but like the sod cutter, you can rent a lawn roller for a day at an affordable rate from an equipment rental shop or hardware store. Many Oakville homeowners choose to rent, or even borrow a roller from a neighbor or local garden club. The rollers are usually lightweight when empty and easy to transport; you fill them with water at home to add weight.
If you absolutely can’t get a roller, an improvised method is to use a large piece of plywood: lay it on the sod and walk on it to press the sod down evenly. However, for the best and most uniform results, a proper roller is recommended. It will give your new lawn that professionally finished look, with every sod piece pressed in place. After rolling, you’re ready to water the sod thoroughly and let those roots start growing!
TL:DR
Tackling a DIY sod installation in Oakville is very doable if you come prepared with the right tools. To recap, make sure you have a sod cutter (or efficient means to remove old turf), a couple of good shovels, a quality rake, a sharp sod-cutting knife, and a lawn roller to finish the job. With these five tools in your arsenal, you’ll be equipped to handle each step of the sodding process like a pro. Homeowners who use the proper tools will find the work goes faster and the results turn out more even and long-lasting.
Before you begin, also remember the little things that can make a big difference: pick up some gardening gloves to protect your hands, and have a wheelbarrow or yard cart ready to haul away old sod and bring in new materials (it will save you many trips back and forth). Preparation is everything – spend time getting the soil right, and don’t rush the cutting and fitting of the sod. Oakville’s soil and weather will reward your efforts, giving you a lush lawn that boosts your home’s curb appeal.
By following this guide and utilizing these essential tools, you’ll achieve a smooth, healthy new lawn that looks like it was installed by professionals. Sodding your own lawn can be a gratifying project, and with the top tools in hand, every Oakville DIY homeowner can succeed at laying the perfect lawn. Happy sodding!


