


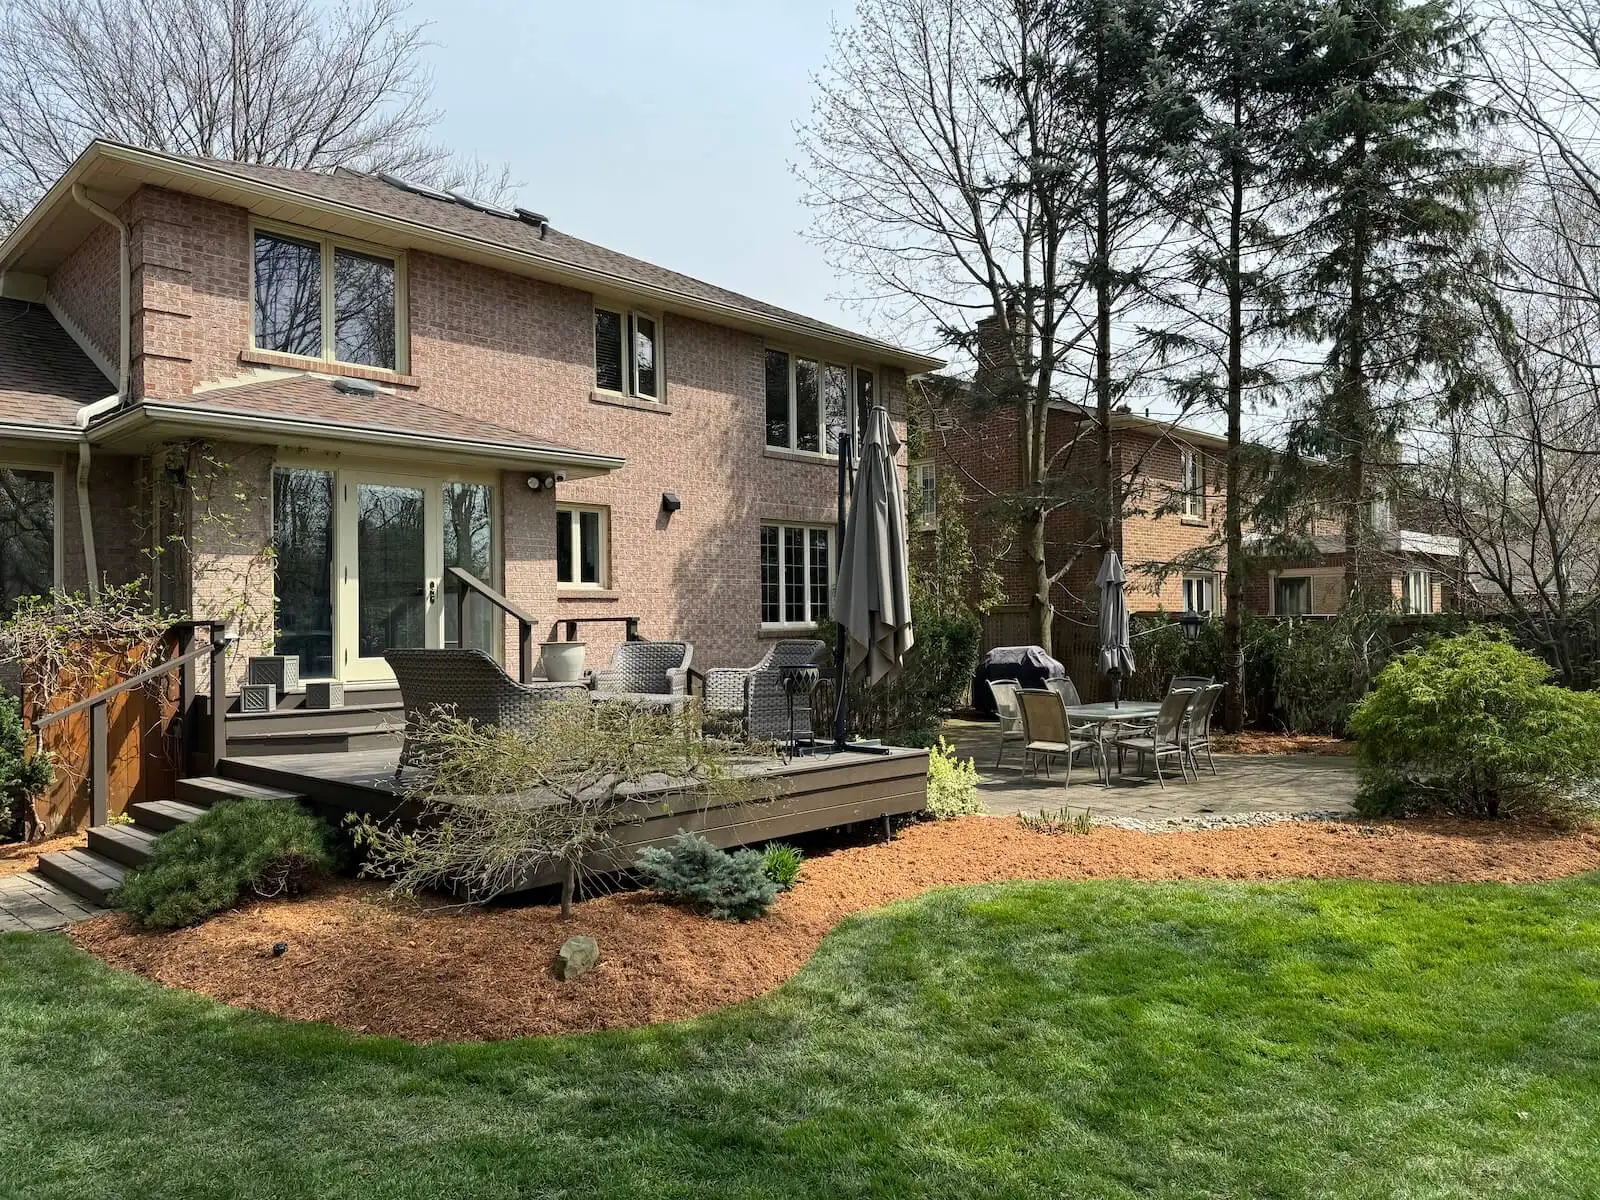
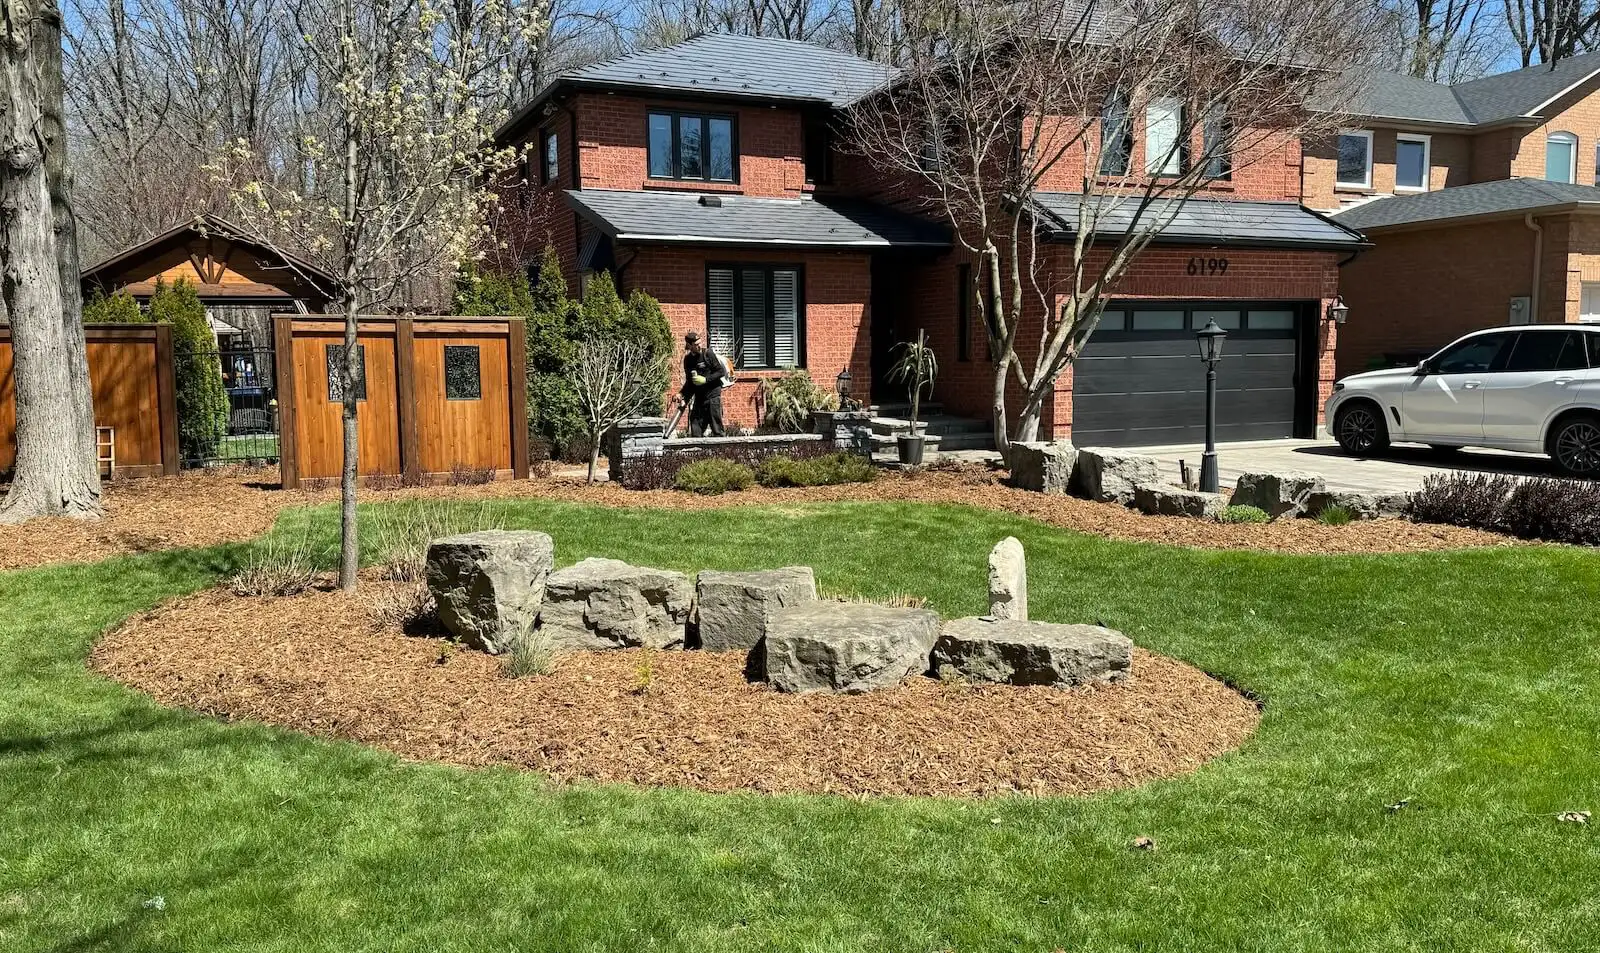
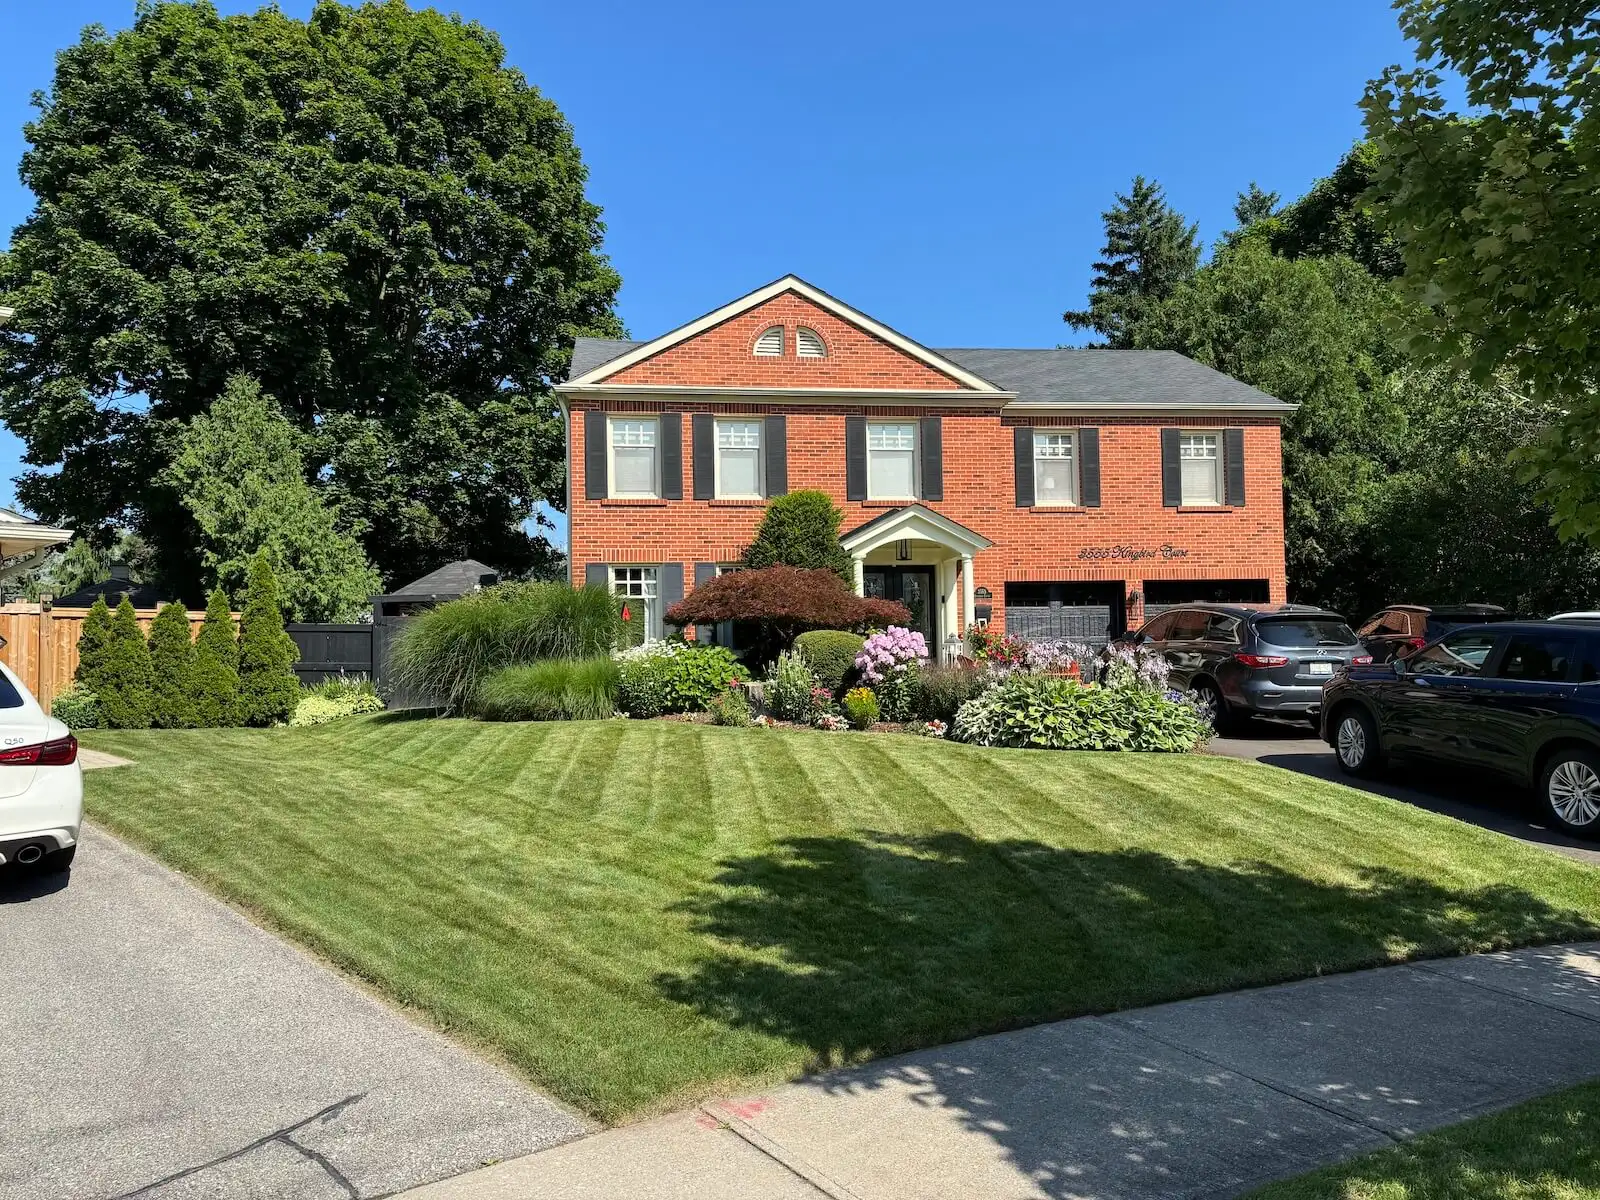
Having a lush, green lawn in Oakville is achievable almost overnight with sod, but success depends on proper preparation. Oakville’s seasonal climate – cold winters, hot summers, and pleasant springs and falls – means timing and groundwork are everything. Before you roll out fresh sod, you’ll want to make sure your soil and site are perfectly prepared. The following are the top five preparation steps (with a seasonal focus) that Oakville homeowners should follow for a flawless sod installation.
1. Choose the Right Season and Plan Ahead
In Oakville and the GTA, the best times to lay sod are early spring and early fall when temperatures are mild and rainfall is more frequent. Cool, moist conditions during these seasons give new sod the best chance to root quickly without the stress of summer heat or winter freezes. Avoid sodding in the peak of summer (when days above ~30°C can dry out sod) or during winter when the ground is frozen.
Plan your project around the weather forecast and season. Measure your lawn area and order quality sod in advance so it can be installed promptly in the ideal window. By scheduling your sod installation for spring or autumn, you leverage Oakville’s seasonal advantages – moderate temperatures and occasional rain – to help the sod establish strong roots. A little planning ensures you won’t rush prep work and that fresh sod won’t sit waiting (which could dry it out). In short, pick the right season and prepare everything beforehand for the smoothest installation.
2. Remove Old Grass, Weeds, and Debris
One of the most critical prep steps is clearing out what’s currently on your lawn. Remove any existing grass, weeds, or debris to create a clean canvas for your new sod. Laying sod over old, dying grass or weed patches is a recipe for poor results – the new roots would struggle to penetrate and compete with underlying vegetation. Use a sod cutter or shovel to strip away the old turf and roots, and dispose of them. If the area is heavily weedy, you could apply a non-selective herbicide ahead of time (and wait the recommended period) to ensure nothing green is left living in the soil.
It’s also essential to rake up rocks, sticks, and any other debris from the soil surface. Even small rocks or leftover thatch can create air gaps under sod or block roots from anchoring. By thoroughly clearing the area, you ensure your new sod will have direct contact with the soil with no barriers to rooting. Think of this step as wiping the slate clean – a bare, debris-free soil surface is essential for sod to knit into the ground.

3. Test and Enrich Your Soil
Healthy soil is the foundation of a healthy lawn. After clearing the area, take the time to test your soil’s pH and nutrient levels. Oakville soils can vary, and grass grows best in slightly acidic to neutral soil (around pH 6.0 – 7.0, with ~6.5 being ideal for turfgrass). You can buy an easy home soil test kit or send a sample to a local agricultural extension or garden center. If the test shows the pH is too low (acidic) or too high (alkaline), amend the soil accordingly before laying sod. For example, lime can be added to raise a low pH, or sulfur can be added to lower a high pH, to bring your soil into the optimum range. Also note any nutrient deficiencies – your soil test may indicate low phosphorus or organic matter, which you can address with the right amendments.
Next, loosen and enrich the soil to ensure it’s fertile and well-aerated for new roots. Till or turn over the top 4 – 6 inches of soil across the lawn area (especially if the ground is compacted or heavy clay). Working the soil to this depth breaks up hard clods and lets air, water, and roots penetrate more easily. While tilling, mix in organic matter such as compost or well-rotted manure to improve soil structure and fertility.
Compost adds nutrients and helps sandy soil retain moisture or loosens up clay soil, leading to a richer growing medium. Many experts also recommend applying a starter fertilizer at this stage – a fertilizer high in phosphorus (the middle number, for example a ratio like 18-24-12) that encourages robust root development. Incorporate the starter fertilizer into the topsoil as you till so that nutrients are available right where the new sod’s roots will grow. By testing and amending your soil now, you create an ideal environment that will help your sod lawn thrive from day one.
4. Level and Grade the Ground for Drainage
Once your soil is loose and amended, the next step is to level and grade your lawn area. Use a rake to break up remaining clumps and to even out the surface. Fill in any low spots with additional topsoil and level any high spots – the goal is a smooth, uniform surface so that your sod will lay flat without bumps or hollows. Proper grading is also crucial: ensure the lawn has a gentle slope away from your house and any structures for drainage. This prevents water from pooling near foundations or on your new lawn. In practice, that means the soil should be a bit higher at the base of the lawn and slope downward slightly toward the edges of the yard or designated drainage areas. Even a subtle grade (for instance, dropping about 1 – 2 inches per 10 feet) helps rainwater runoff instead of forming puddles.
As you rake and level, also remove any newly surfaced stones or debris. For larger areas, you might drag a long board across the soil to identify high and low areas or even use a lightweight lawn roller to settle the soil. Rolling the prepped soil lightly can reveal soft spots that need more fill or high spots to flatten. Just be careful not to over-compact the soil you worked so hard to loosen; a light pass is enough. The key is that after grading, your lawn-to-be should be smooth, firm, and gently sloped for proper drainage – no dips, no mounds, and no areas where water could get trapped. Taking the time to perfect the grading now will pay off by preventing future soggy spots or erosion on your new sod lawn.

5. Pre-Water and Make Final Preparations
With the soil cleared, improved, and leveled, you’re almost ready to install your sod. The final step is to ensure the soil is properly hydrated and you’re prepared to lay the sod immediately. Water the prepared soil thoroughly about 24 – 48 hours before your sod delivery or installation day. The soil should be moist to a depth of a few inches – like a wrung-out sponge, not muddy. Having moisture in the ground at the time of laying sod helps the new sod strips make good contact and begin rooting into damp soil rather than dry dirt. In fact, proper hydration of the soil just before sodding greatly enhances root contact and establishment. (Just avoid over-watering to the point of sogginess, which can make installation messy or lead to rot.)
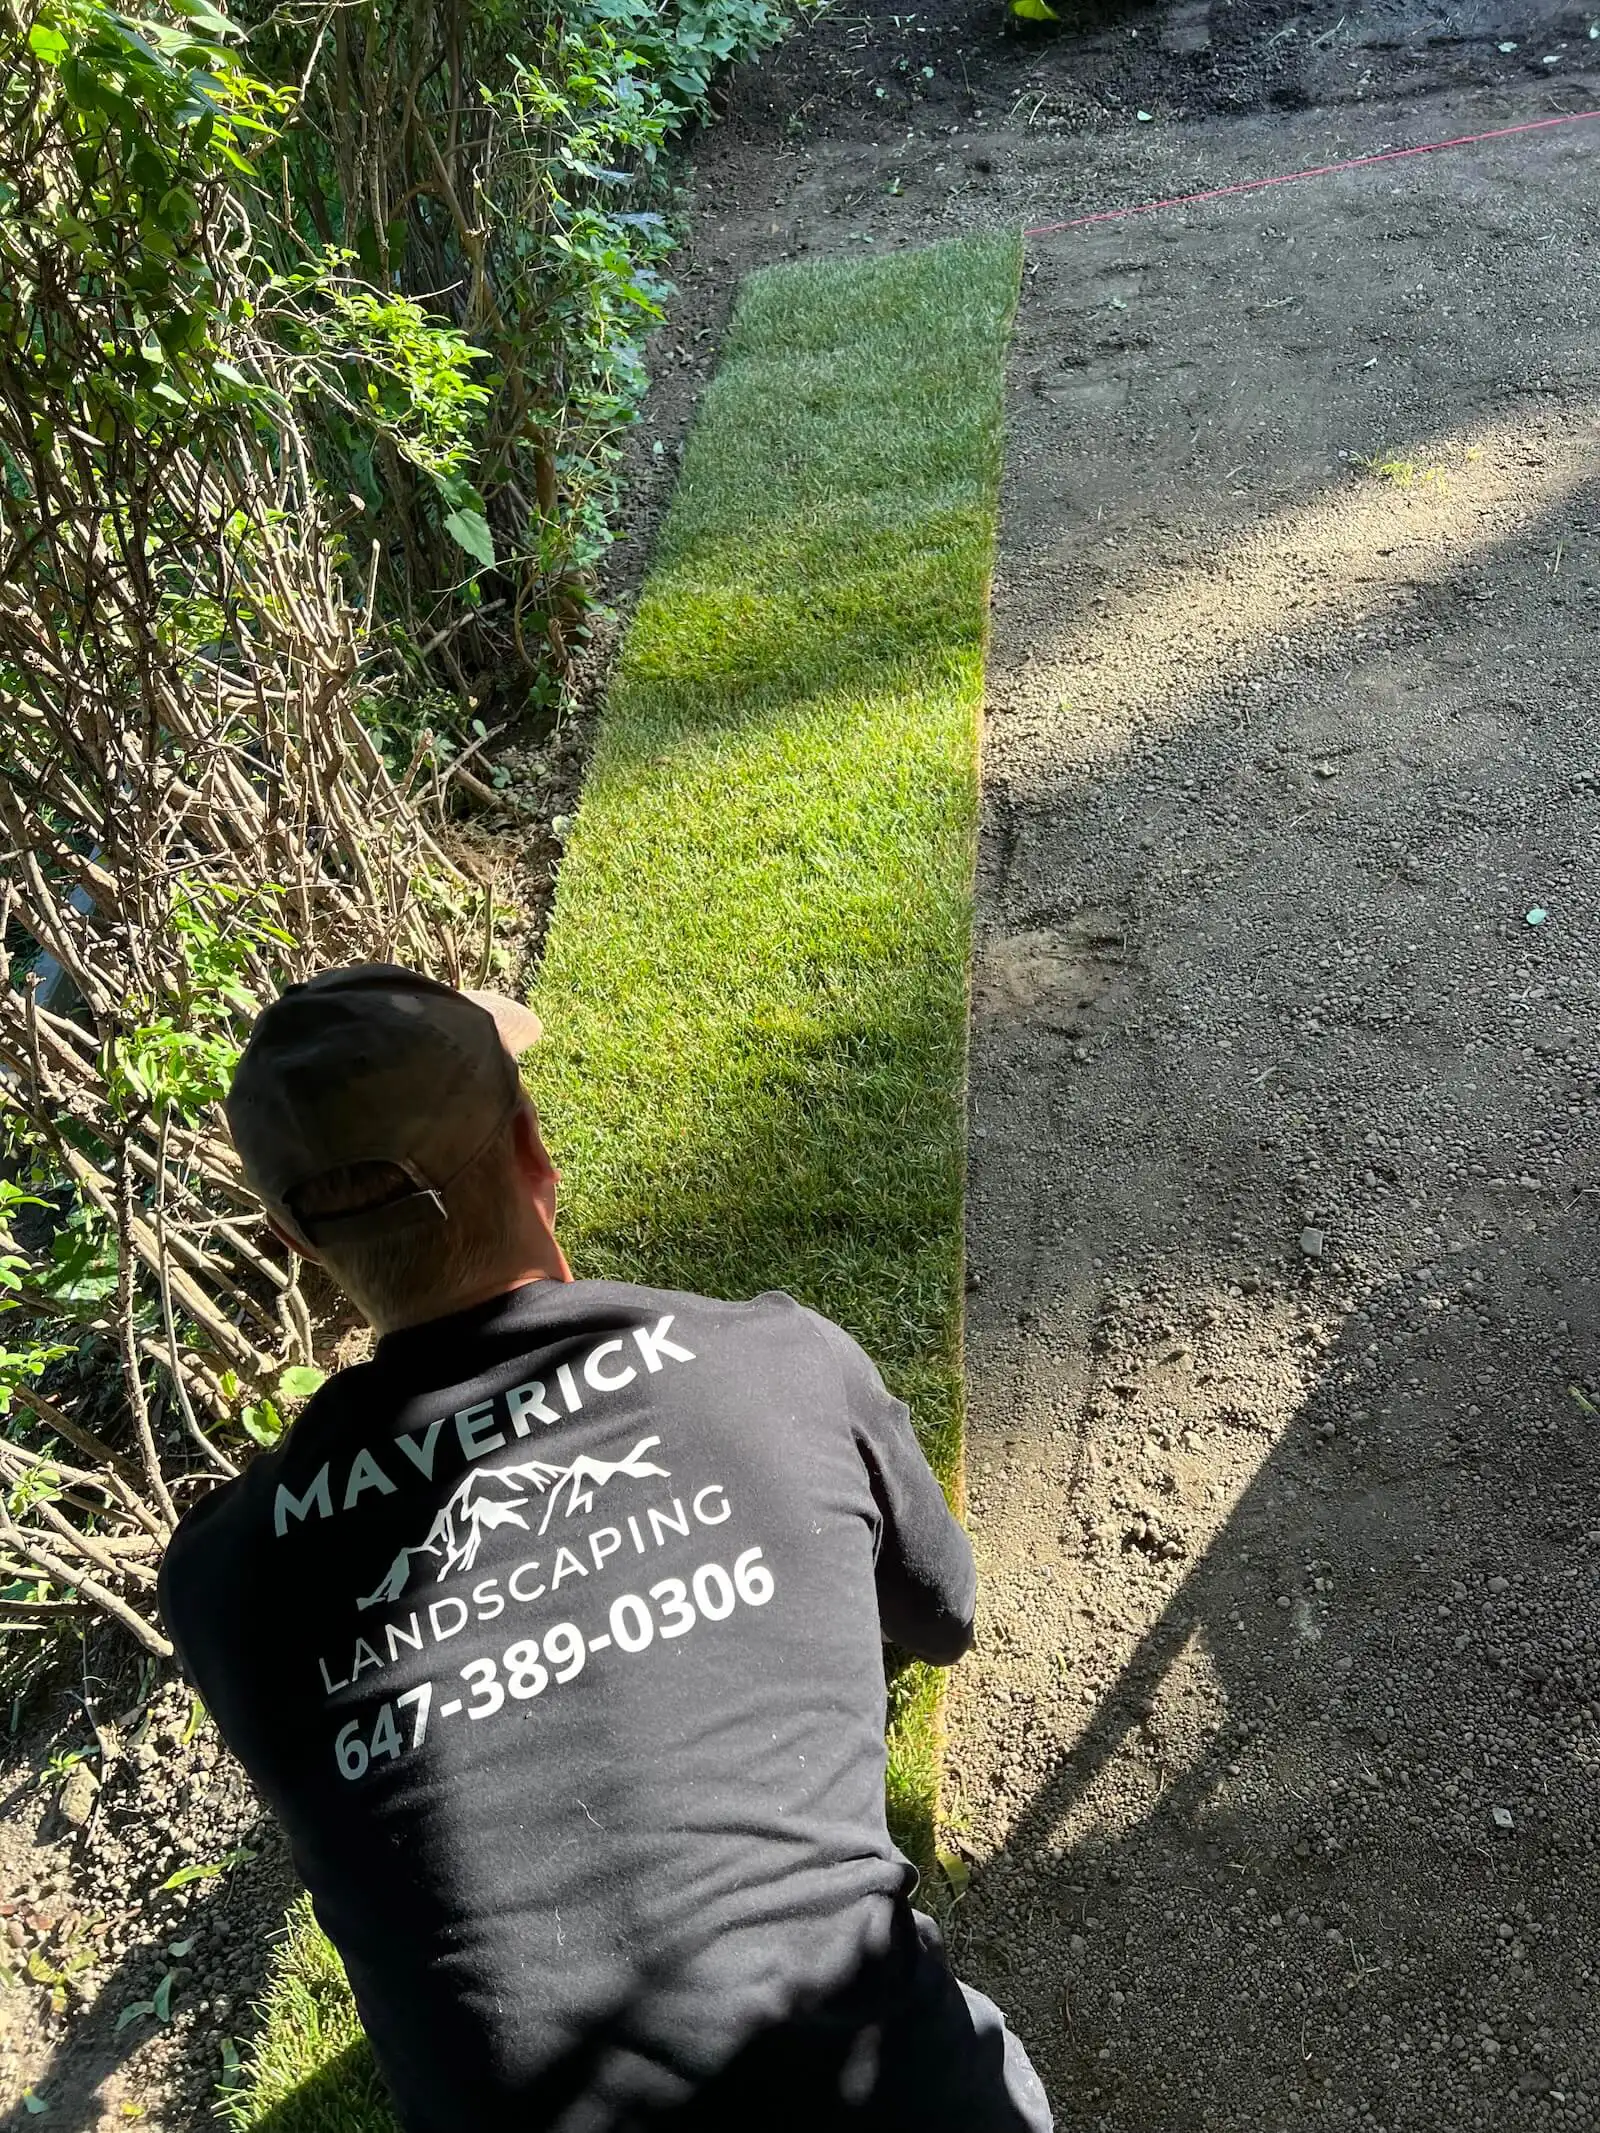
Come installation day, plan to start laying the sod as soon as it arrives. Fresh sod is a living product and can deteriorate quickly if it sits on a pallet in the sun. Don’t let rolls of sod dry out – begin installation immediately, keeping any waiting rolls in shade and misting them lightly if there’s a delay. Time is of the essence: ideally, all sod should be laid within 24 hours of harvest. If it’s a hot or windy day, this is even more critical because sod can dry and scorch. As a rule, do not leave delivered sod exposed for long; install it as quickly as possible to prevent it from drying out and dying.
Make sure you have a game plan for the installation sequence (start along a straight edge, stagger joints, etc.) and the tools on hand (utility knife for cutting pieces, a lawn roller to press sod down after laying, sprinklers ready to water). By pre-watering the soil and organizing the installation, you set the stage for your sod to be laid efficiently and effectively. Once the sod is down, you’ll immediately begin watering it to keep that underlying soil moist. But thanks to your thorough preparation, the new sod will have the perfect conditions to bond with the ground and grow a healthy root system.
Conclusion: Enjoy Your New Lawn (and Consider Professional Help)
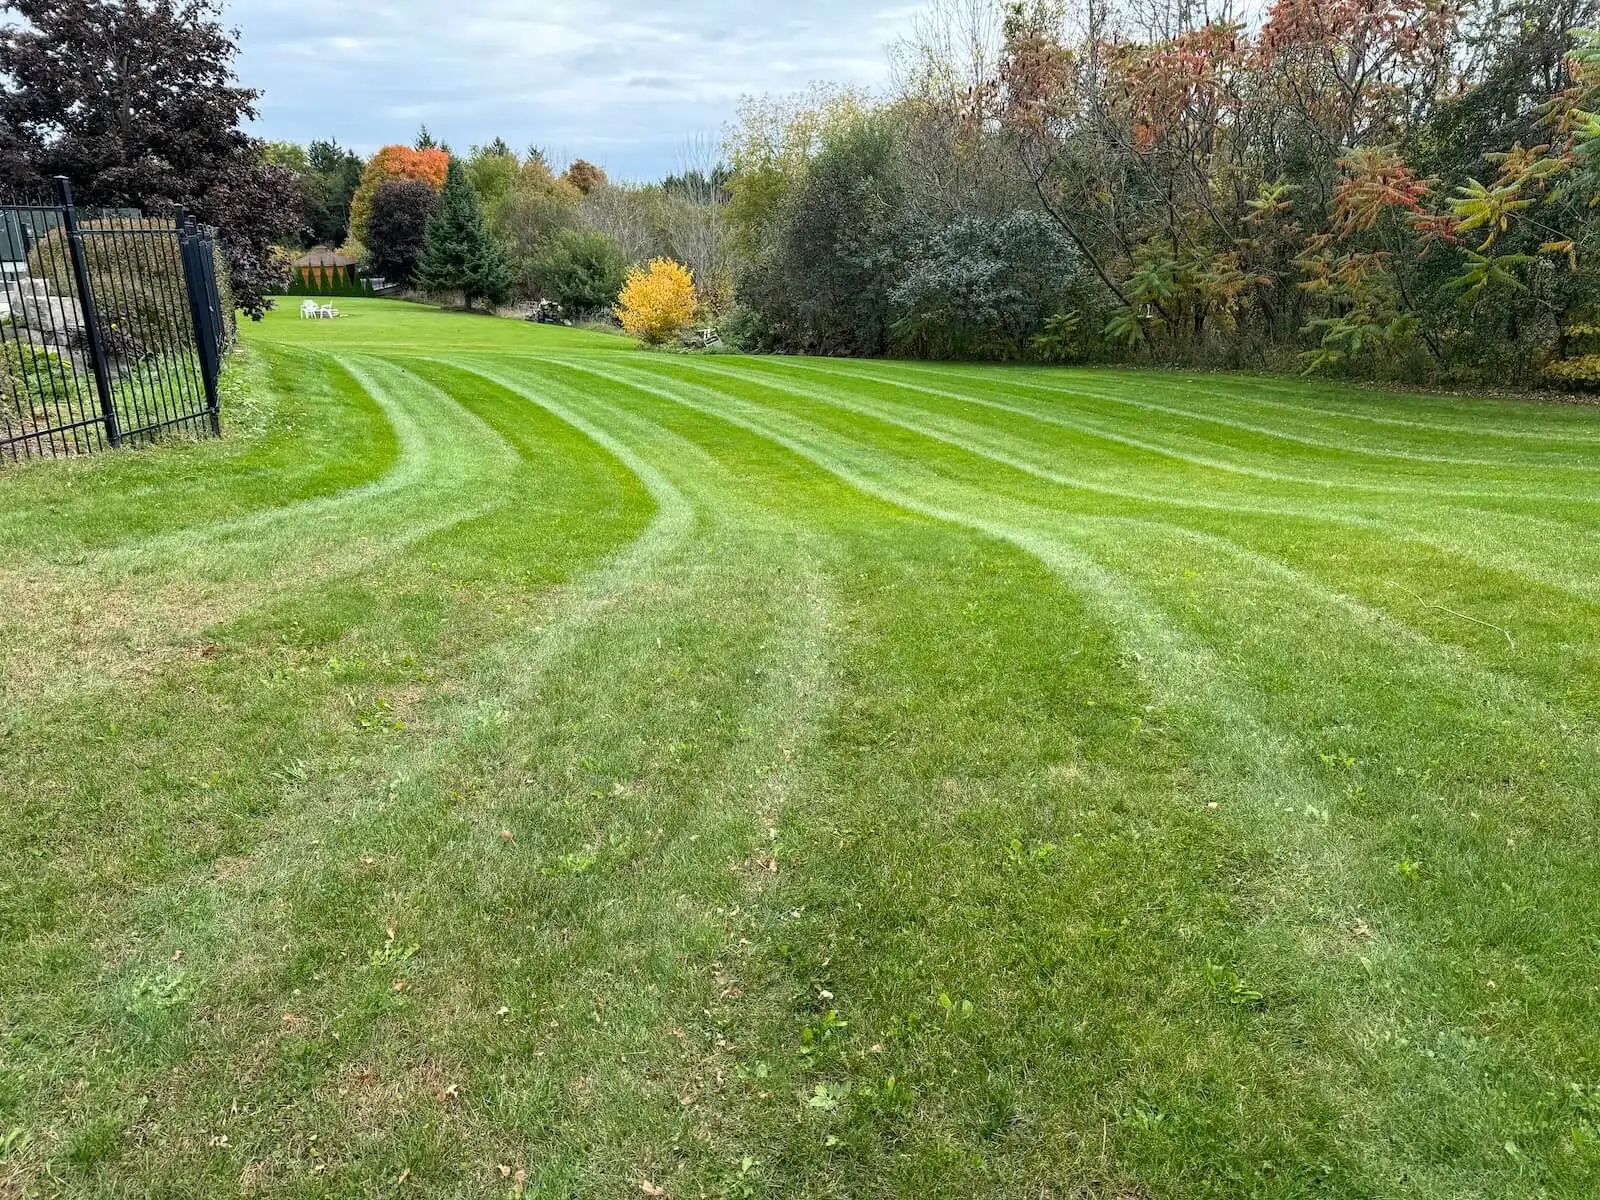
By following these five preparation steps, you’re giving your new sod the best possible foundation. Yes, it’s a bit of work to clear, till, and grade the site, but the results are well worth the effort – with proper prep, sod will establish quickly and grow into a lush, vibrant lawn that transforms your Oakville property. A well-prepared base means fewer problems down the road, like uneven growth or drainage issues, so you can enjoy a carpet of green grass without hassle.
If this process sounds daunting or you want to ensure flawless results without breaking a sweat, you may want to call in the experts. Professional sod installation offers expertise and efficiency that can save you a lot of time and guarantee a healthier, more resilient lawn.
At Maverick Landscaping, we specialize in preparing and installing sod for Oakville homeowners with precision and care. We handle everything – from testing and amending your soil to perfectly laying the final roll of sod – so you get an instant lawn that thrives. Get in touch with us for a consultation or quote, and let our team take the guesswork out of your sodding project. With the groundwork done right, you’ll soon be enjoying a gorgeous Oakville lawn that looks like it’s been there forever!


