








Fresh sod can instantly transform your Oakville lawn into a lush green carpet. However, the work isn’t over once the sod is laid – proper after-care is crucial to ensure your new grass takes root and thrives. In Oakville’s climate – with cold winters, wet springs, and hot, dry summers – new sod is especially vulnerable if not cared for correctly. Avoid these top 5 sodding after-care mistakes to protect your investment and enjoy a healthy lawn for years to come.
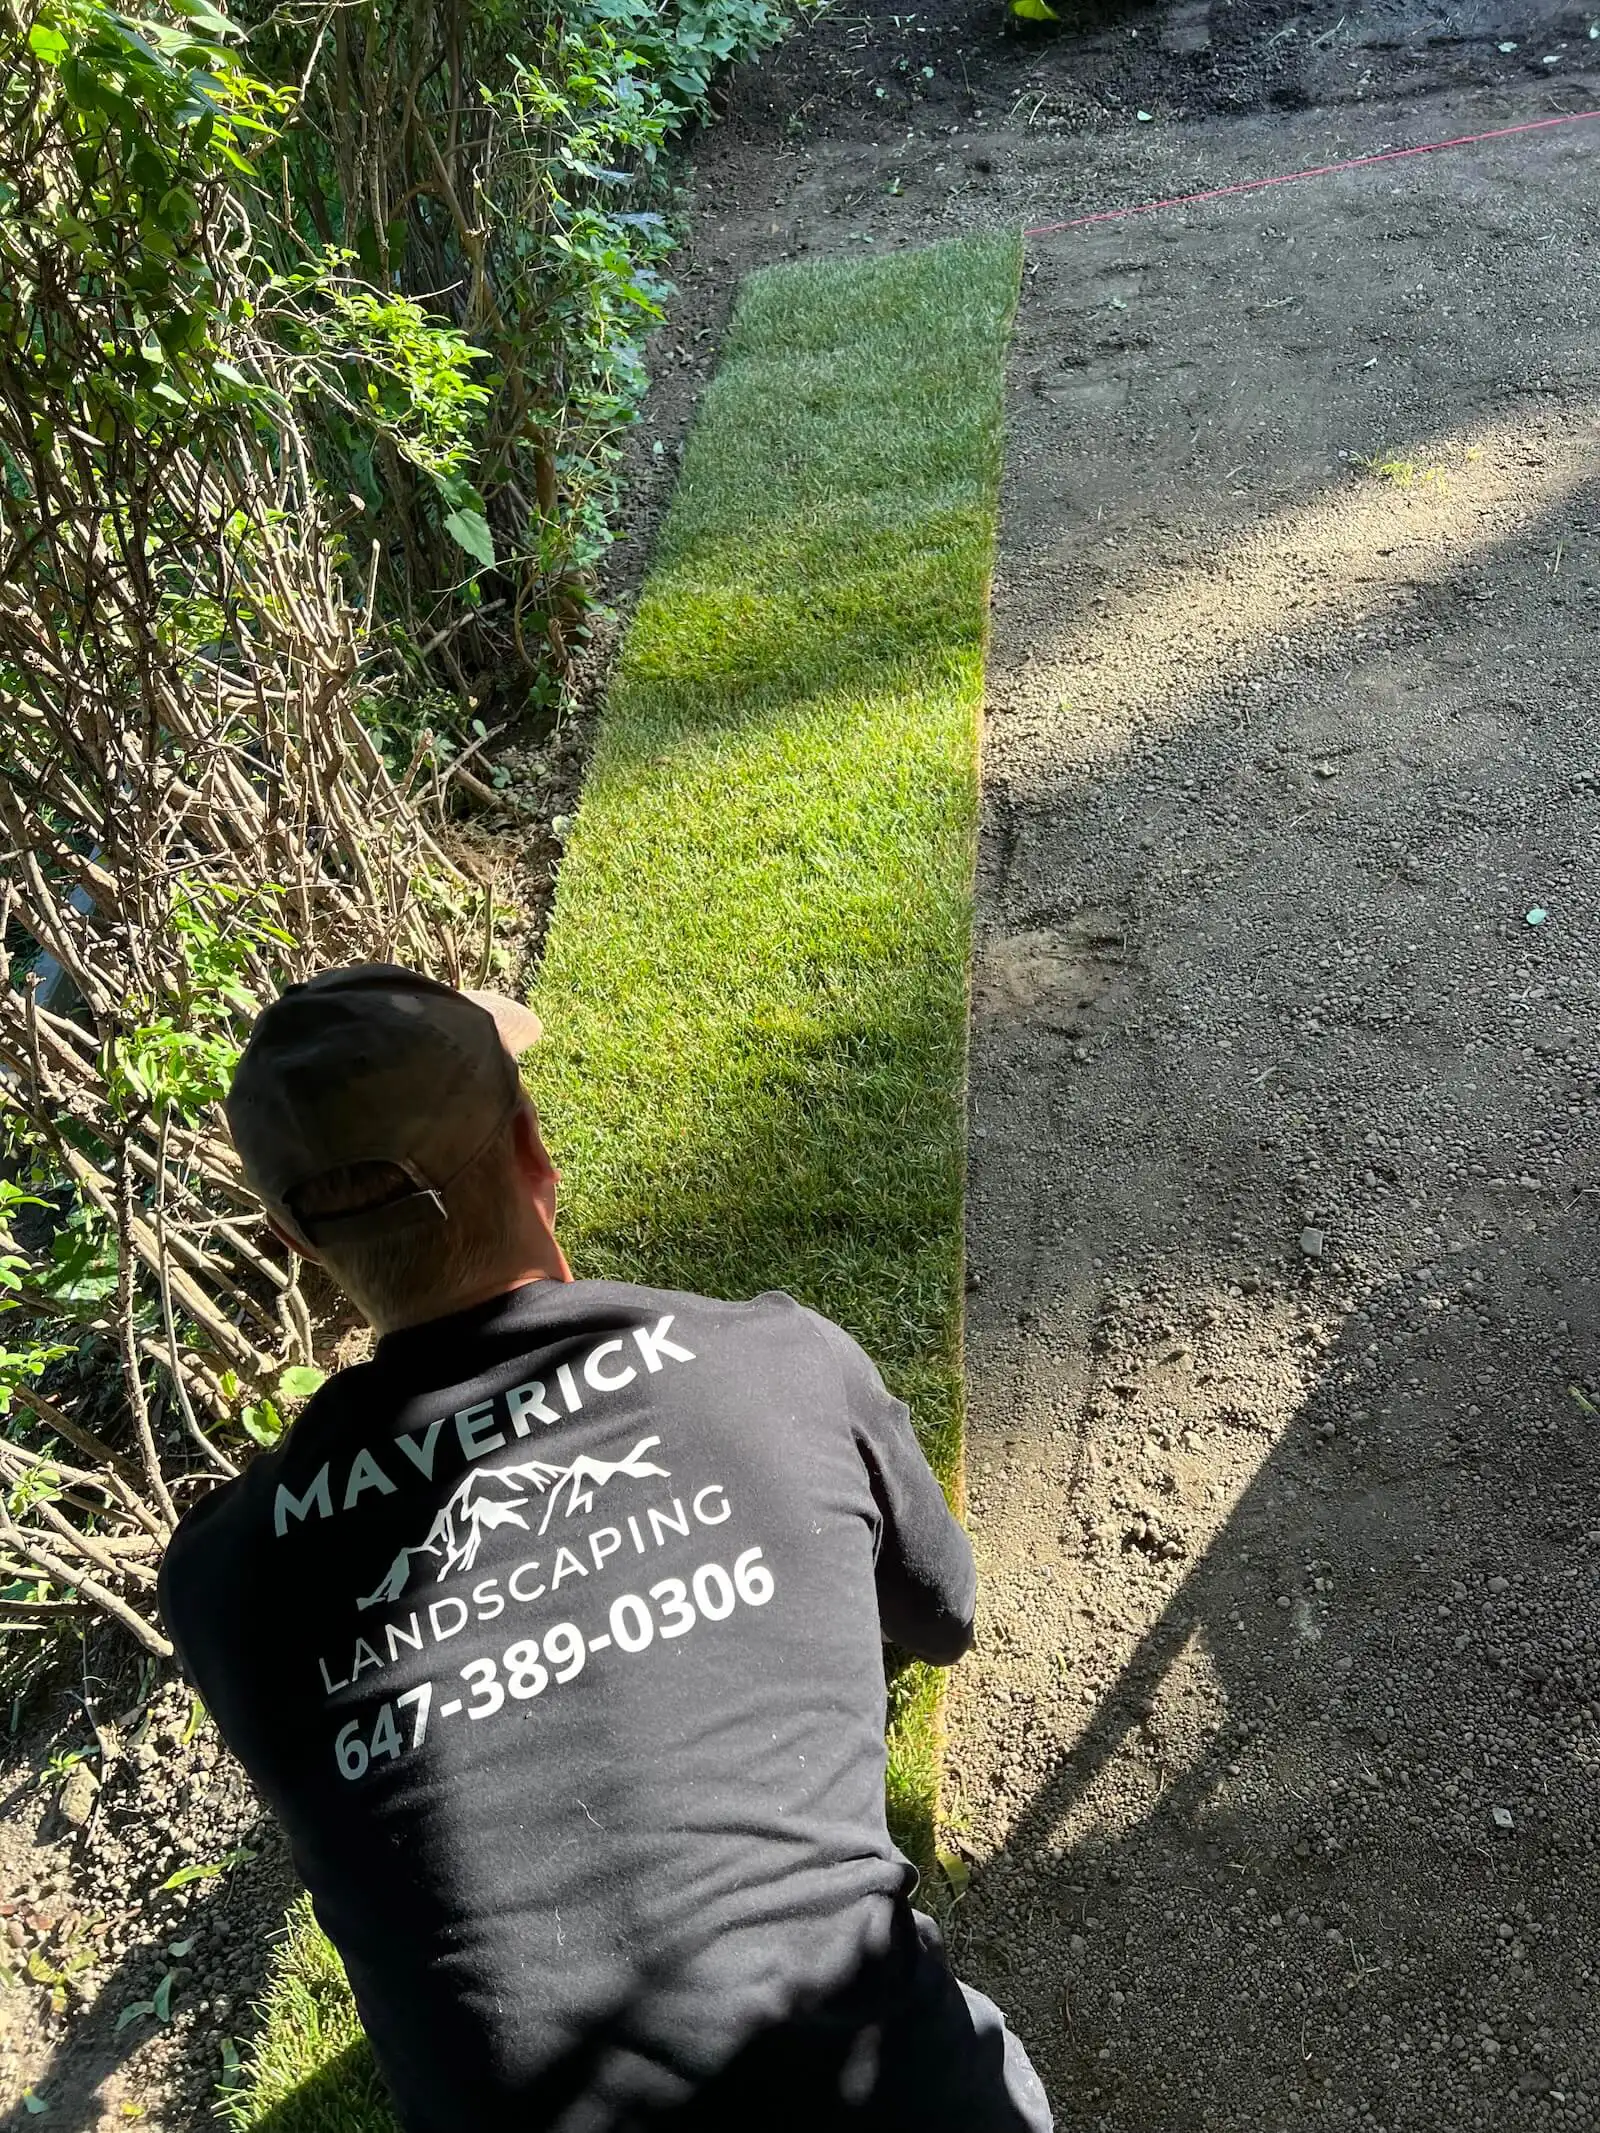
A landscaper installs fresh sod in a backyard. Proper after-care, especially in the first few weeks, is critical to help new sod establish strong roots in Oakville’s climate.
1. Watering Too Much or Too Little
One of the easiest ways to ruin new sod is improper watering. New sod needs consistent moisture to establish roots, but there’s a fine balance. Overwatering can drown the roots and invite fungus, while underwatering will dry out the sod and cause sections to die. Both extremes prevent the sod from rooting deeply into the soil.
How to Avoid This Mistake
- Water immediately and frequently at first: Begin watering as soon as the sod is installed to soak the soil underneath. For the first two weeks, keep the sod and topsoil moist by watering lightly 2 – 3 times per day, depending on weather. Consistent light watering encourages initial root growth.
- Adjust to conditions and time of day: Monitor the weather and increase watering during hot or windy days, since new sod can dry out quickly in heat. Water in the early morning if possible, which allows moisture to soak in before midday sun and reduces the risk of fungal diseases that can occur with nighttime watering.
- Gradually taper off frequency: After about 2 weeks, once you notice the sod is starting to root, transition to a more typical watering schedule. Water less often (e.g. 2 – 3 times per week) but more deeply to encourage roots to grow downward. Never let the new lawn completely dry out during the establishment phase, but avoid leaving it constantly soggy.
Proper watering is perhaps the most critical factor in new sod success. As a rule of thumb, the soil beneath the sod should be kept damp (not flooded) for the first 10 – 14 days. After that, you can slowly reduce watering frequency while ensuring the lawn still gets about 1 – 1.5 inches of water total per week (including rainfall) to maintain growth.
2. Mowing Too Soon or Too Short
New sod may look like a finished lawn, but it’s not ready for the mower right away. Mowing too early – before the roots have anchored – can tug up the sod pieces or scalp the tender grass blades. Likewise, mowing too low (cutting off too much height) can stress or even kill the young grass. These mowing mistakes can set back your lawn’s establishment by weeks.
How to Avoid This Mistake
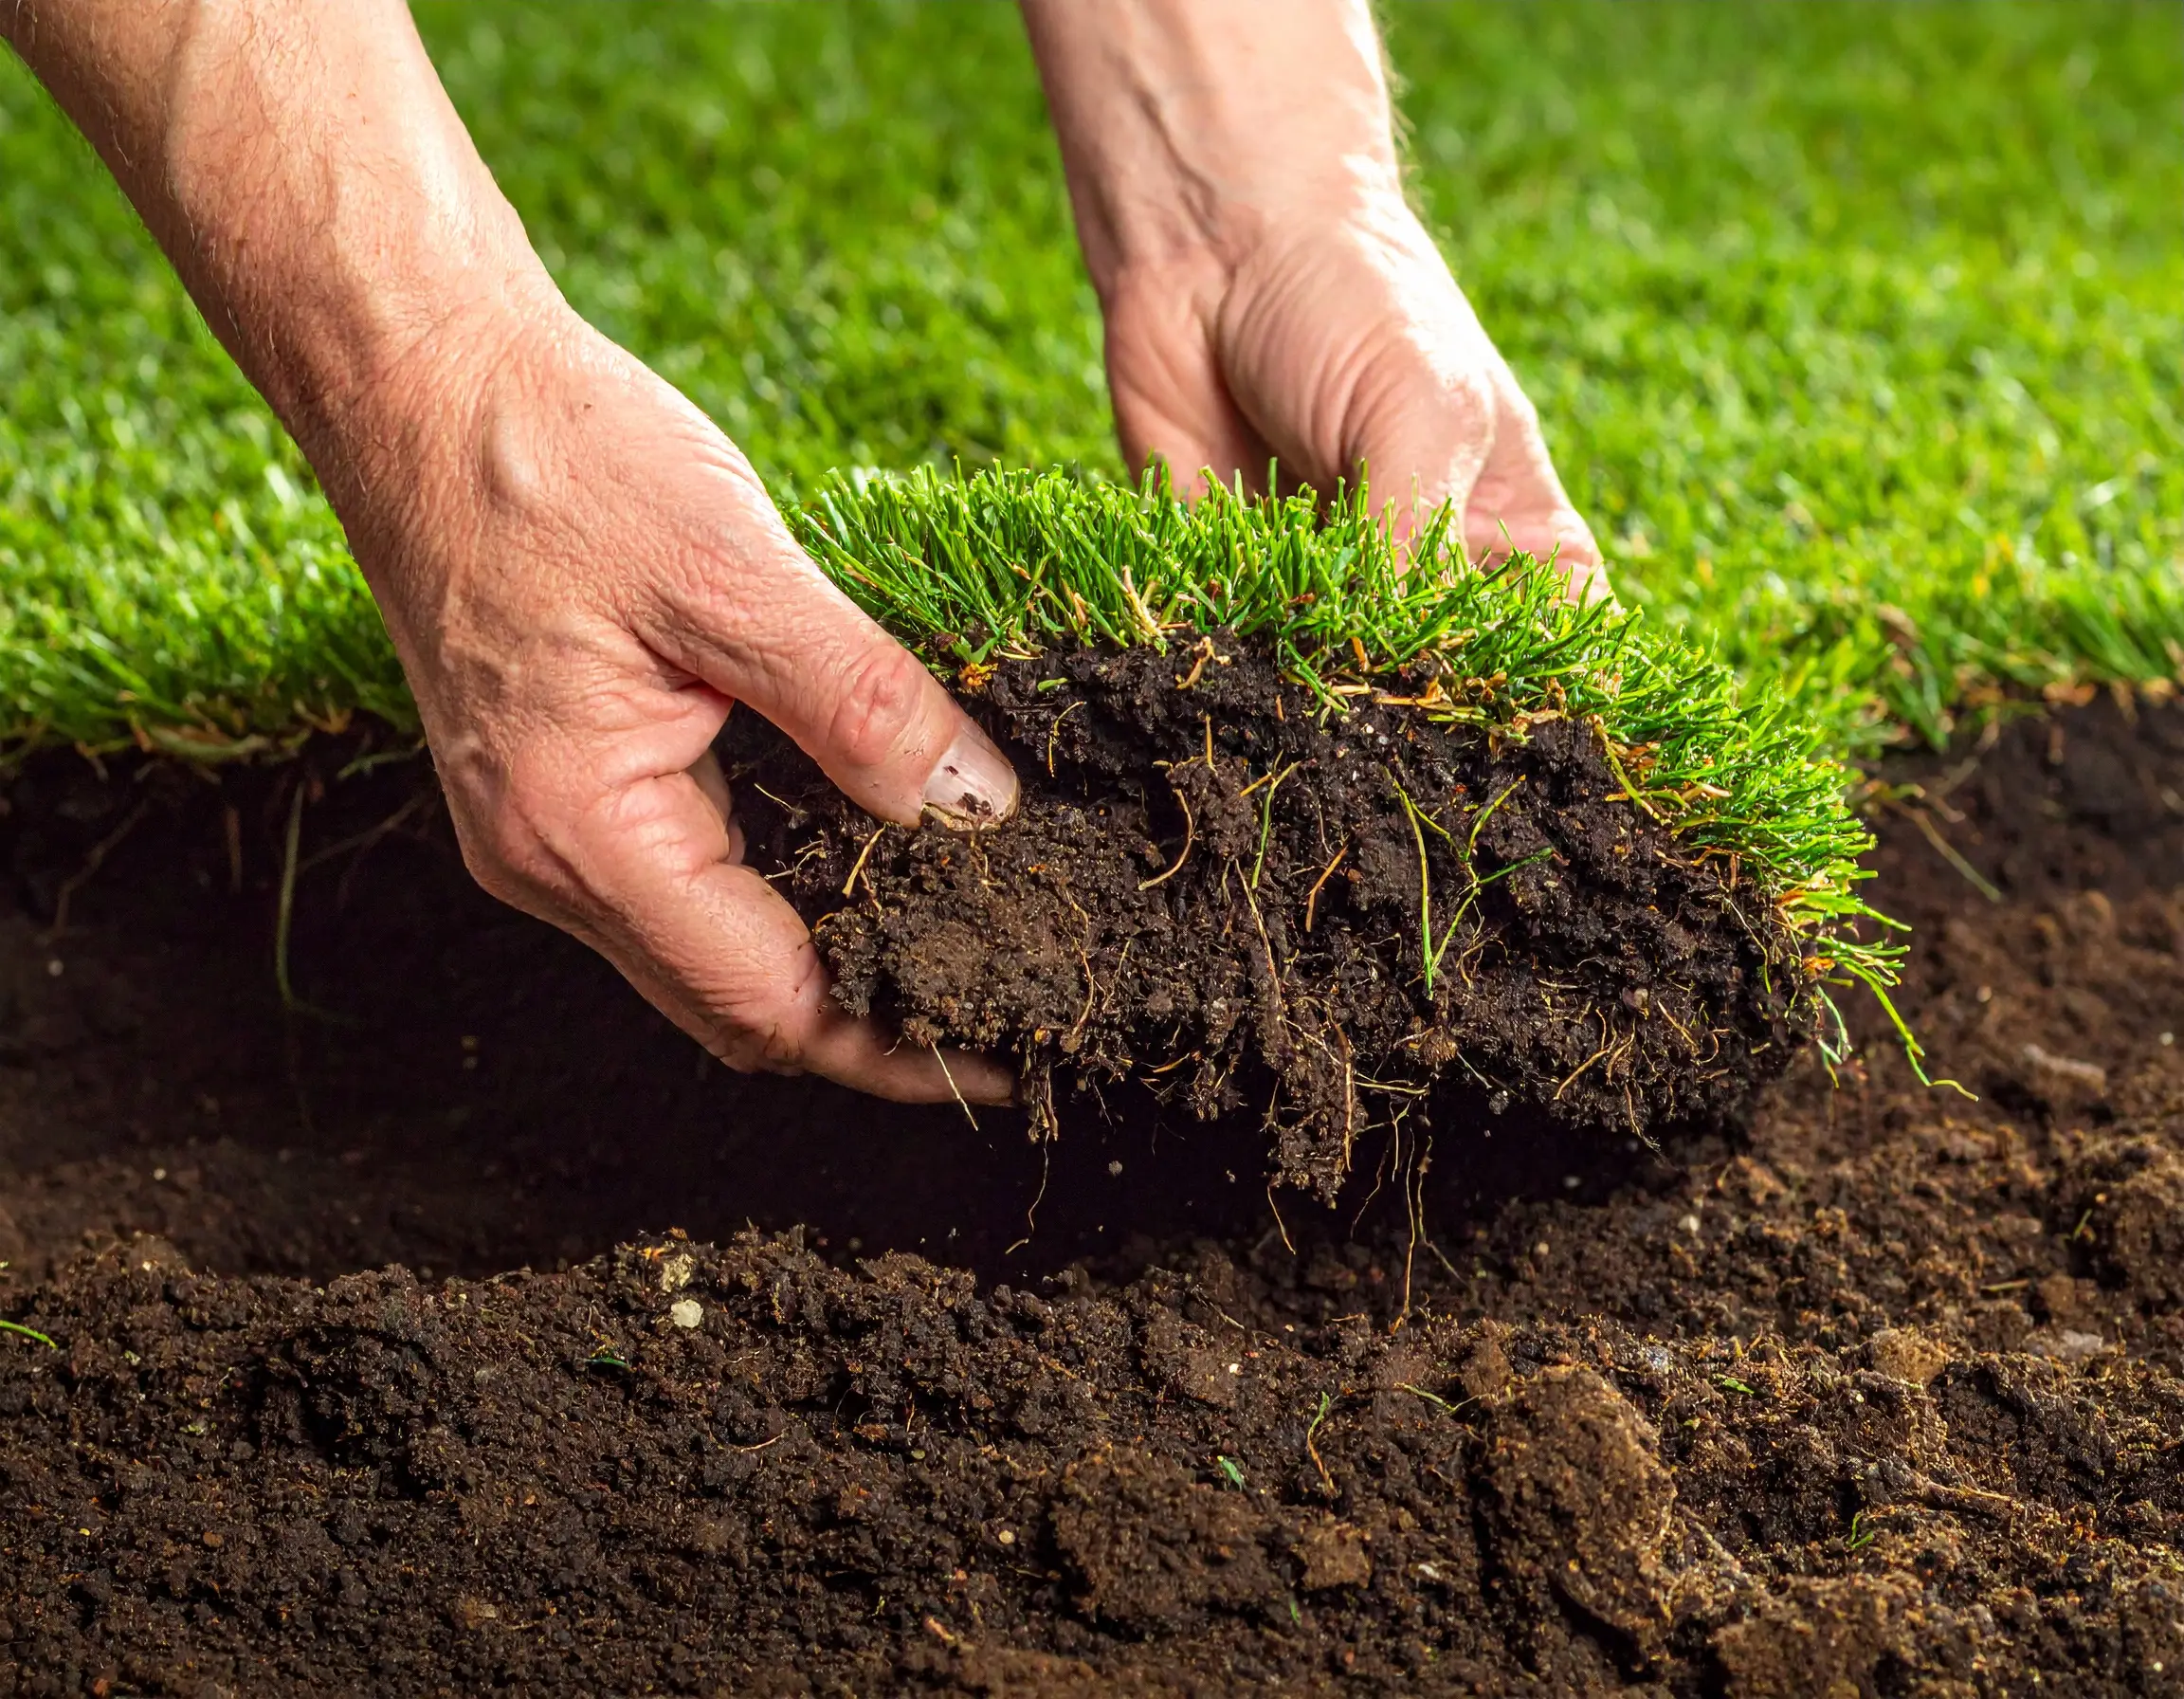
- Wait ~2 – 3 weeks before the first mow: Hold off mowing until the sod has firmly rooted into the soil. A good test is to gently tug on the grass; if the sod resists lifting, the roots have started to take hold. This rooting typically takes about two weeks (a bit longer in cooler weather). Be patient – mowing too soon can do more harm than good.
- Mow high and with a sharp blade: When you do mow for the first time, set your mower to the highest or second-highest setting (around 3 inches height). Only cut about one-third of the grass blade length in that first mow. Keeping the blades longer initially helps the grass continue photosynthesis and root growth. Also ensure your mower blade is sharp; a dull blade may pull up new sod instead of cleanly cutting the grass.
- Never scalp the new lawn: Even after the sod is established, avoid cutting it too short. Scalping (cutting below 2 inches) can weaken the grass and expose the soil, leading to drying and weed invasion. Especially for new sod, err on the side of a higher cut for the first month or two.
By mowing properly and at the right time, you’ll prevent damage to your new lawn. Remember that the roots need time to develop before the grass can handle regular mowing. A little restraint early on will pay off with a thicker, healthier turf in the long run.
3. Using Your New Lawn Too Early (Foot Traffic)
It’s tempting to start enjoying your new lawn immediately, but heavy foot traffic too soon can be a big mistake. Freshly laid sod may appear green and ready, but underneath, the roots are still shallow and delicate. Walking, playing, or placing objects on the sod can shift the pieces, create gaps, or compact the soil, all of which hinder root development. Excess traffic can also cause seams to separate and edges of sod to curl up.
How to Avoid This Mistake
- Keep off for the first 2 – 3 weeks: Plan to stay off the new sod as much as possible during the critical first couple of weeks. Limit all activity on the lawn – that means no walking, playing, or lawn furniture on the grass. This gives the roots time to knit into the soil without disturbance.
- Restrict pets and kids: Curious pets and children might not understand why they can’t run on the new grass. Try to keep them off the area until the sod is well established. Even light running or digging can damage young turf. Consider using temporary fencing or signage if needed to remind family members to stay off.
- If you must walk, use boards: If you absolutely need to cross the lawn (for example, to water an area or access part of your yard), lay down a wide plank or piece of plywood on the grass and walk on that. The board helps distribute your weight more evenly and prevents deep footprints or compaction in one spot. Move the board as needed rather than walking directly on the sod.
Avoiding foot traffic allows the sod to settle and root undisturbed. After about 3 weeks, you can check a corner of a sod piece – if it feels secure and the grass doesn’t easily peel up, it’s likely safe for light use. Even then, introduce activity gradually. The longer you can wait, the stronger and more resilient your new lawn will be.
4. Fertilizing Too Early or Skipping It Entirely
Fertilizer can help a lawn grow thick and green, but timing is everything with new sod. Fertilizing too soon after installation is a mistake because the grass roots are not ready to absorb the nutrients, and excess fertilizer can burn the young roots or promote top-growth at the expense of rooting. On the other hand, neglecting to fertilize at all in the months after installation can leave the sod starving for nutrients once it uses up the starter fertilizer (if any was applied during installation). Both scenarios can lead to a weaker lawn in the long term.
How to Avoid This Mistake
- Wait about 4 weeks before first fertilization: Hold off on adding fertilizer until the sod has been down for around one month (3 – 6 weeks is a common recommendation). This delay gives the roots time to establish. Fertilizing too early (within the first 1 – 2 weeks) can do more harm than good.
- Use a starter or balanced fertilizer: When it’s time to fertilize, choose a product suited for new lawns. A balanced, slow-release fertilizer or a “starter” fertilizer with a nutrient ratio like 10-10-10 (N-P-K) is ideal to support steady root and leaf growth. Follow the label instructions for rate and application method. Avoid using “weed and feed” products or high-nitrogen lawn food at this stage – too much nitrogen can burn new sod or cause overly rapid growth that the young roots can’t support.
- Water after fertilizing: Always water your lawn after applying fertilizer (unless using a liquid feed that is watered-in as you go). This helps wash nutrients into the soil where roots can absorb them, and it prevents the fertilizer from sitting on the grass blades and potentially burning them. In Oakville’s climate, consider fertilizing new sod in early fall as well, especially if your first application was in spring, to ensure the grass has nutrients stored for winter.
Proper feeding will help your sod transition into a mature lawn. Just remember: with new sod, patience is key – hold off on that fertilizer rush, and then apply the right type of fertilizer at the right time. Your lawn will reward you with vigorous growth once its roots can handle the nutrients.
5. Neglecting Weed Control in the First Weeks
Your new sod typically comes weed-free, but that doesn’t mean weeds won’t try to invade. A common after-care mistake is either spraying herbicides too soon or ignoring weeds entirely. New sod is sensitive to chemicals; using weed killers in the first month can damage the young grass along with the weeds. Conversely, if you take a hands-off approach and let weeds establish in the fresh sod, they can steal water and nutrients, undermining your lawn’s health.
How to Avoid This Mistake
- Hold off on herbicides: Do not apply weed control products on your new sod for at least the first 4 – 6 weeks (about one month) after installation. Most herbicides are too harsh for new grass and can stunt or kill sections of your lawn. The sod needs time to mature before it can tolerate these chemicals.
- Remove weeds manually: If you notice a few weeds poking through (which can happen as windblown seeds land or were in the soil), tackle them by hand. Gently pull weeds out, ensuring you remove the roots so they don’t grow back. This prevents isolated weeds from spreading. It’s a bit of extra work, but it’s safe for your new lawn and effective for small invasions.
- Apply weed control later, if needed: After the sod has been established for about 1 – 2 months, you can consider a targeted post-emergent herbicide if weeds are becoming a problem. Choose a product that is labeled safe for new lawns (and for your grass type), or consult a lawn care professional. By this time, your grass will be stronger and better able to handle treatment. Also, maintaining a proper mowing and watering routine will help the grass grow thick, which naturally crowds out many weeds over time.
In addition to weed control, keep an eye out for any signs of pests or disease in those early weeks. New sod can occasionally face issues like fungus or grubs. Watch for yellowing, wilting, or brown patches – yellow edges might indicate underwatering, mushy spots could mean overwatering or rot, and brown patches might signal fungus or insect damage. Catching these problems early and consulting a professional if needed will ensure they don’t spread throughout your fresh lawn.
TL:DR
Avoiding these after-care mistakes will set your new sod up for success. To recap: water wisely, keeping the sod moist but not drowned; hold off mowing until the grass roots in; stay off the lawn for the first couple of weeks; wait to fertilize at the right time with the right nutrients; and manage weeds carefully without harsh chemicals initially. With consistent, gentle care, your sod will develop deep roots and fill in as a thick, green lawn that makes your Oakville property the envy of the neighborhood.
Ultimately, a healthy lawn is all about diligent early care. In just a few weeks of proper attention, your new sod will be well on its way to becoming a mature, resilient lawn. If you’re ever unsure about the process or notice trouble signs you can’t identify, reaching out to a professional is your best move. Maverick Landscaping is here to help Oakville homeowners with expert sod installation and after-care. We can answer your questions or even handle the hard work for you, ensuring your investment in new sod pays off with a beautiful, hassle-free lawn. Don’t let simple mistakes stand between you and that picture-perfect patch of green – with the right care (and help when needed), your new sod will thrive for years to come!