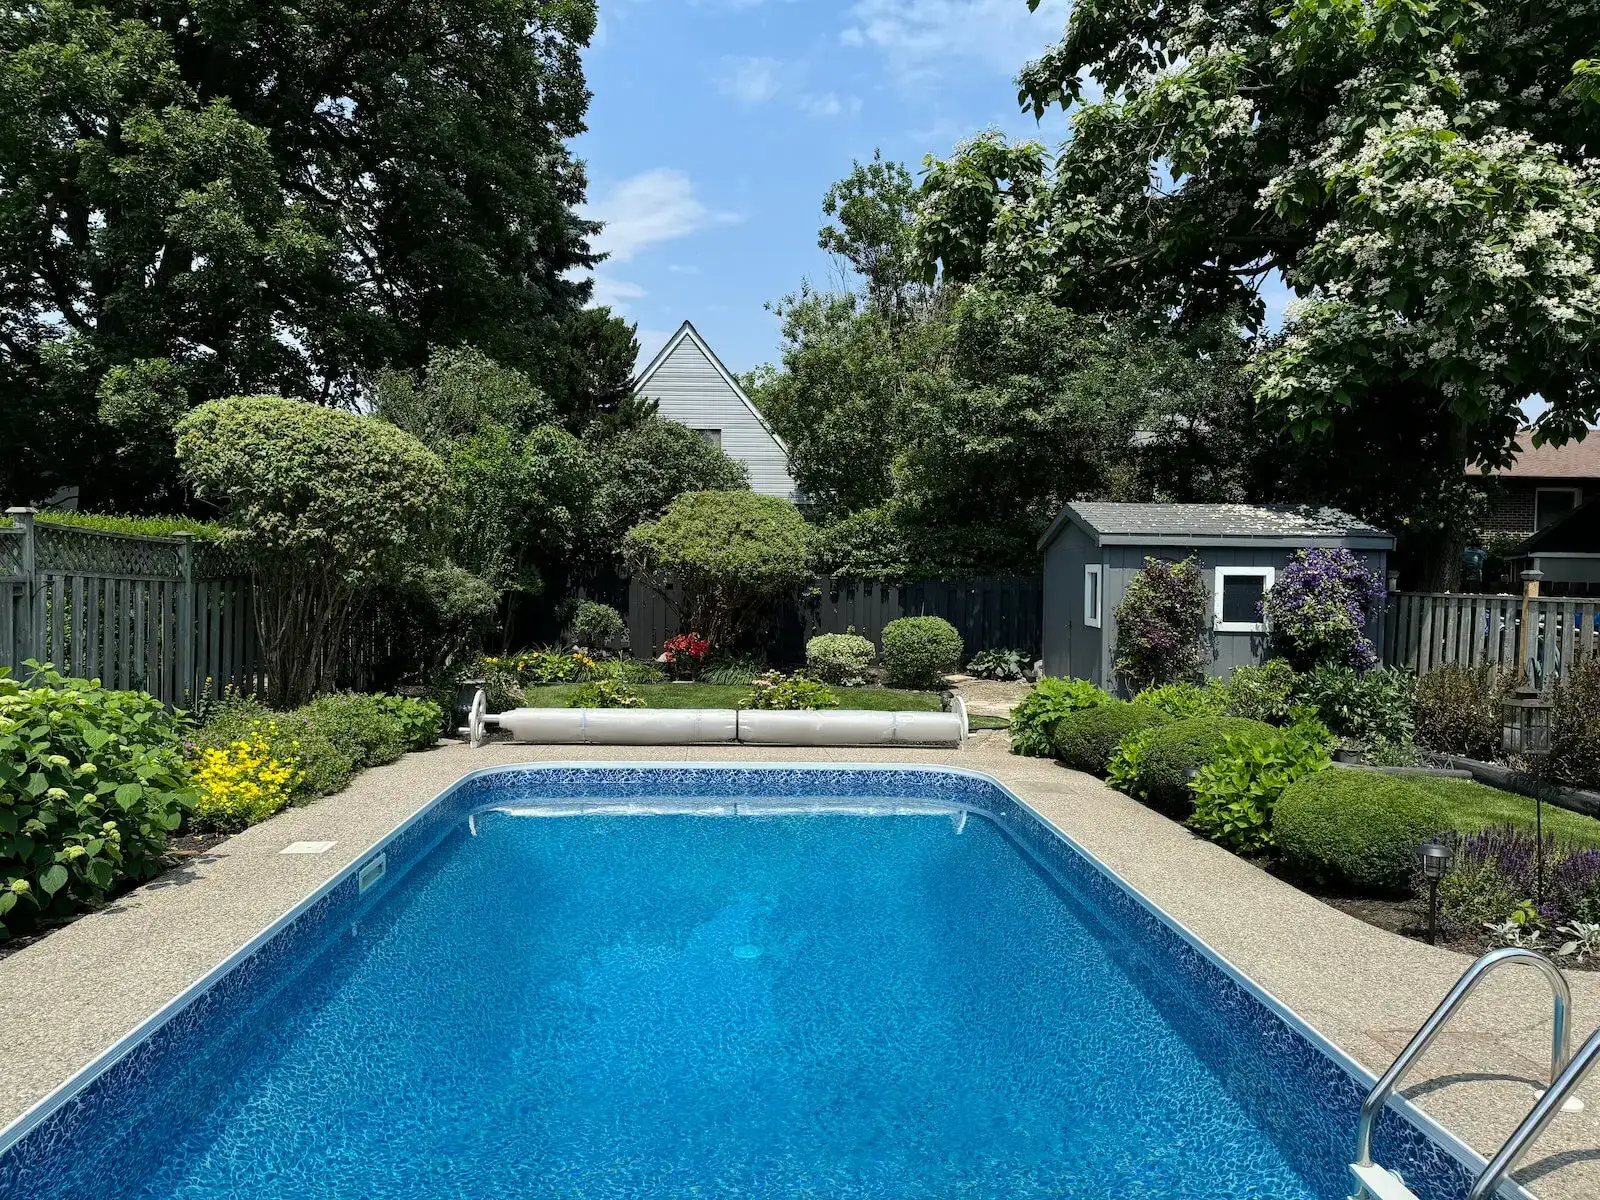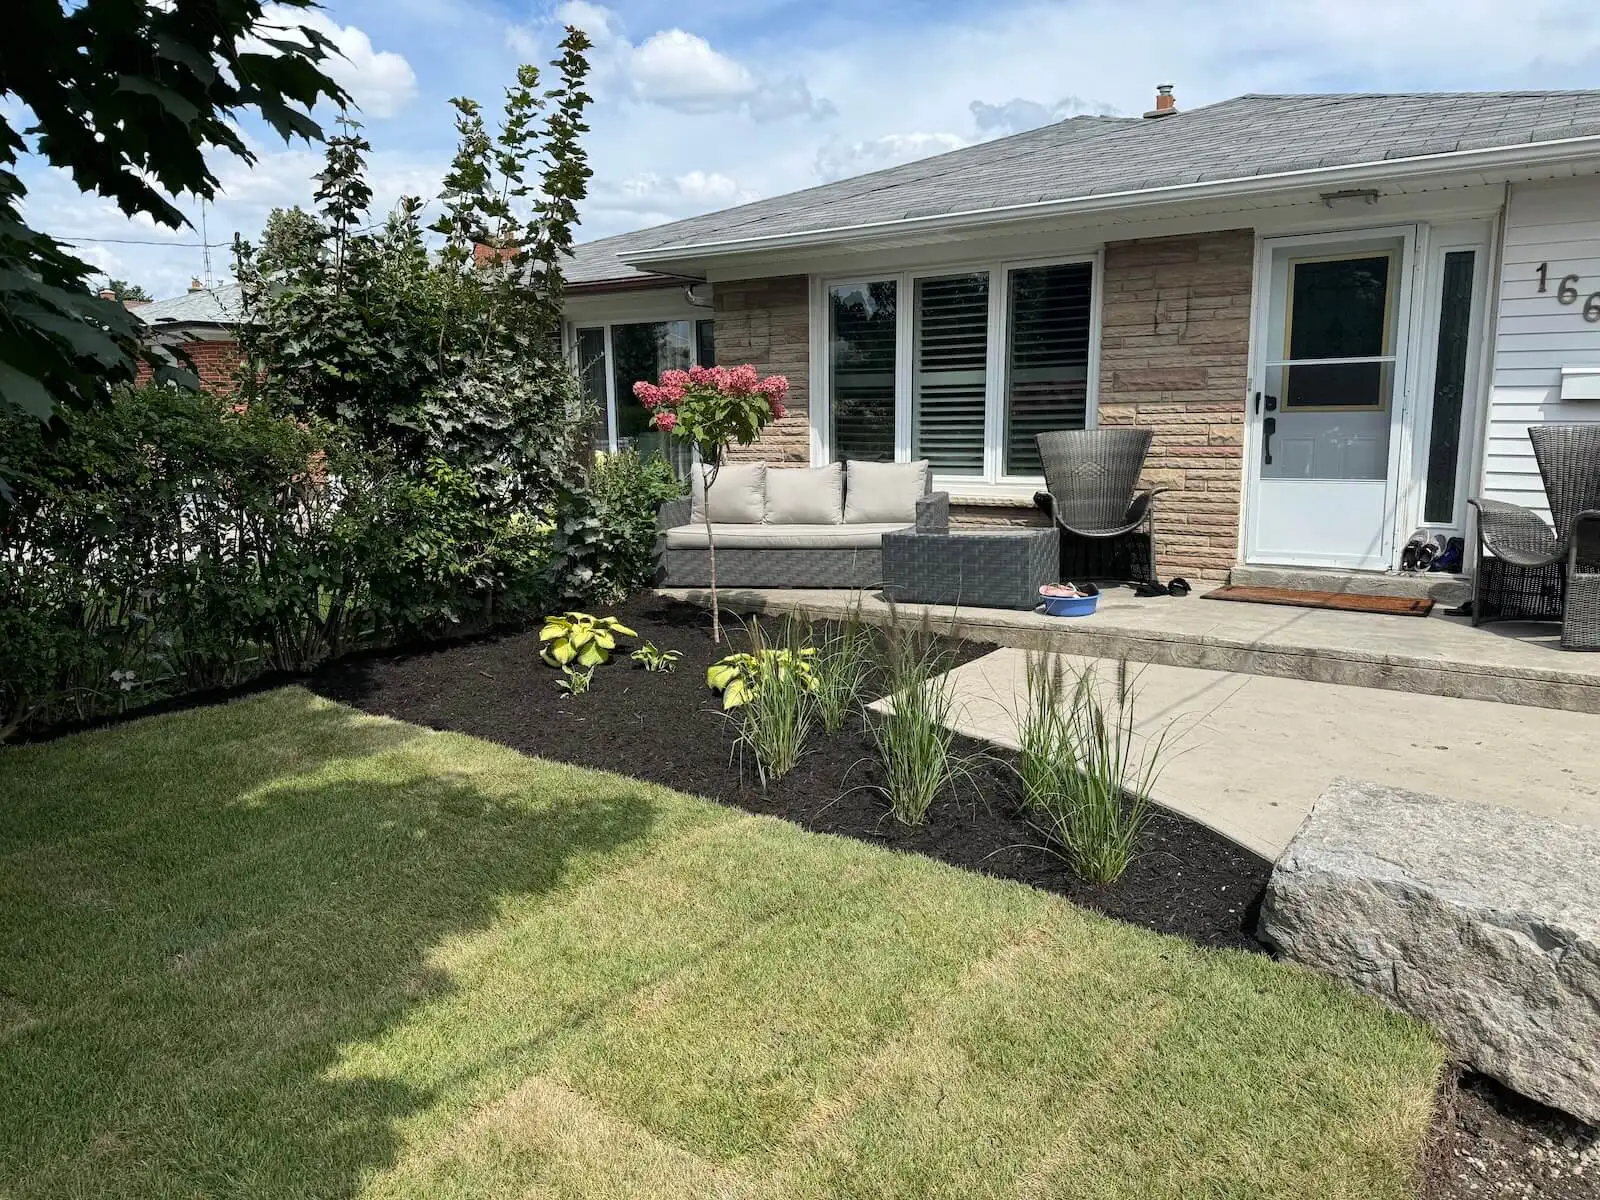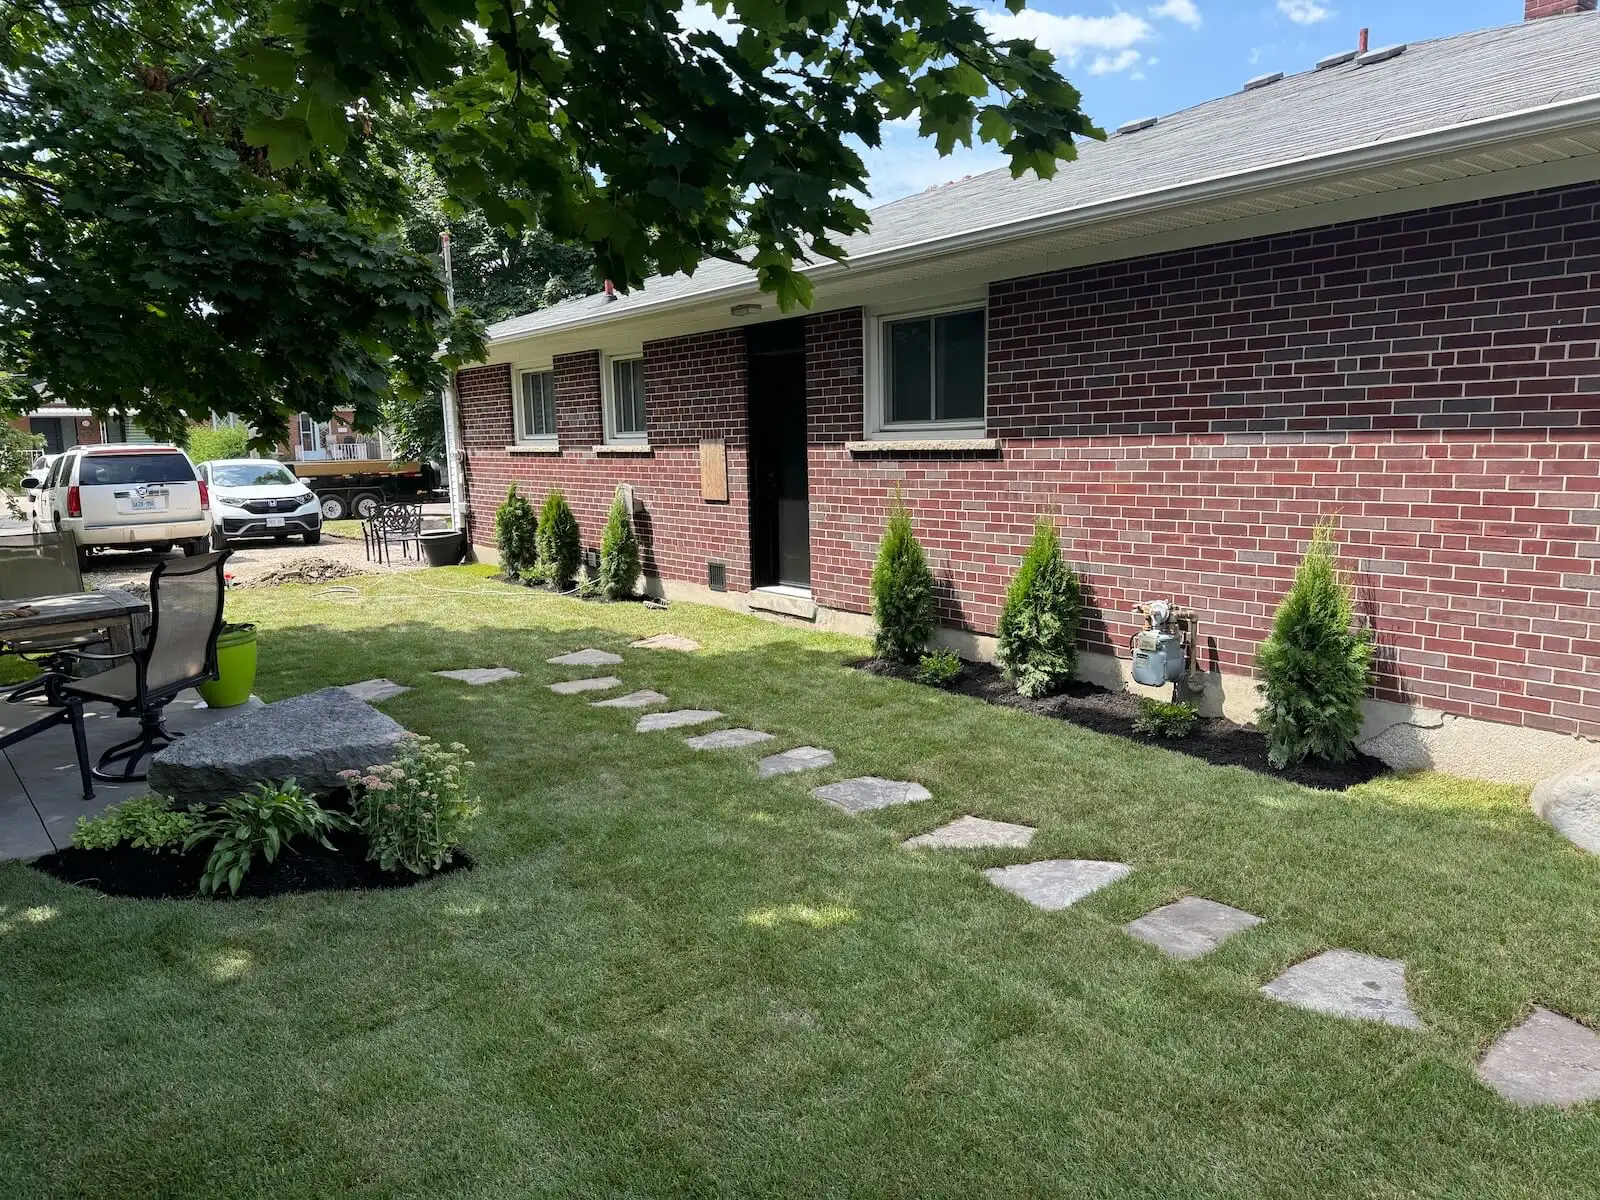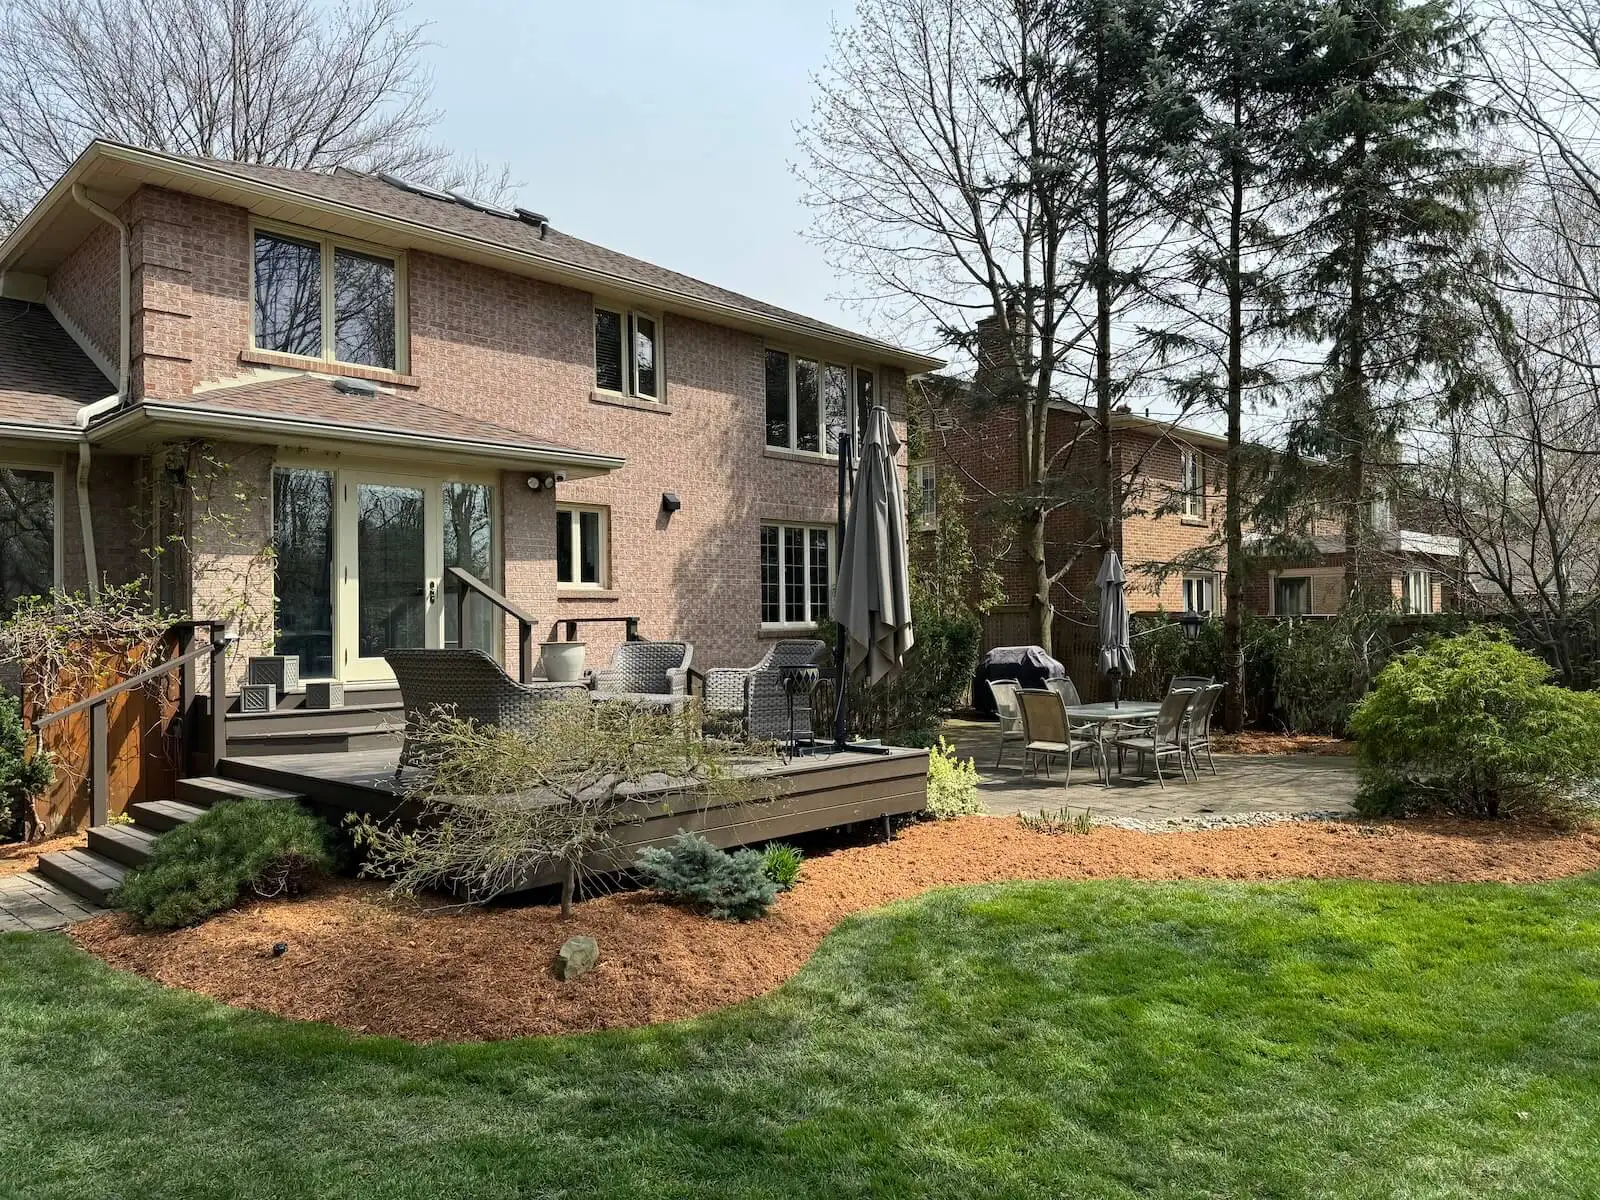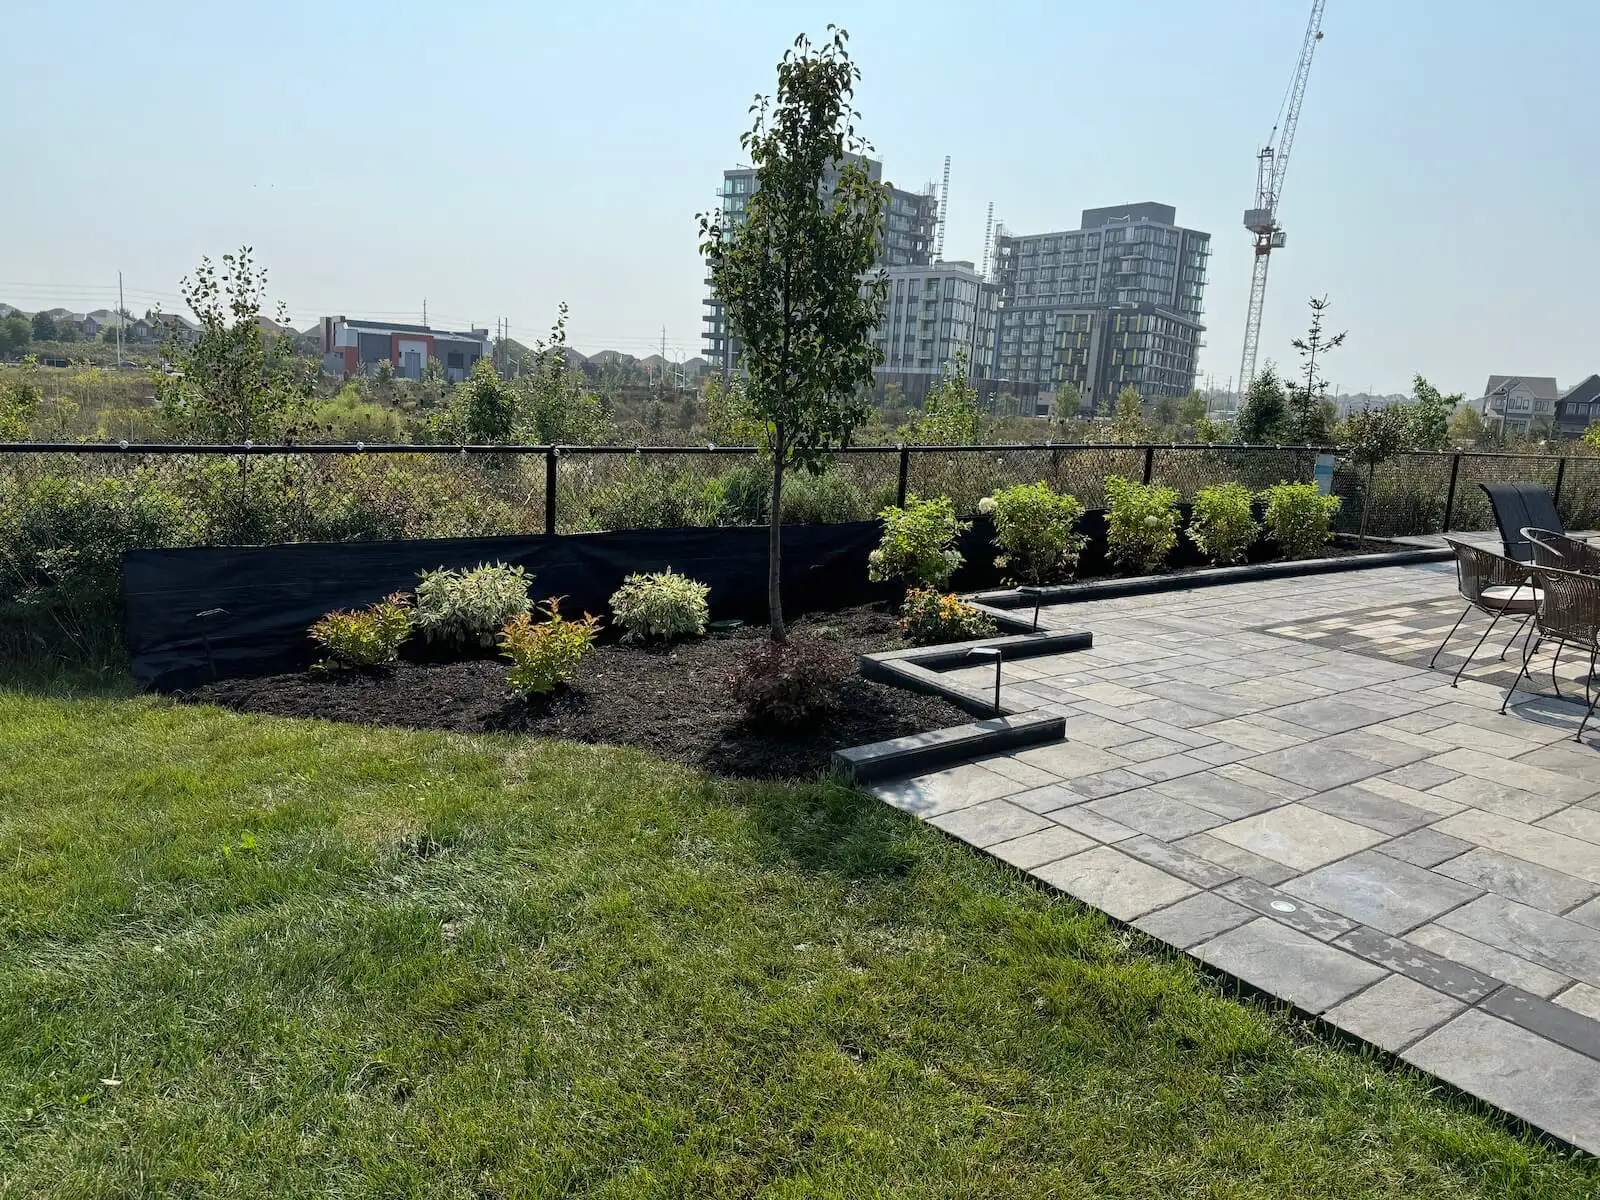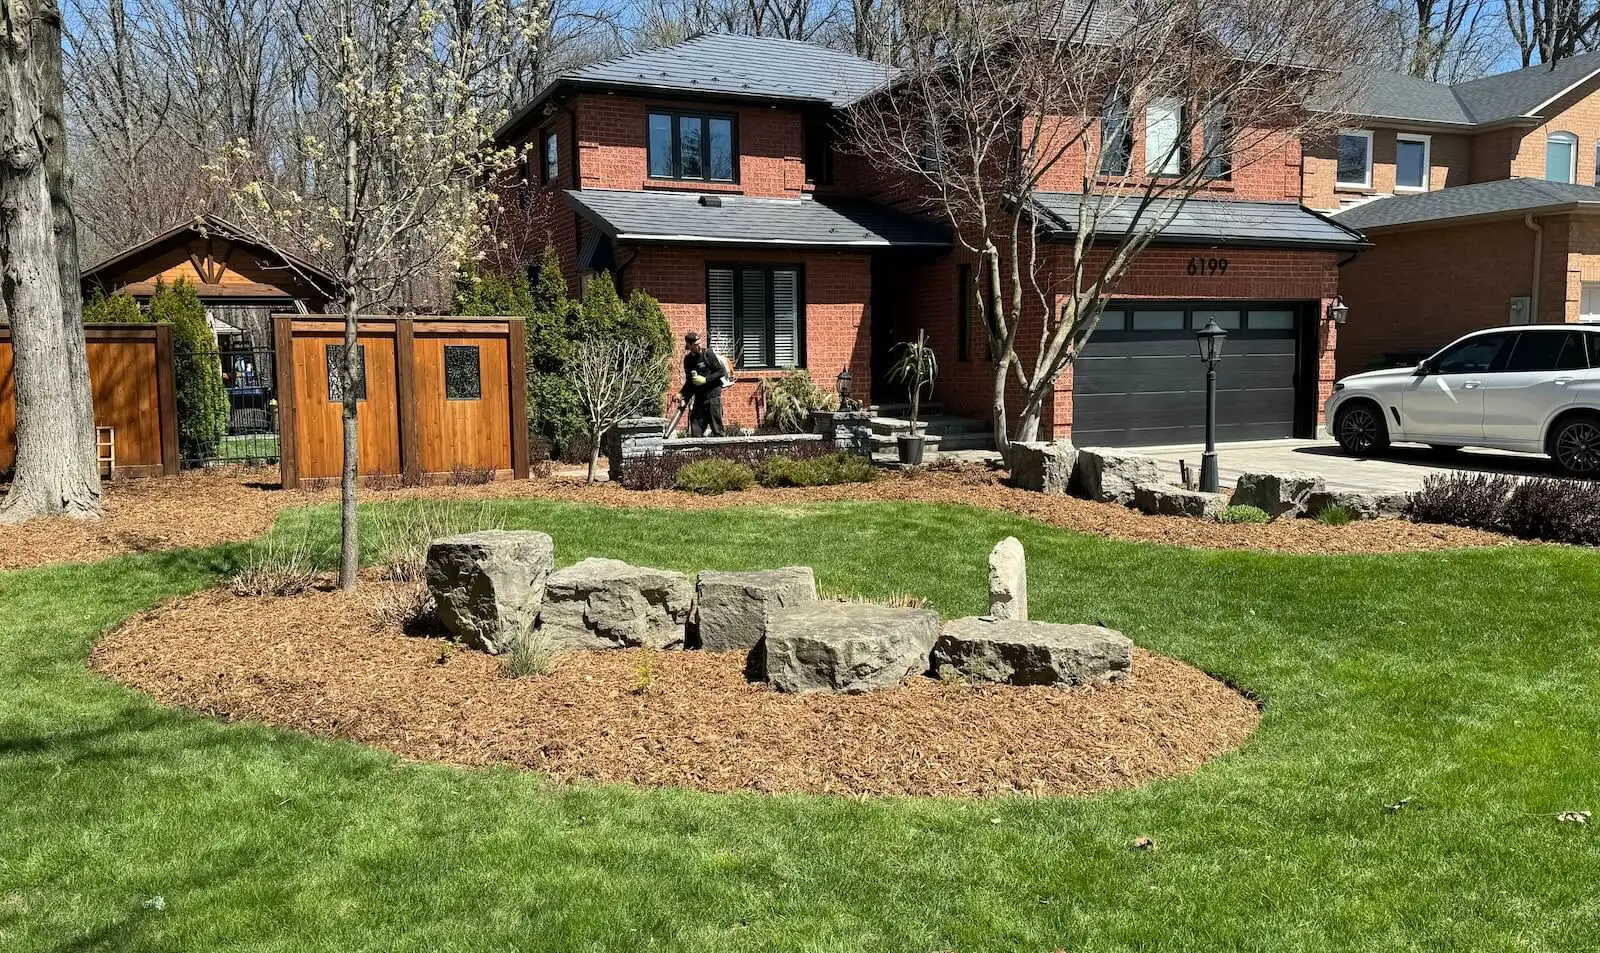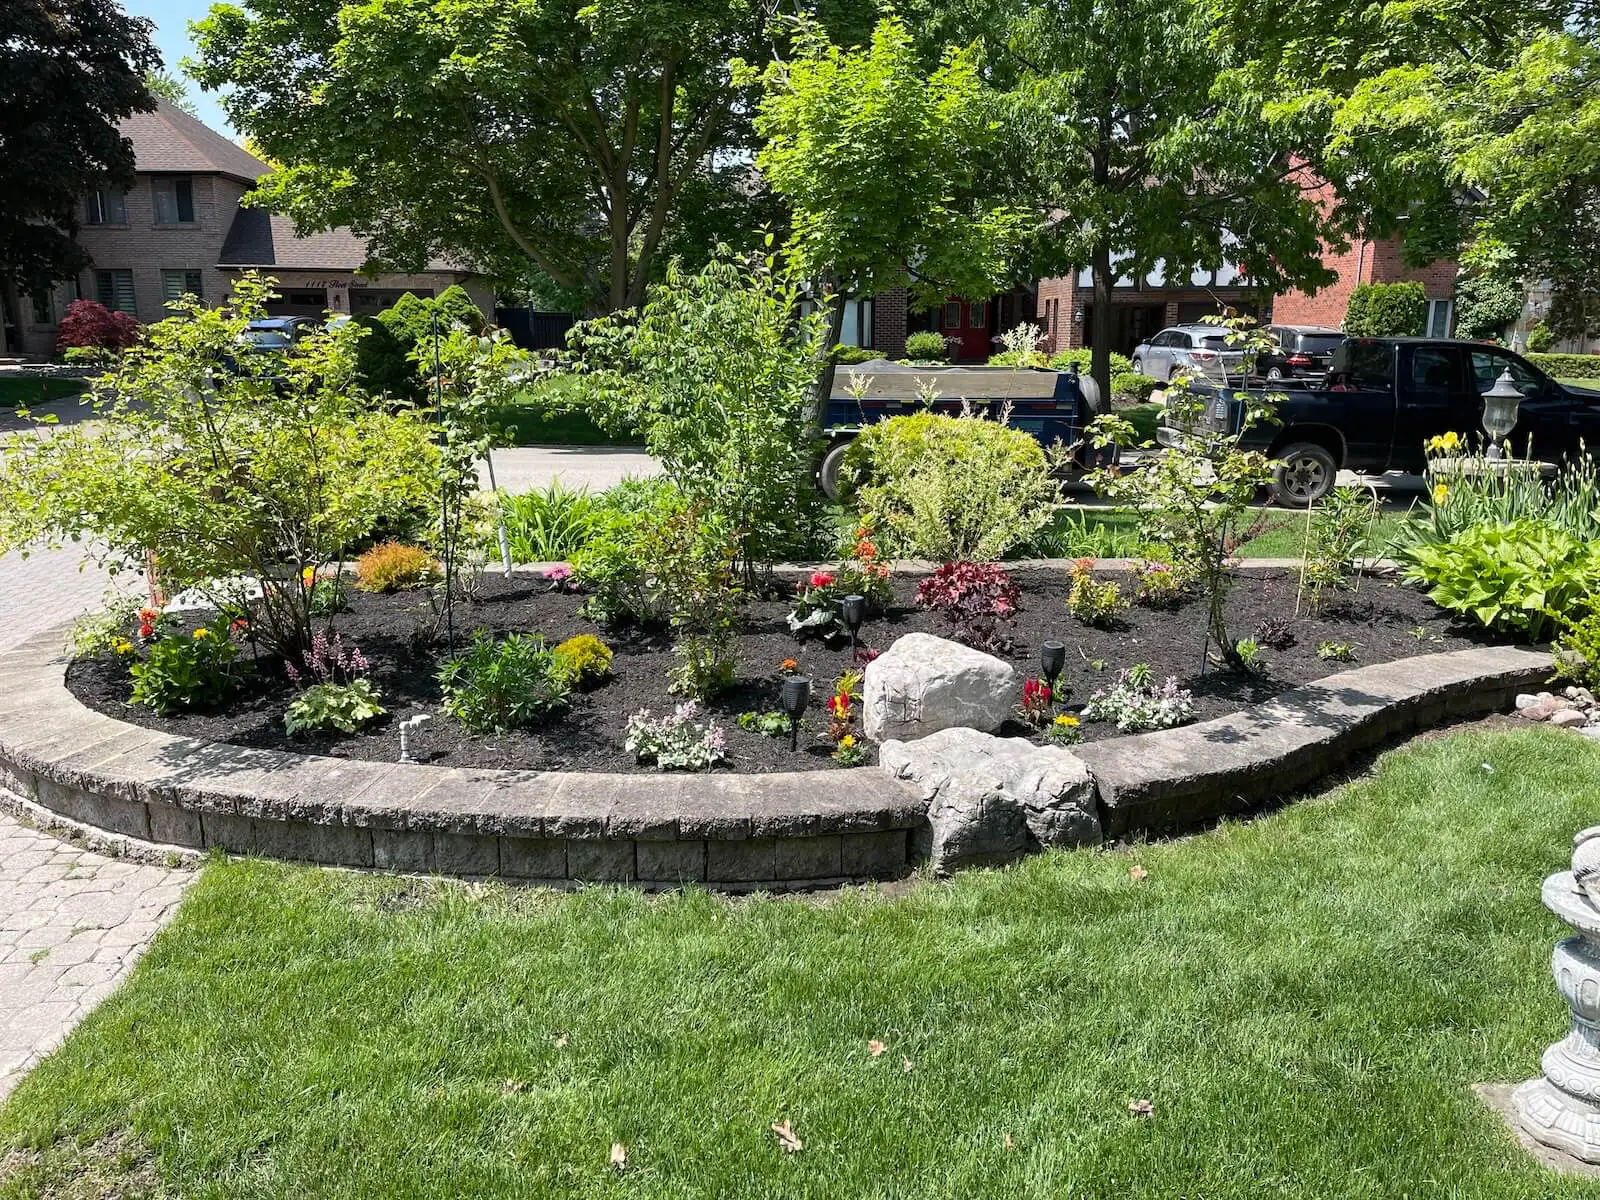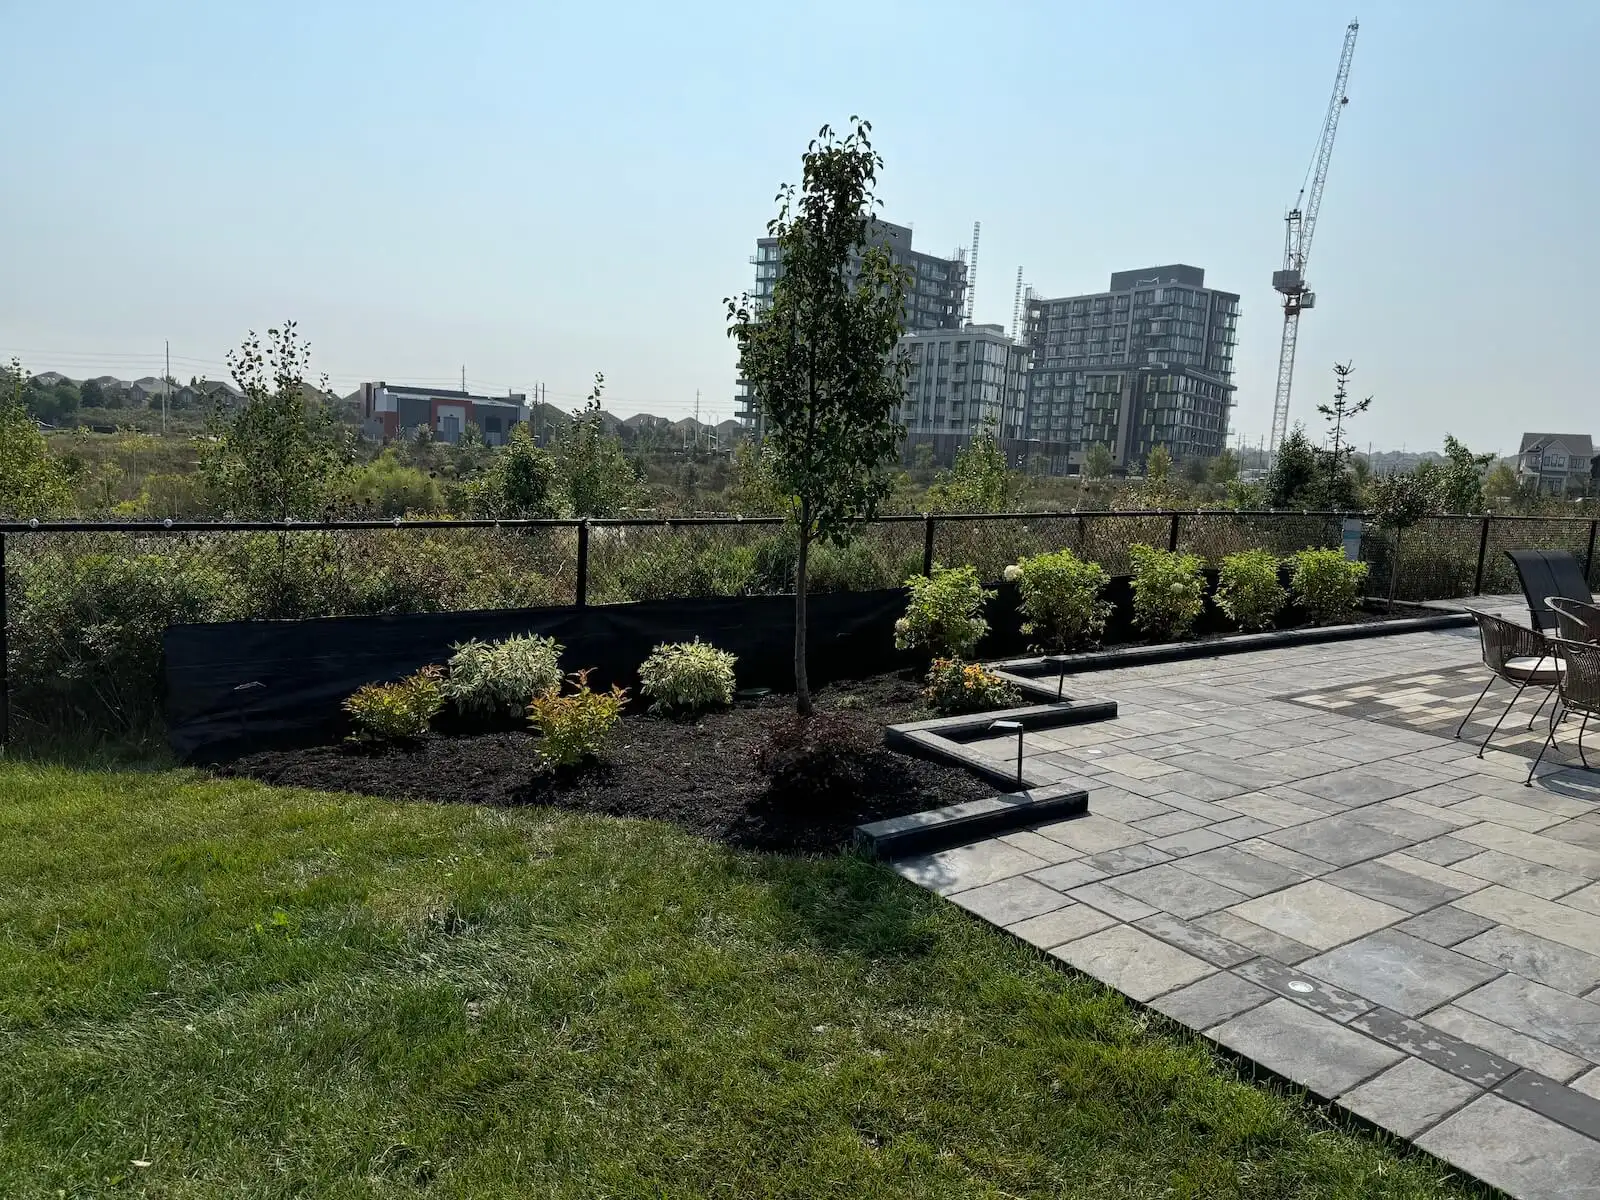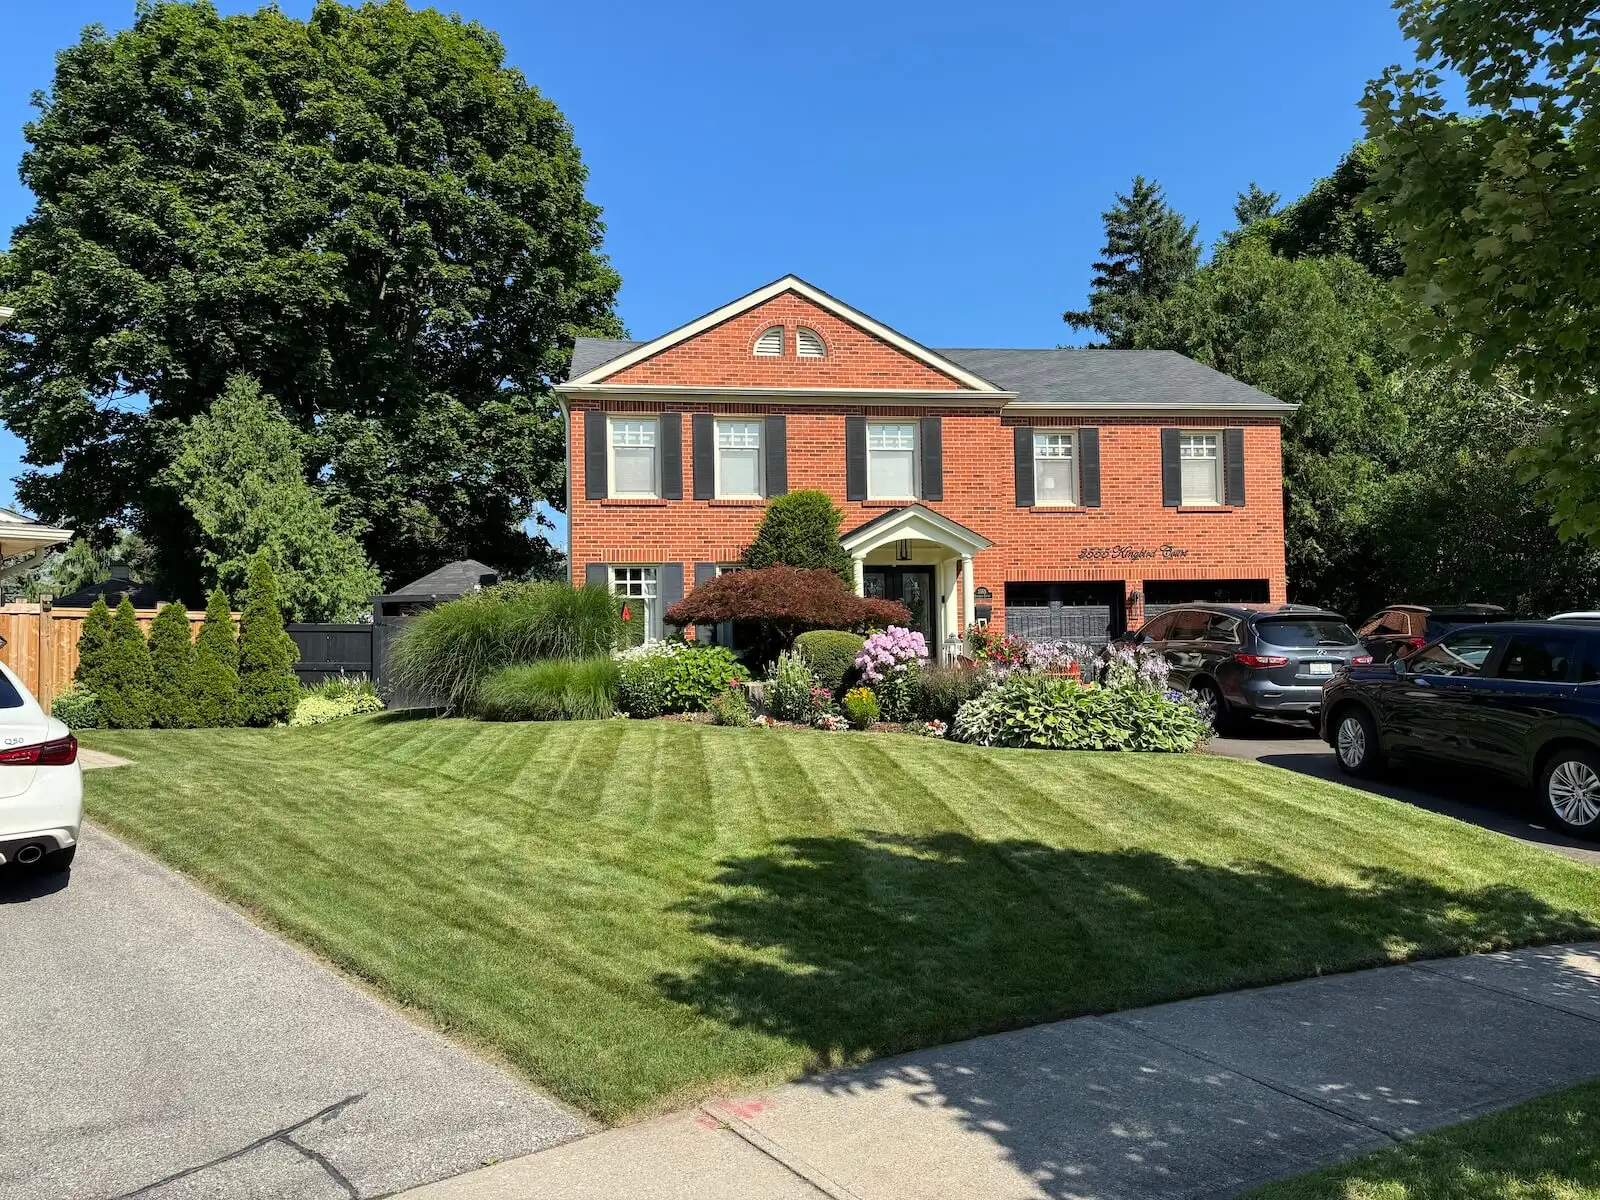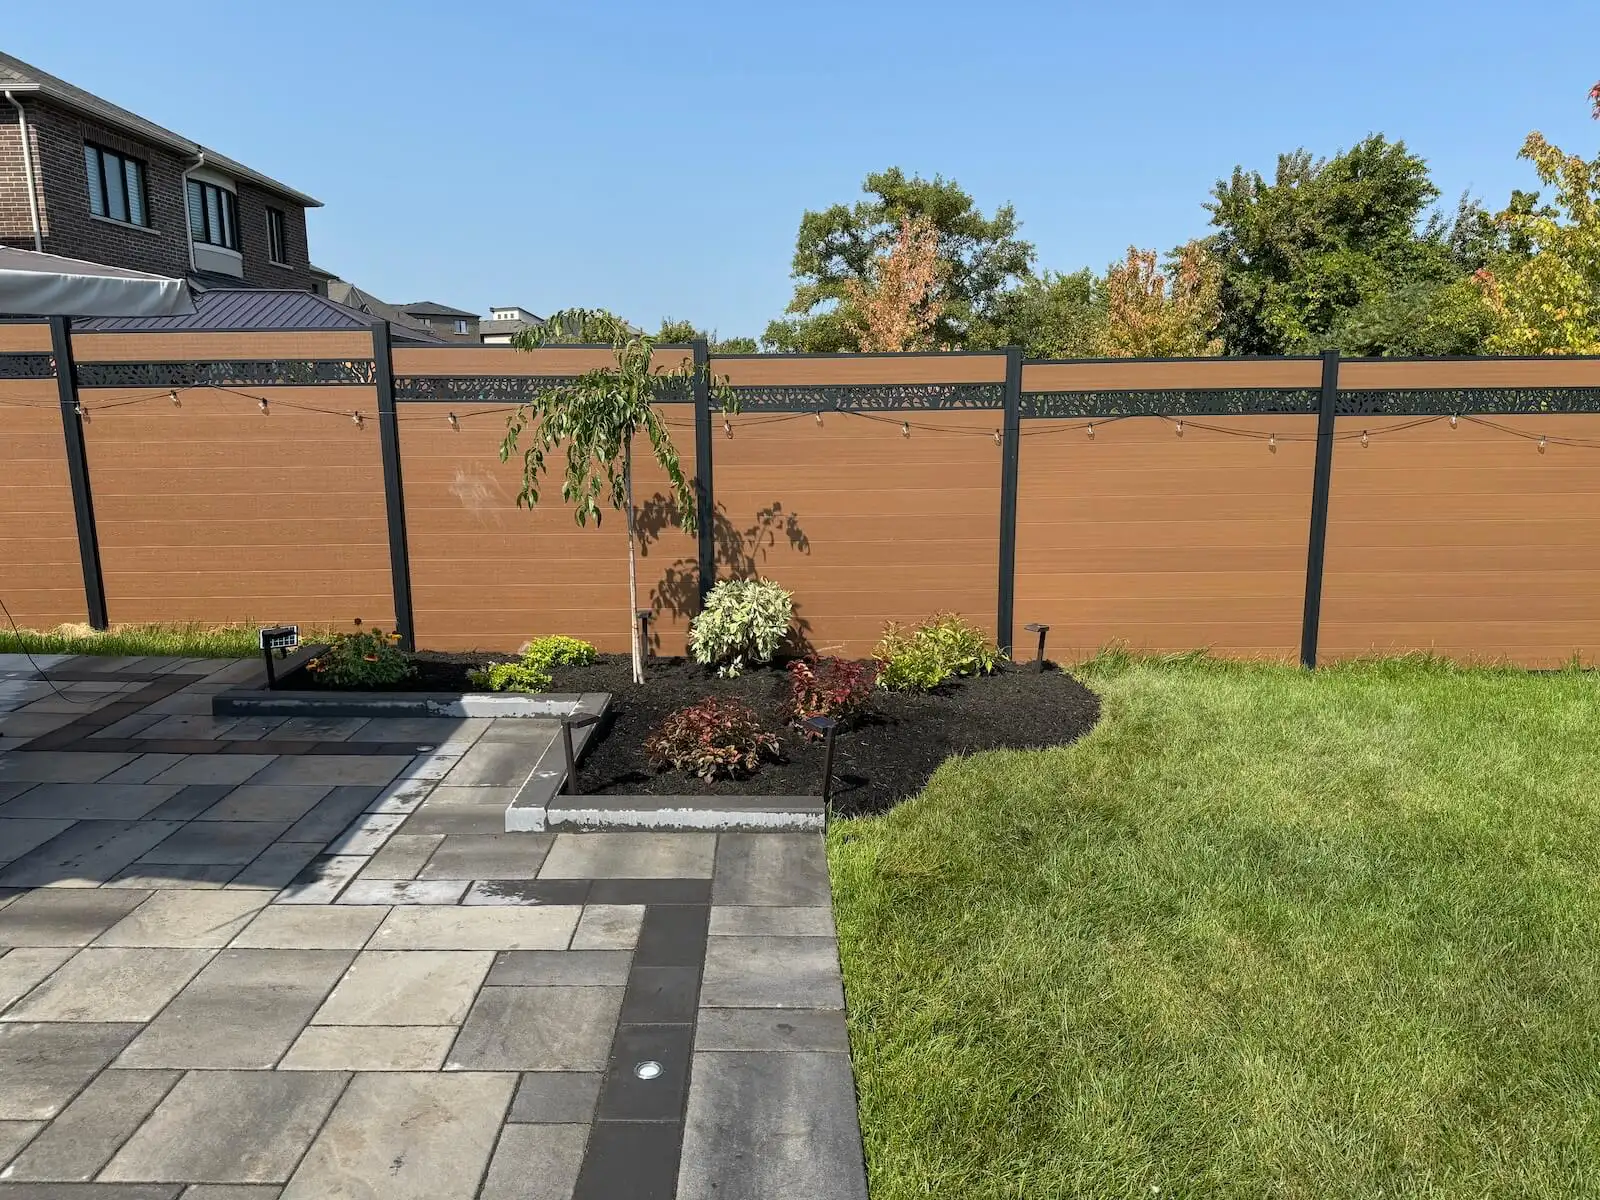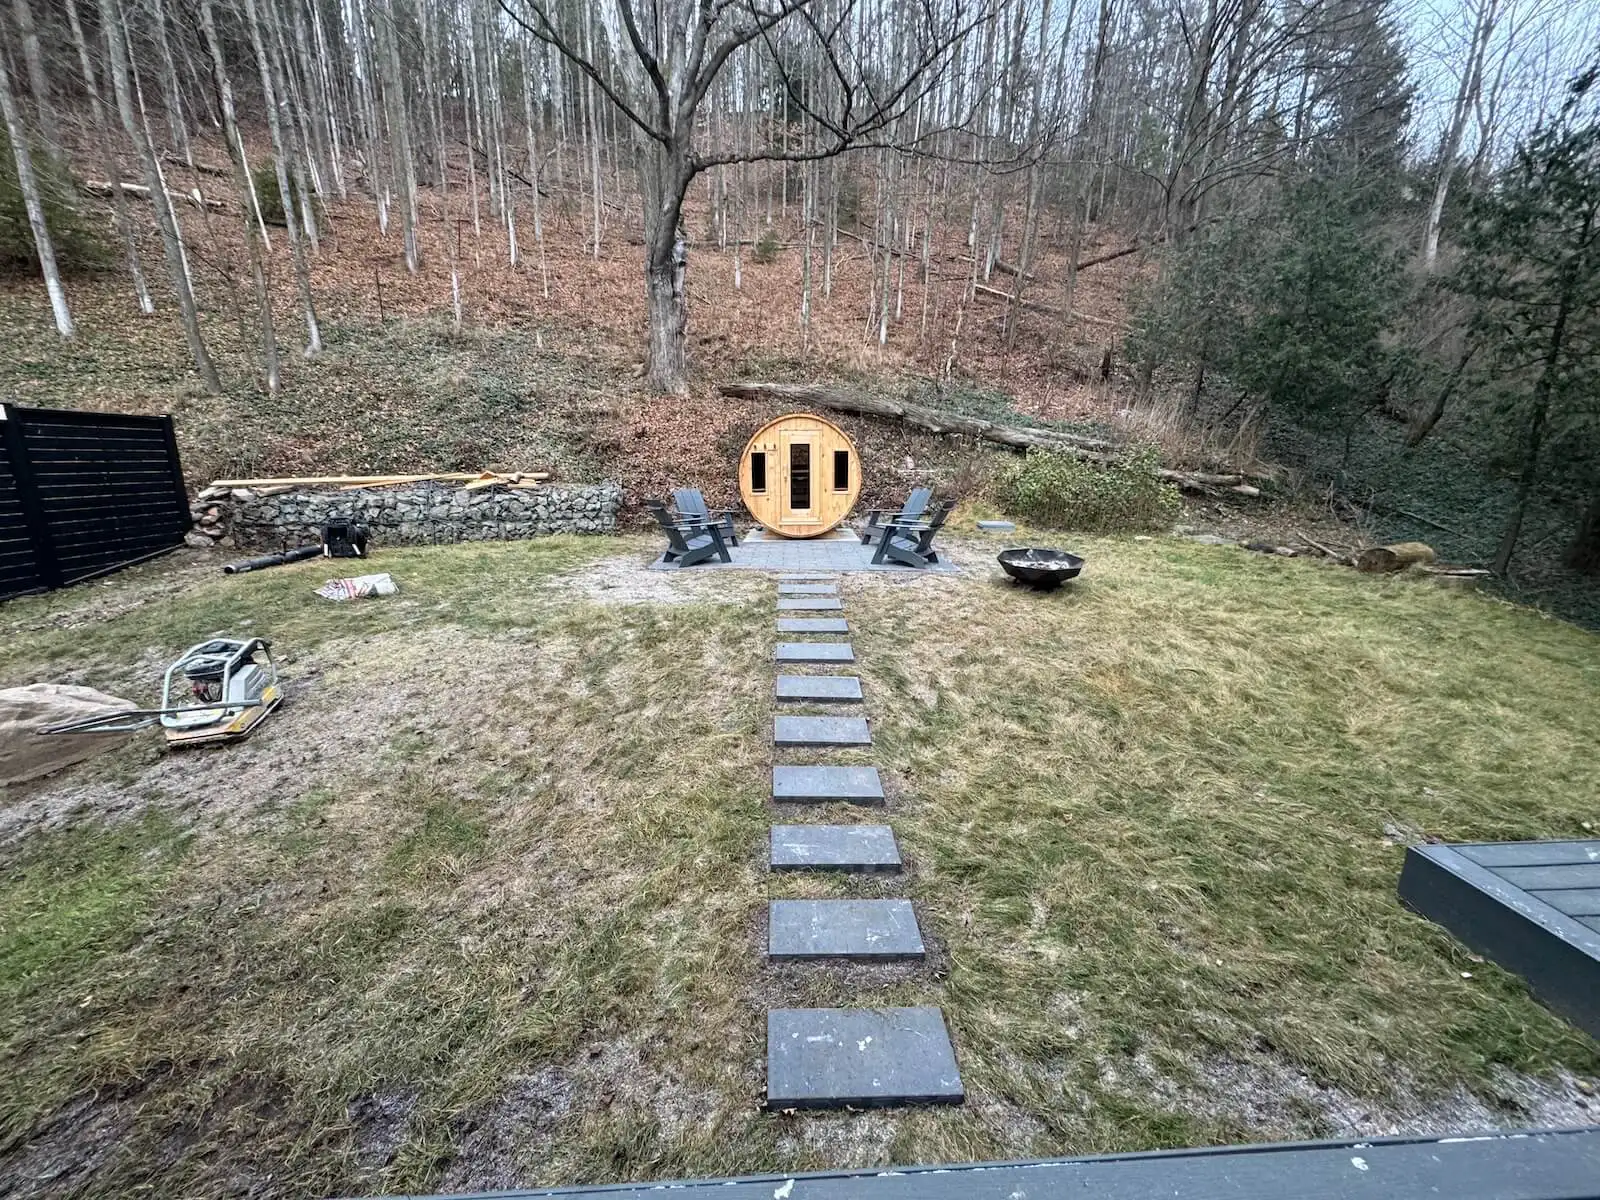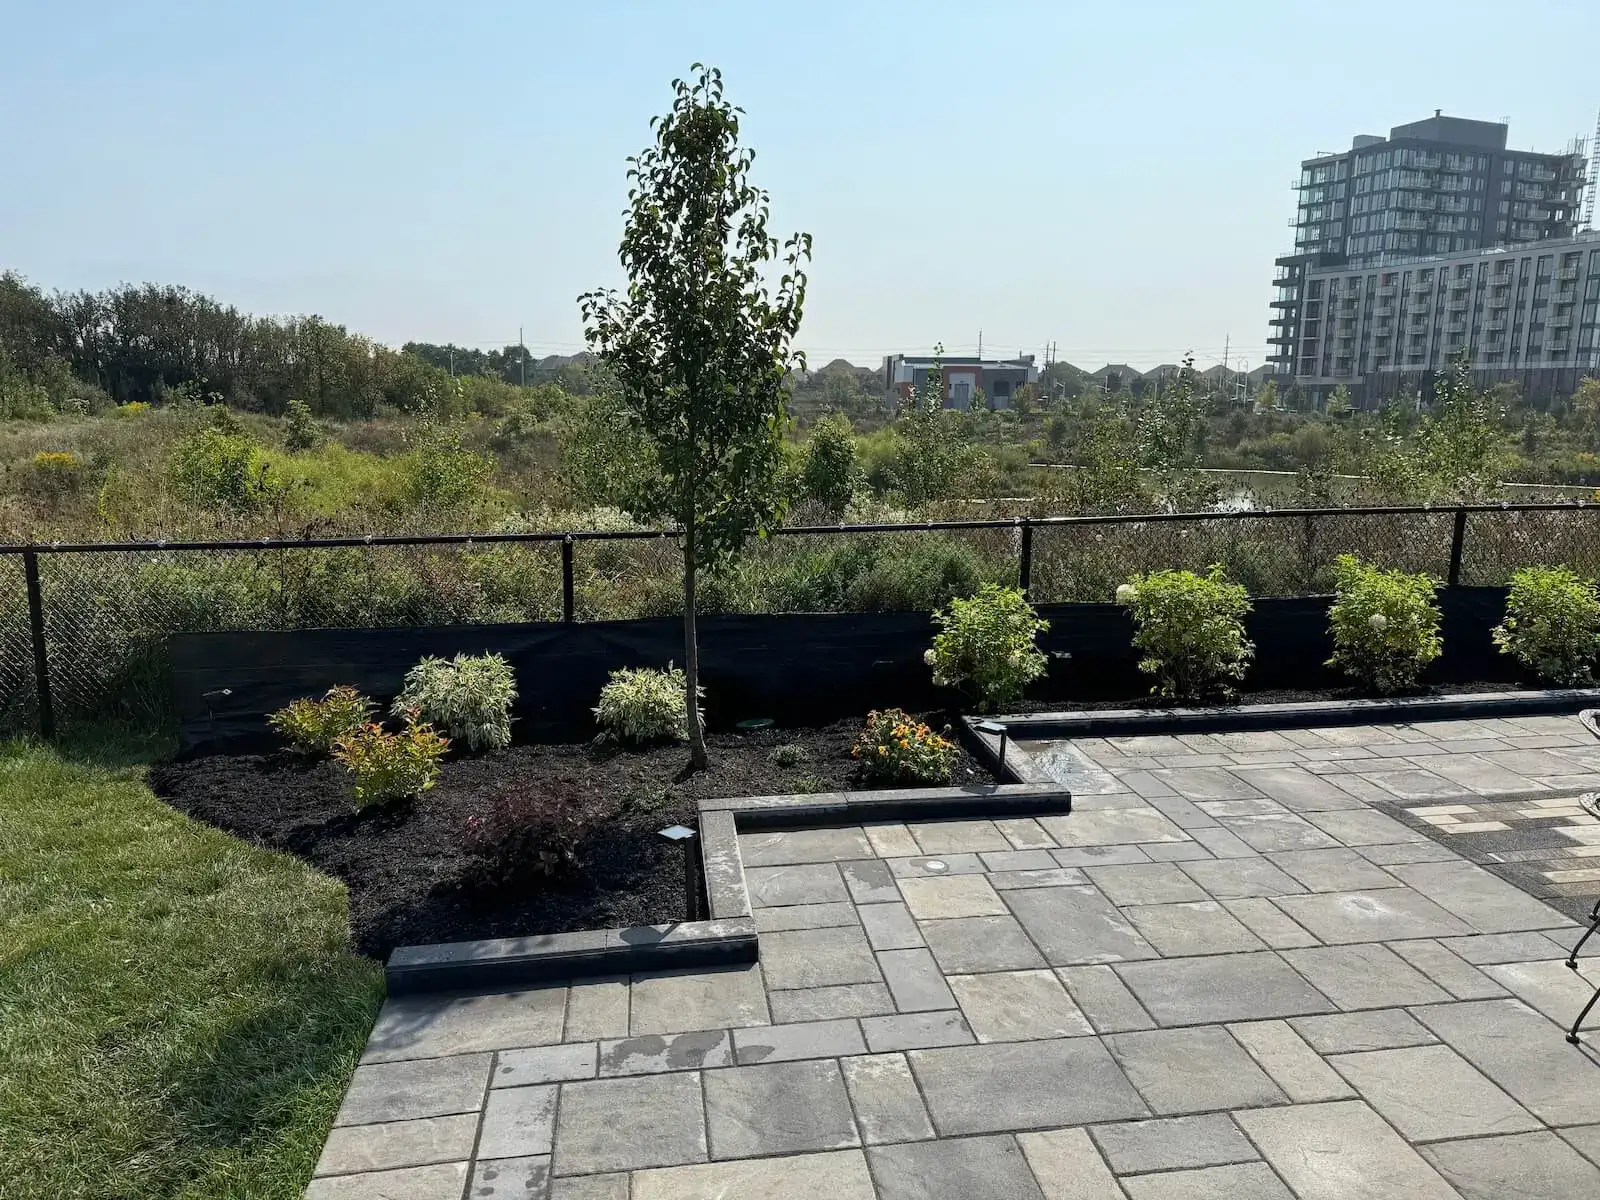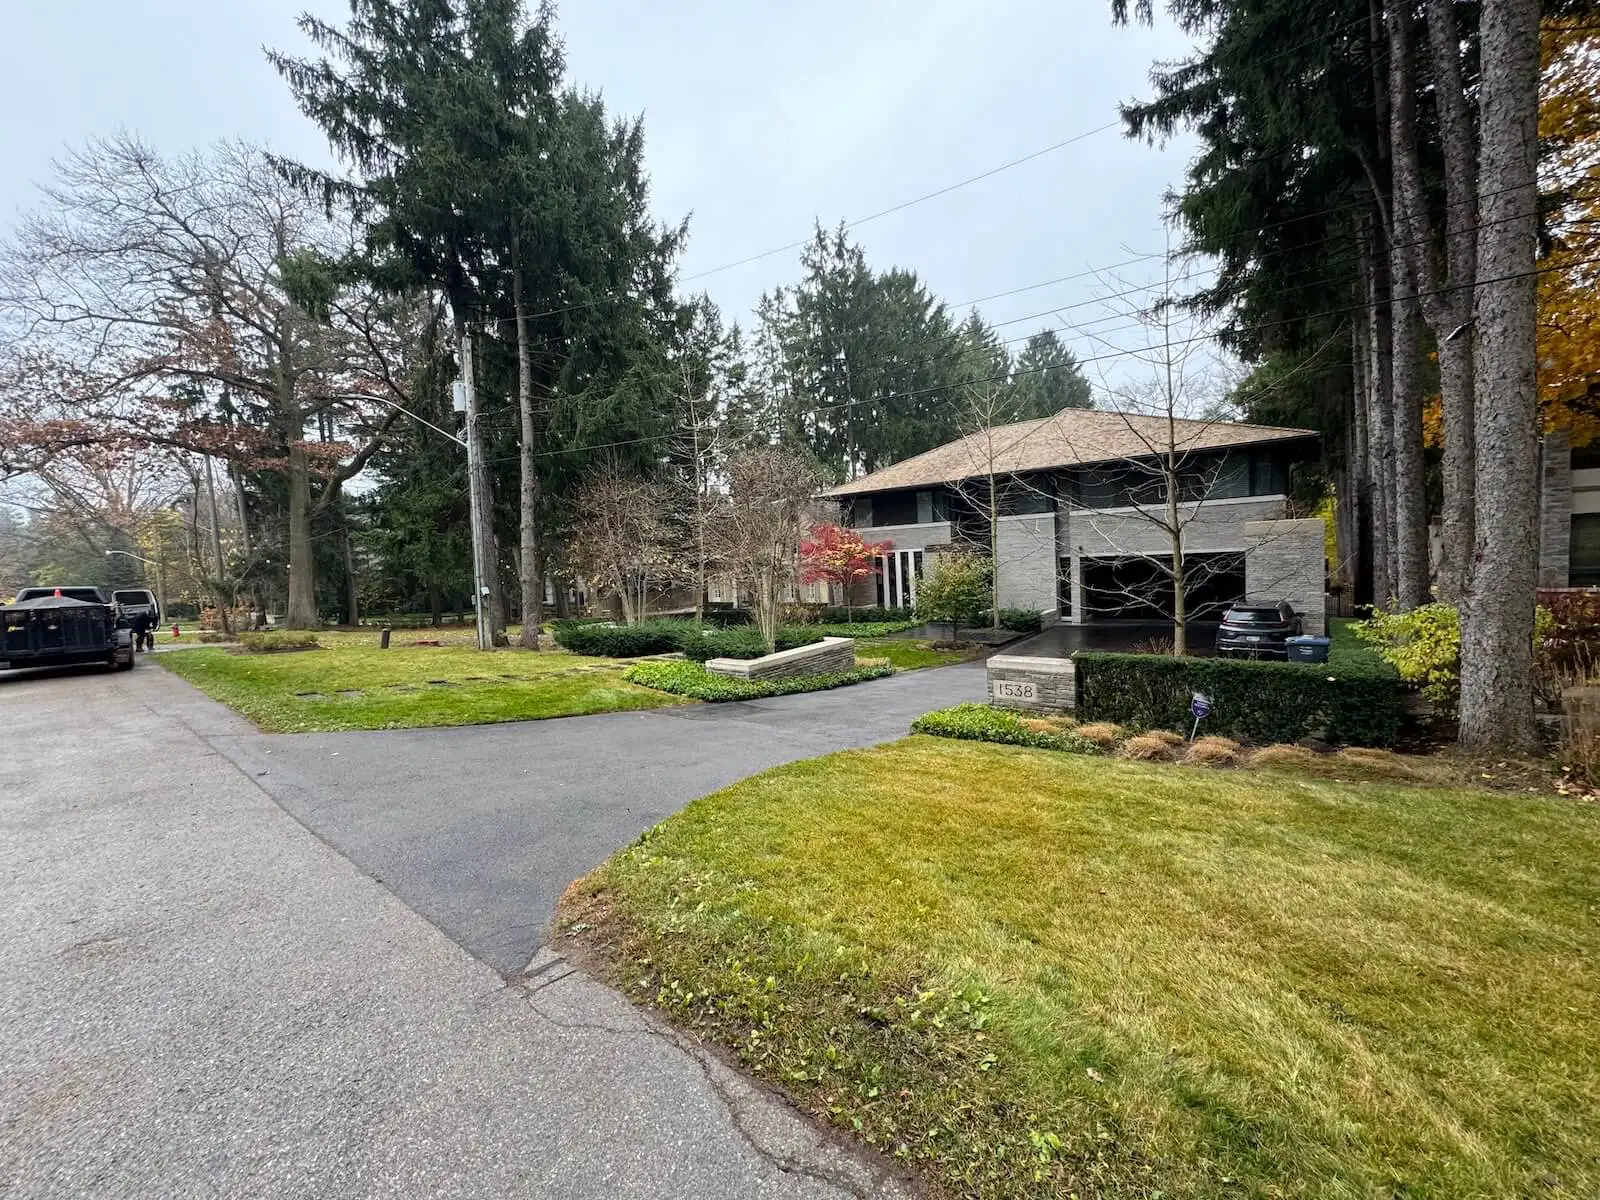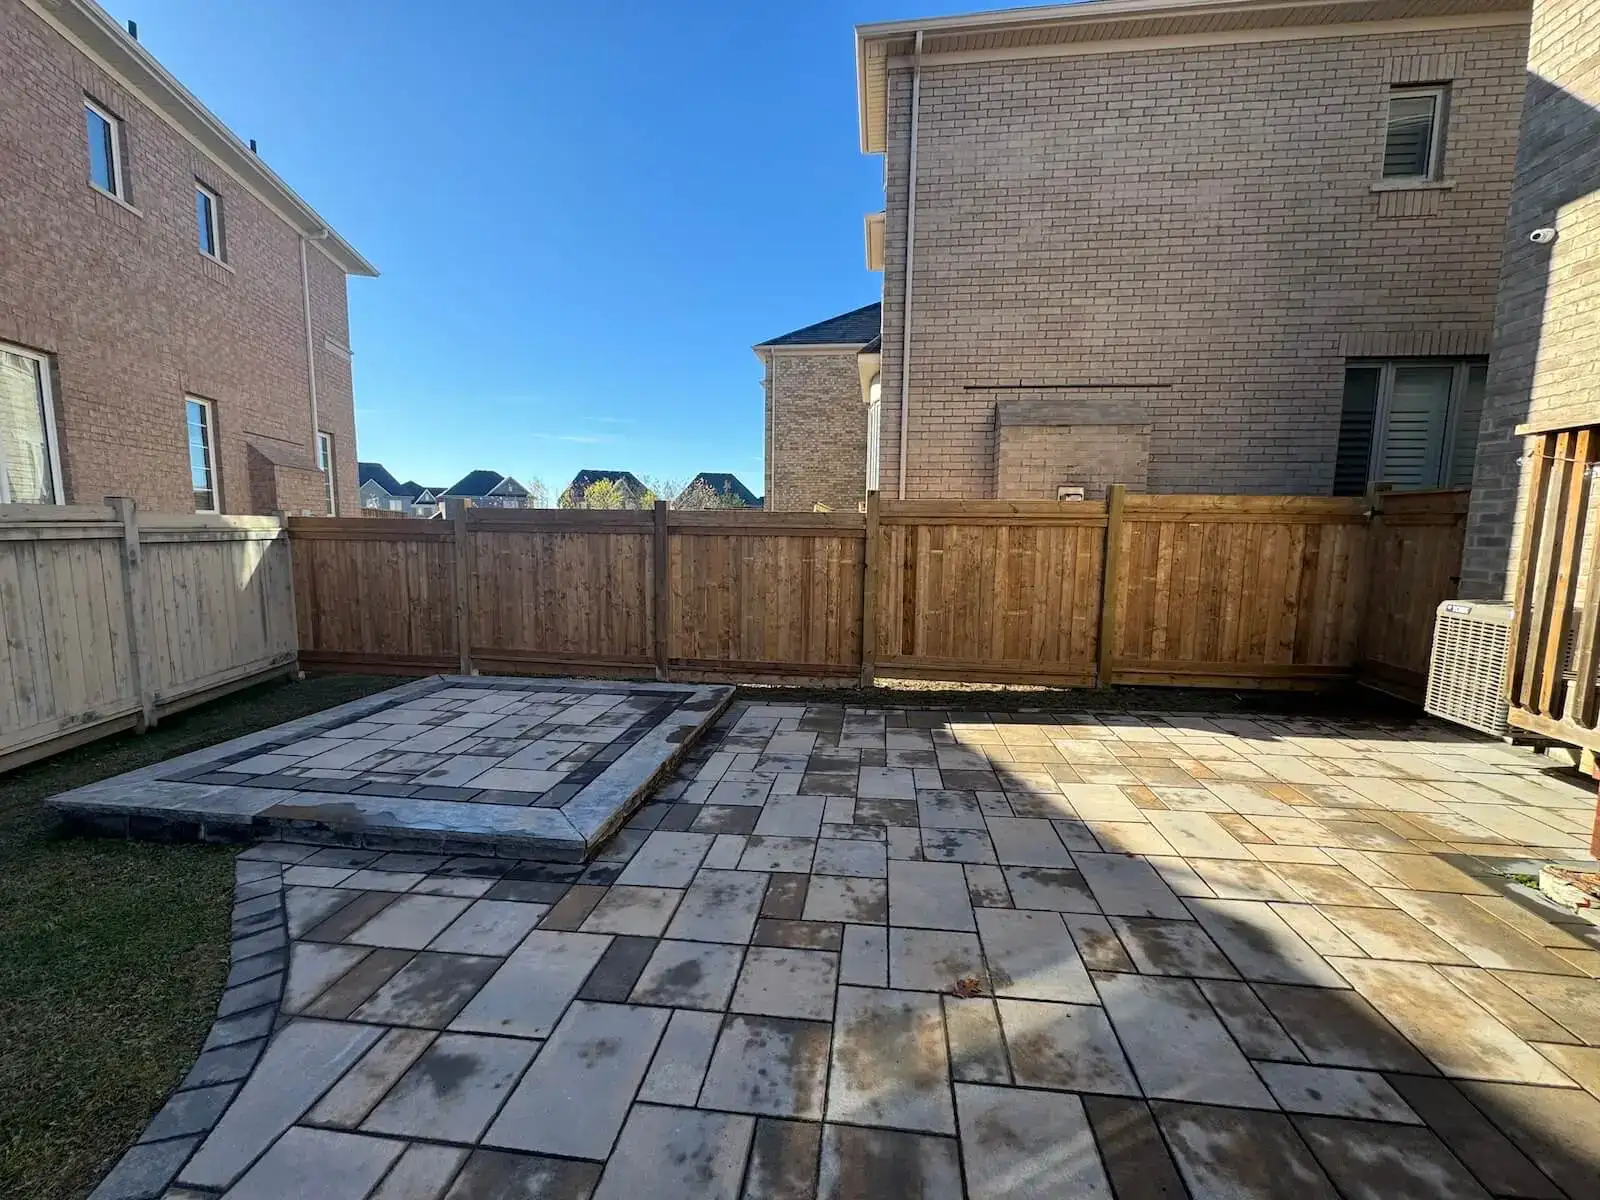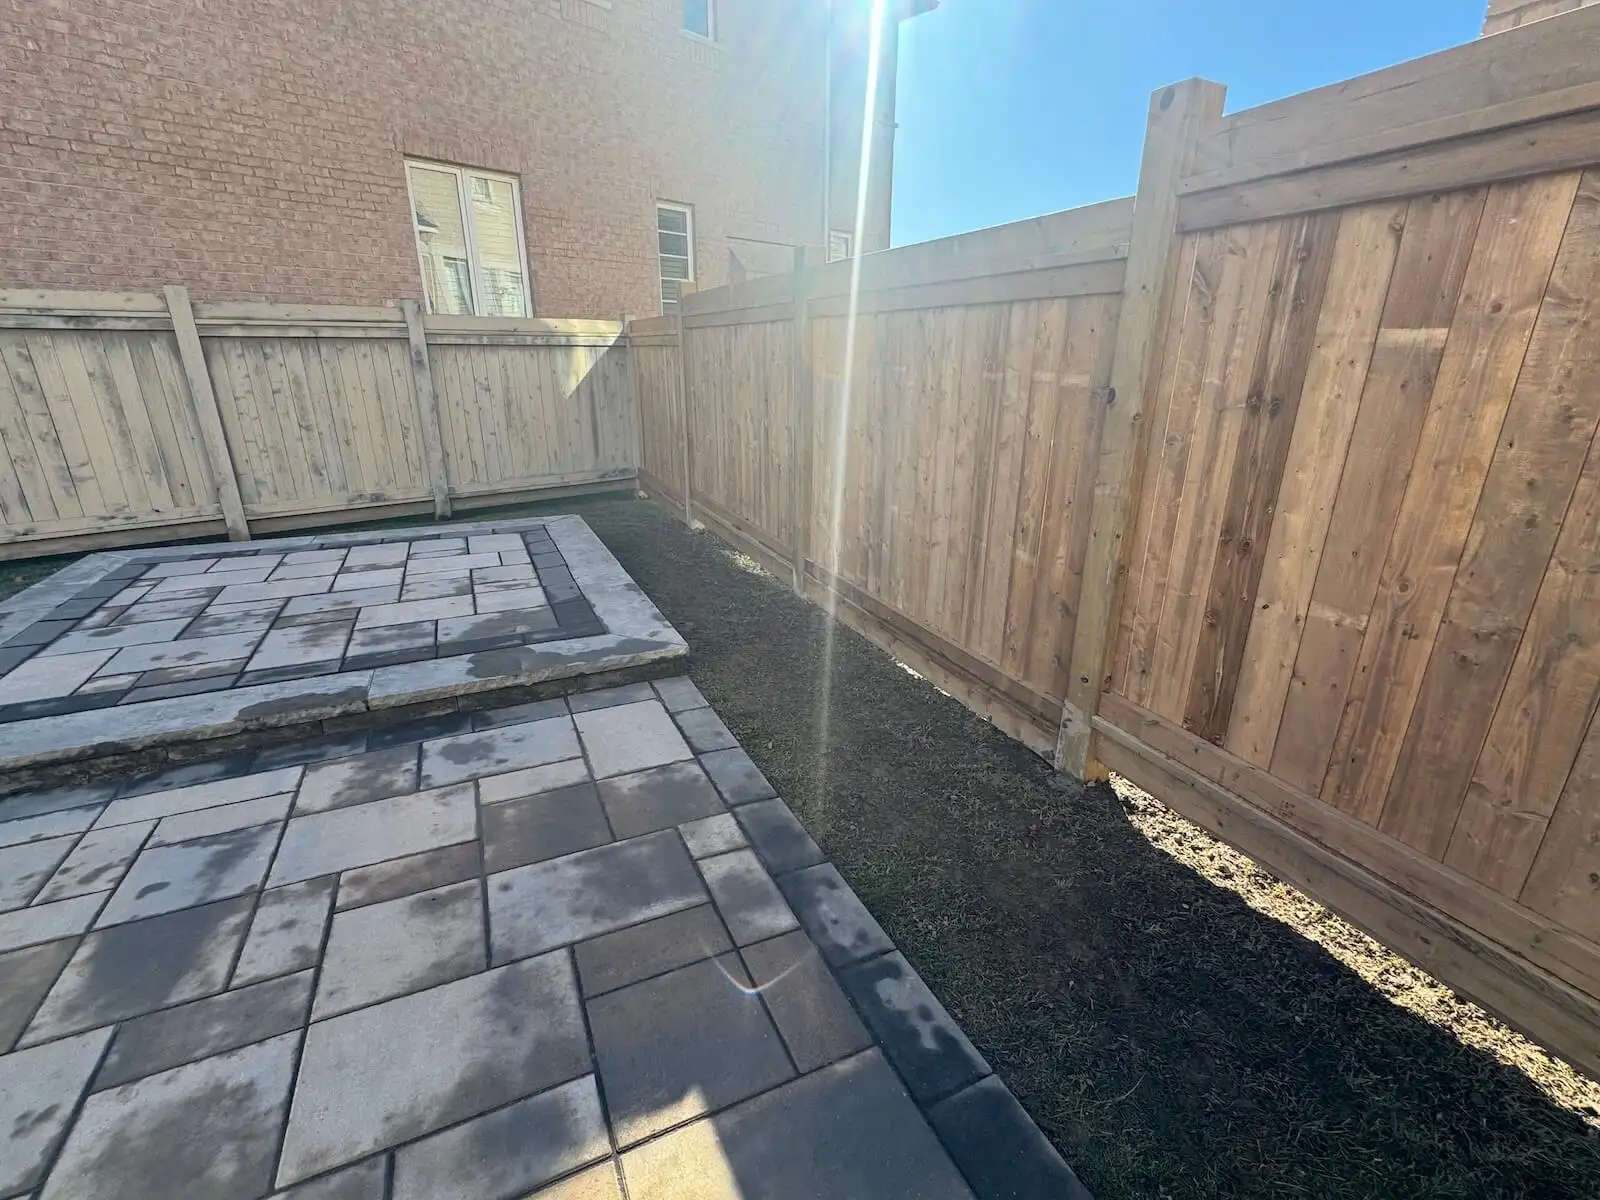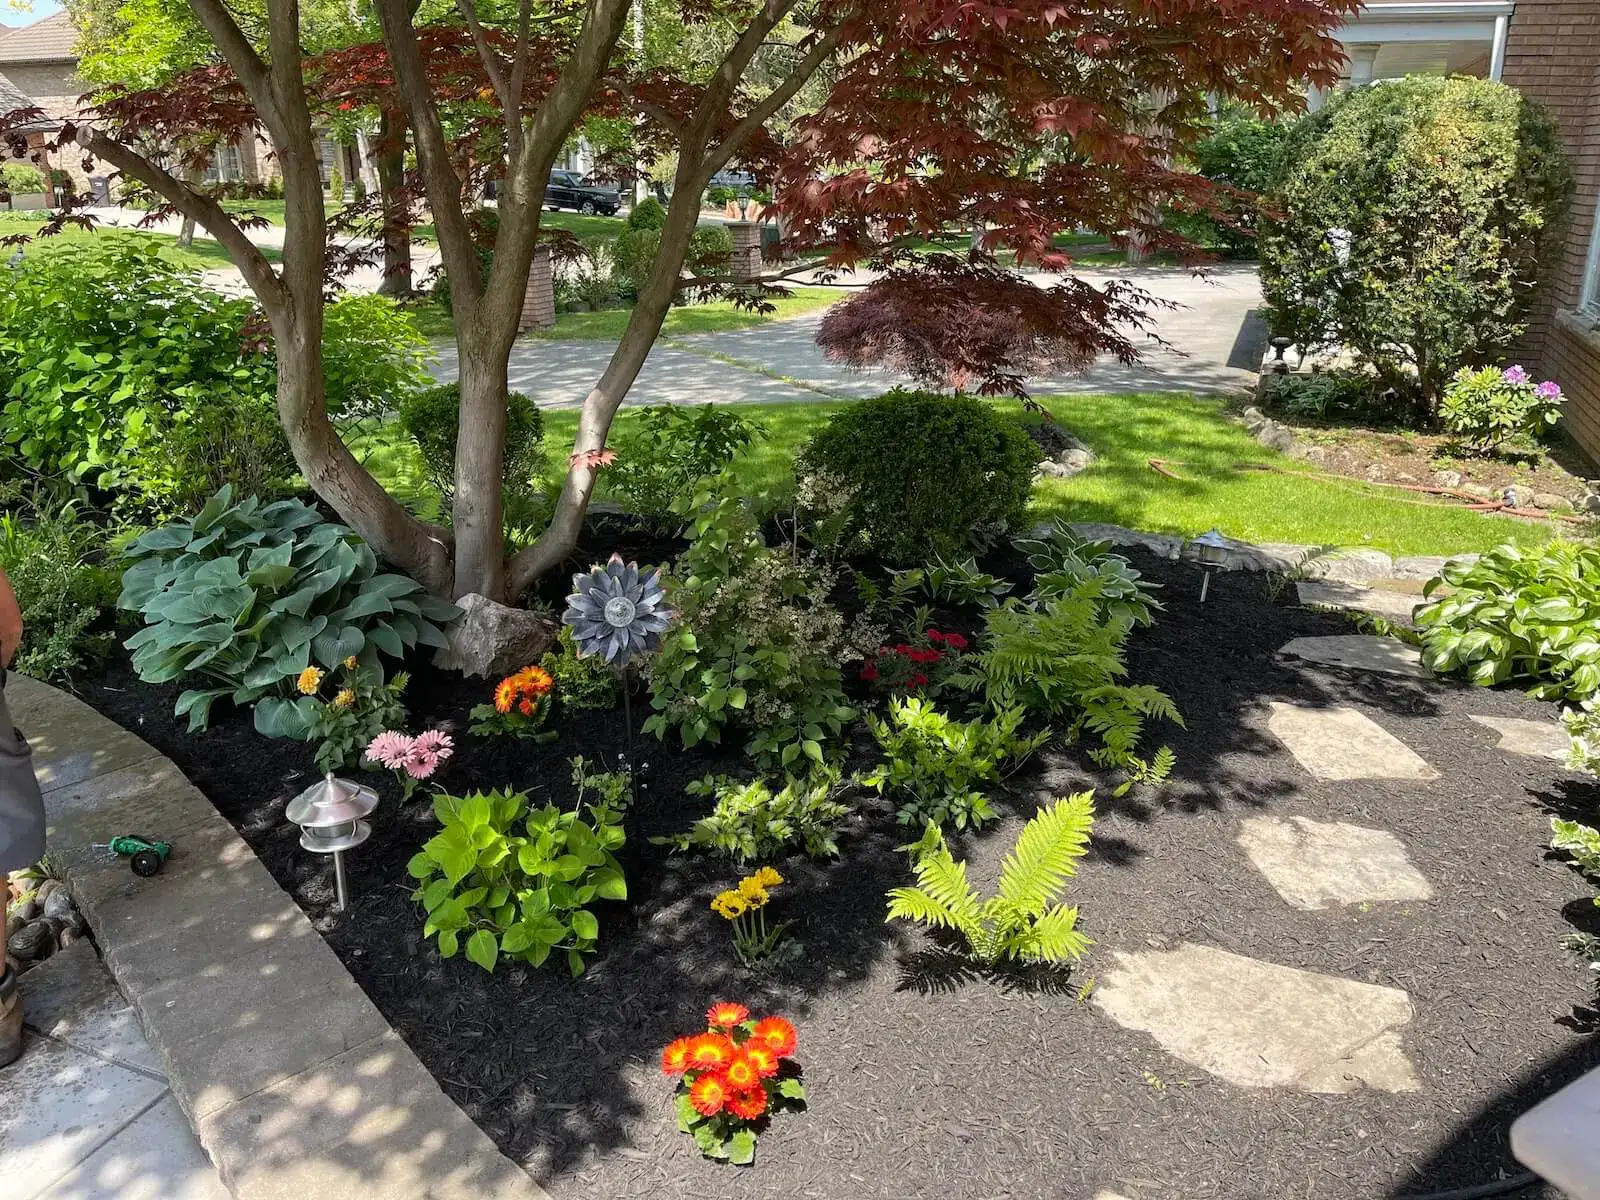









A patio is only as good as the base, drainage, and layout beneath it. The best deck paver patio designs do more than look polished in photos. They create usable outdoor zones that handle GTA rain, snow, freeze-thaw cycles, and real family life.
Deck Paver Patio Designs: Start With How You Use the Space
A deck-to-patio design connects an elevated wood or composite surface with an at-grade interlocking, stone, or concrete-paver area. The transition can be flush, stepped, framed by planting, or separated into outdoor rooms with distinct uses.
The strongest paver patio ideas start with function before colour or pattern. A dining patio needs direct access from the kitchen. A fire feature needs circulation around seating. A pool surround needs drainage, comfortable walking routes, and material selected for its intended use.
Quick design direction
– Small yard: Use one calm paving field, perimeter planting, and a defined focal point. – Large yard: Create connected dining, lounging, cooking, and garden zones. – Sloped lot: Use terraces, retaining walls, and site-specific grading. – Pool area: Coordinate drainage, safety requirements, surface texture, and circulation. – Entertaining space: Plan seating, lighting, shade, servicing, and snow-storage routes early.
A good layout follows a practical order: define uses, document site constraints, map sun and privacy, place major features, establish routes, set elevations, plan drainage, then choose materials and planting. That sequence prevents a beautiful patio from trapping water near the house or blocking a useful walking path.
25 Deck Paver Patio Design Ideas for Every Backyard Style
The gallery below gives you 25 design directions. Use original local project photography where available, labelled by municipality, project type, and featured materials rather than relying on generic patio paver designs photos.
- Flush deck-to-paver transition: Match the deck stair landing to the patio elevation for a connected outdoor room. Water management at the deck and house interface must be designed before construction.
- Large-format modern lounge patio: Use broad rectangular concrete pavers with restrained joints and low-profile furniture. Large units create a calmer visual field in contemporary backyards.
- Herringbone dining patio: Use a herringbone paver pattern to bring visual movement beneath a dining zone. Borders can frame the table area but add cuts and installation detail.
- Deck stair landing terrace: Extend the bottom stair into a broad paver landing before the main patio begins. This works well where a deck sits above grade.
- Sunken fire-pit conversation area: Set seating into a lower terrace with retaining walls or built-in benches. Elevation changes need drainage and careful step planning.
- Pergola-covered dining zone: Place a pergola over the primary dining surface to define the room and provide summer shade. Structural supports, drainage, and lighting should be coordinated early.
- Outdoor kitchen courtyard: Build a paver surface around a grill, prep counter, and seating area. Gas, electrical, drainage, and appliance specifications belong in the design stage.
- Poolside paver deck: Use an interlocking patio surface around a pool where service access, drainage, and safety requirements have been reviewed for the site.
- Permeable-paver rain garden patio: Use permeable pavers where infiltration, underlying soils, runoff sources, base design, and municipal requirements support the system.
- Natural-stone garden terrace: Connect a deck to a stone patio with planting beds and irregular edges. Natural stone selection should account for intended use, winter exposure, and manufacturer guidance.
- Multi-level backyard terrace: Break a sloped property into usable levels with retaining walls, steps, planting, and paved platforms. This is not a simple DIY levelling project.
- Compact urban patio: Use a simple deck paver patio design with one paving material, built-in seating, and vertical greenery. Fewer material changes make a small yard feel more open.
- Privacy-screen patio: Frame a lounge zone with wood screens, fencing, tall planting, or a pergola wall. Privacy works best when it blocks views without blocking useful airflow.
- Paver-and-planting ribbon layout: Alternate paving bands with narrow planting strips for a softer, garden-forward look. Drainage and root-zone planning must protect the hardscape edges.
- Curved garden-edge patio: Use curved borders to soften a formal home or create a path through planting. Curves add cutting complexity and should suit the property architecture.
- Border-framed patio: Use a contrasting soldier-course border around the main paving field. The border visually defines the outdoor room and can align with deck stairs or garden walls.
- Mixed-texture patio: Pair smooth pavers for dining with textured stone accents near planting beds. Materials should be selected for maintenance, intended traffic, and winter conditions.
- Contemporary monochrome patio: Combine warm grey field pavers with charcoal borders, black lighting, and restrained planting. Dark accents define edges without fragmenting the whole patio.
- Warm earth-tone patio: Use taupe, beige, buff, or mixed earth tones with cedar, natural stone, and layered planting. This direction works well with traditional brick and warm cladding.
- Water-feature patio: Add a fountain wall, rill, or pond feature beside a seating zone. Water features require servicing, drainage, winter planning, and safe electrical coordination.
- Accessible low-threshold patio: Minimize abrupt level changes and use stable, carefully planned transitions between doors, deck surfaces, and pavers. Mobility requirements need site-specific review.
- Four-season fire-feature patio: Create a sheltered lounge with a fire feature, wind protection, lighting, and clear snow-clearing routes. Fire, gas, and electrical requirements must be verified locally.
- Deck-to-shed paver path: Link the deck, patio, shed, and side gate with a consistent paver path. This protects lawn areas and creates a practical route during wet weather.
- Compact 12×12-style bistro patio: A 12×12 patio can create a focused bistro or lounge zone when furniture and circulation are drawn to scale. It should not be assumed to fit every table-and-chair layout.
- Phased backyard plan: Build the base patio and drainage first, then add a pergola, kitchen, lighting, planting, or fire feature in later phases. This is one of the best paver patio ideas on a budget because it protects the hardest-to-correct work first.
Choose the Best Paver Pattern for Your Patio
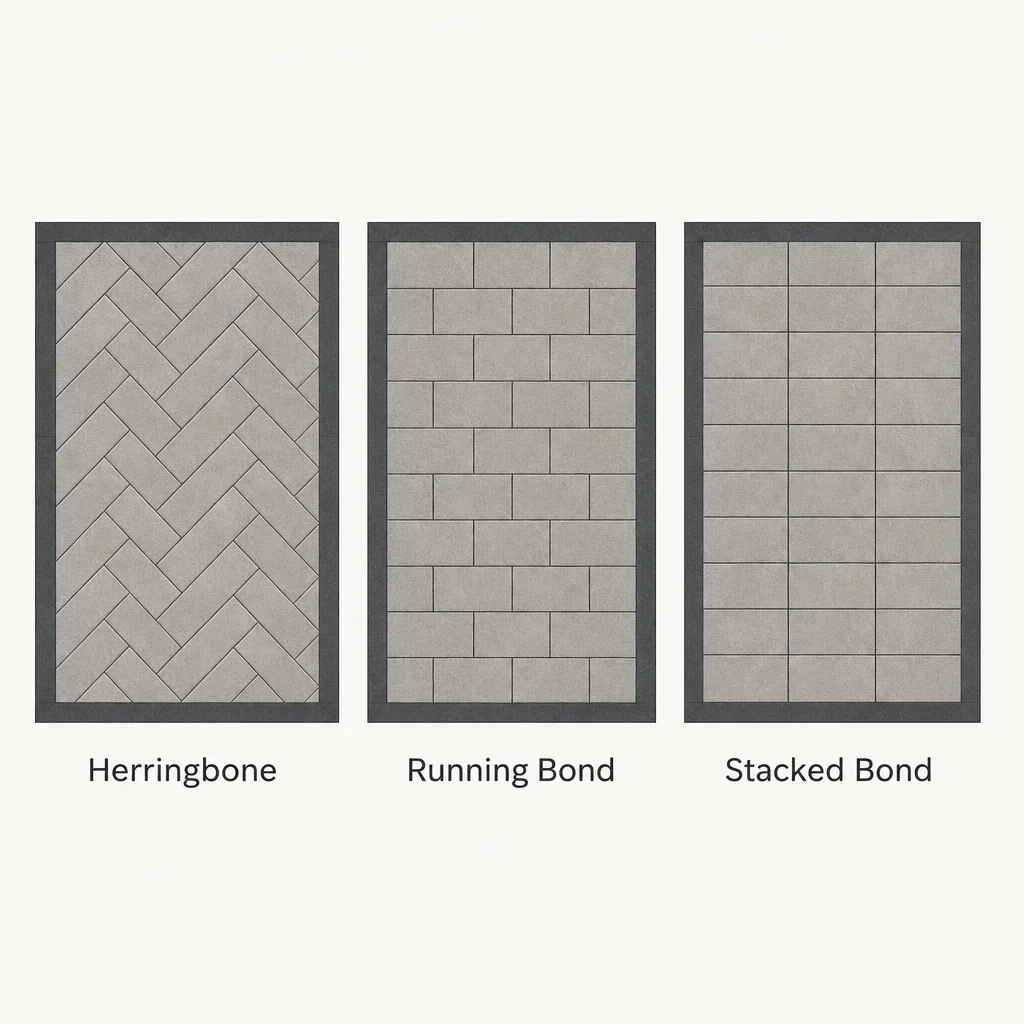
There is no universal best pattern for patio pavers. The right paver pattern depends on the patio scale, home style, traffic, desired visual energy, and the number of cuts required at edges.
| Pattern | Best visual use | Design effect | Planning consideration |
|---|---|---|---|
| Herringbone | Dining areas, active outdoor rooms | Adds movement and texture | Requires more layout attention and cuts |
| Running bond | Long or narrow patios | Can visually lengthen or widen a space | Direction should align with the main view or stair axis |
| Stacked bond | Modern patios | Creates a clean, linear appearance | Alignment errors are more visible |
| Basketweave | Traditional homes | Adds a classic, decorative look | Can feel busy in compact spaces |
| Modular or mixed-size | Larger patios | Creates a natural, varied field | Layout must be planned to avoid awkward edge cuts |
| Soldier-course border | Framed patios | Defines edges and zones | Adds detail, cuts, and material coordination |
| Mixed-size natural stone | Garden patios | Feels organic and informal | Requires product-specific installation planning |
Herringbone is commonly selected where homeowners want a more active pattern, while running bond and stacked bond suit cleaner contemporary spaces. Pattern direction can widen a narrow patio visually, lead the eye from deck stairs into the garden, or define a dining zone without adding a wall.
Avoid tiny, busy units across a large open yard. Avoid too many borders, inlays, and colour changes in a compact yard. A small patio usually looks larger when the paving field remains visually calm.
Paver Materials, Colours and Textures for GTA Backyards
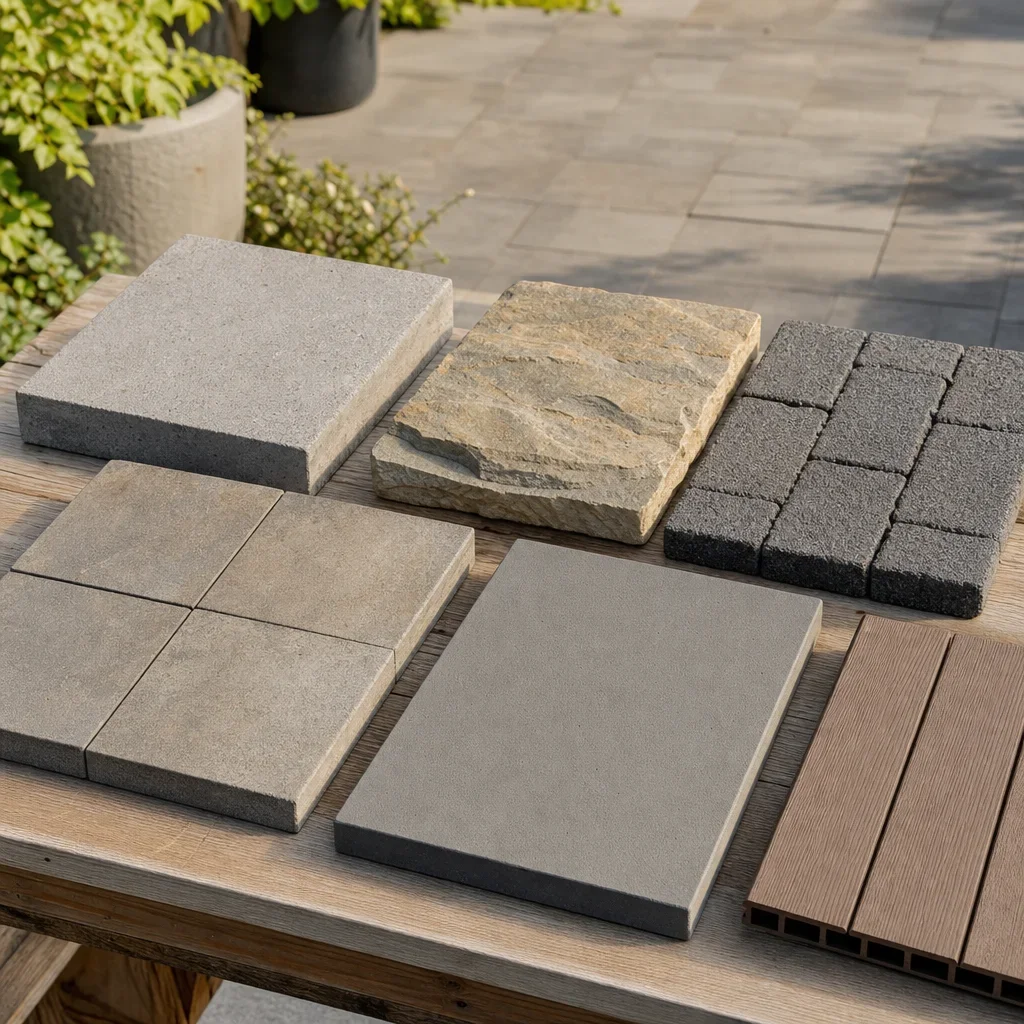
Concrete interlocking pavers, natural stone, permeable systems, poured concrete, and decks each solve different site and design problems. No surface is maintenance-free, and every product needs to match the project conditions.
| Surface | Appearance | Repairability | Drainage approach | Cold-climate planning |
|---|---|---|---|---|
| Concrete pavers | Broad range of shapes and colours | Individual units can be lifted and replaced | Surface drainage through joints and grading | Base, joints, edge restraints, and runoff control matter |
| Natural stone patio | Organic colour and texture | Repairs depend on stone type and installation | Site-specific drainage beneath and around stone | Select products suitable for exterior Canadian conditions |
| Permeable pavers | Structured interlocking appearance | Modular repairs remain possible | Water moves through joints into a designed base | Soil, base design, runoff sources, and municipal rules require review |
| Poured concrete | Continuous slab appearance | Repairs can remain visible | Surface drainage through slab slope and grading | Crack control, drainage, and winter exposure matter |
| Wood or composite deck | Elevated outdoor platform | Board replacement depends on the system | Water passes through decking to grade below | Footings, structure, flashing, and deck drainage require planning |
Warm greys, charcoal, taupe, beige, and mixed earth tones remain popular colour directions because they work with common GTA brick, stone, siding, and garden palettes. Lighter pavers can make a tight patio feel more open. Darker borders can define edges. High-contrast layouts can make a small yard feel fragmented.
Pavers have real trade-offs. They contain joints that need inspection, may develop weeds when neglected, can settle when the base or drainage is poor, and need careful snow removal. Their advantage is modular repairability and design flexibility, not a promise that they will never shift.
Deck, Pavers or Concrete: Which Surface Is Right?
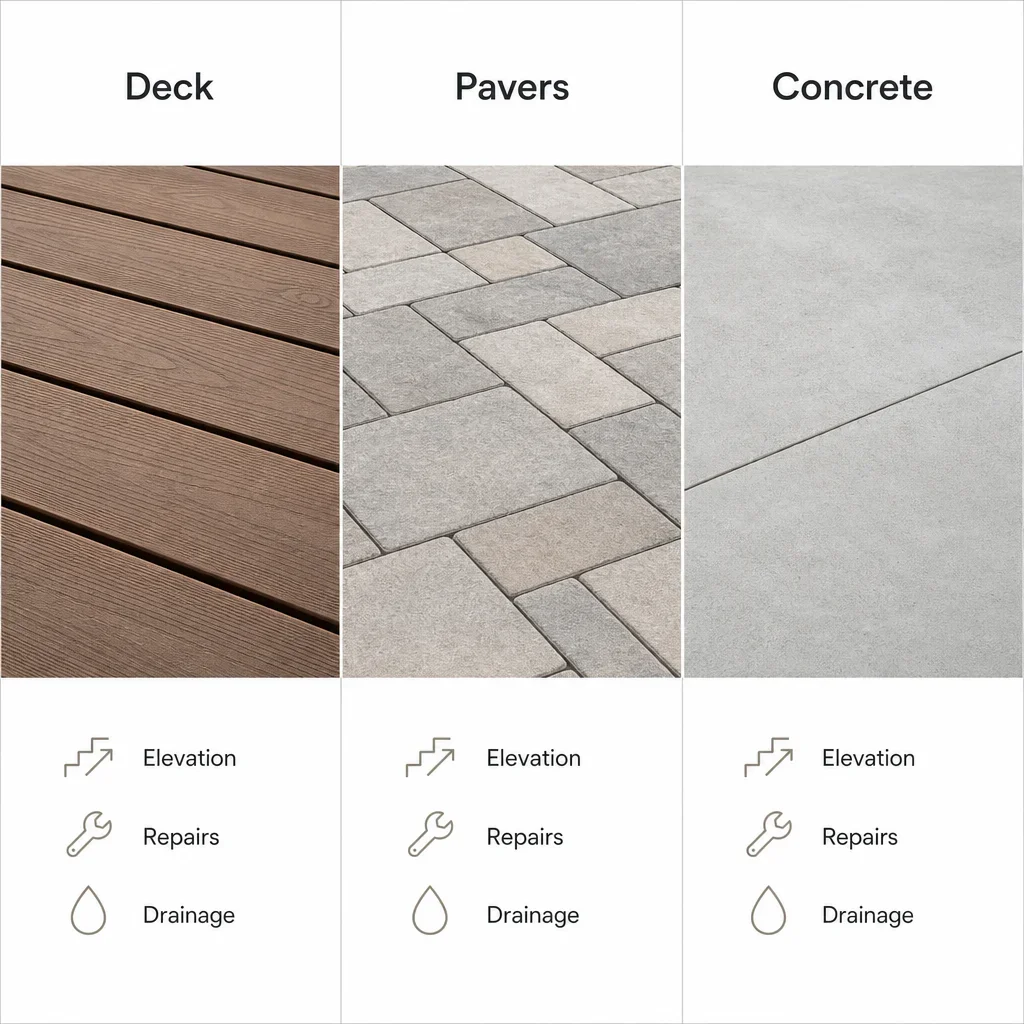
A deck can make more sense where a property has significant elevation change. An at-grade paver patio can make more sense where you want direct garden access, broad entertaining space, planting integration, and an outdoor-room layout.
A basic concrete slab may carry a lower initial scope in some projects, especially where the site is open and simple. Pavers usually involve more installation detail, but they offer patterns, borders, modular repairs, and easier access to some buried areas. Natural stone typically adds material selection and installation complexity. Decks add framing, footings, stairs, railings, and structural coordination.
A 20×20 patio is 400 square feet, but no responsible contractor can price it accurately from area alone. A 20×20 deck is also 400 square feet, yet its cost depends heavily on height, framing, footings, stairs, guards, material selection, access, and site constraints.
| Installed cost driver | Why it changes the project scope |
|---|---|
| Demolition | Existing concrete, decks, landscaping, or structures may need removal |
| Access | Narrow side yards can change excavation and material-handling methods |
| Excavation | Soil conditions, existing grades, and buried materials affect work |
| Base and drainage | Water management and compaction are core performance items |
| Retaining walls | Sloped sites may need engineered support and drainage |
| Steps and transitions | Deck interfaces, doors, and grade changes require detailed planning |
| Materials | Paver grade, natural stone, decking, borders, and finishes vary widely |
| Features | Lighting, kitchens, pergolas, fire elements, and planting add coordination |
| Permits and review | Decks, grading, pools, and structures may trigger municipal requirements |
The lowest quote can be the expensive choice if it removes drainage, excavation, edge restraint, or transition details. Protect the base and water-management scope before upgrading decorative features.
Plan the Layout: Small Yards, Large Yards, Slopes and Deck Transitions
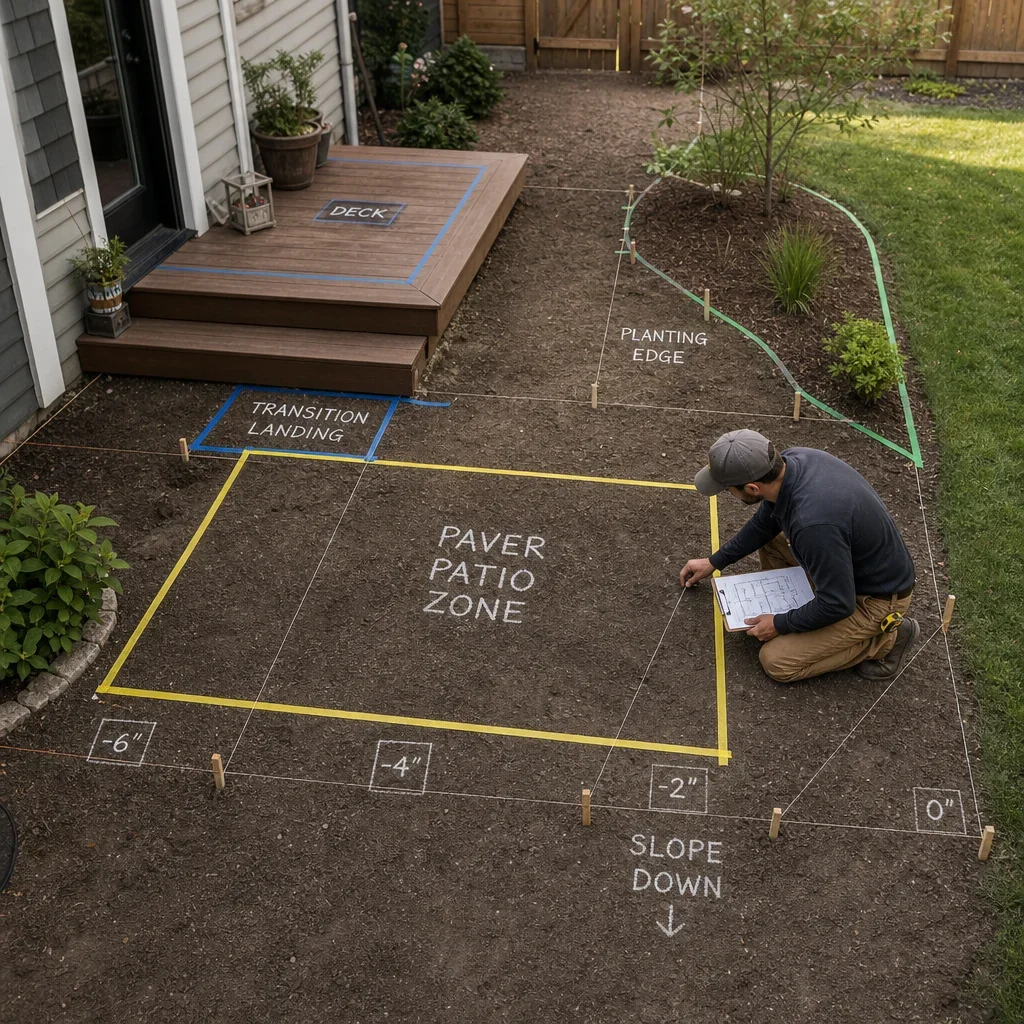
A practical paver patio layout begins with uses and movement, not a material sample. Mark doors, deck stairs, property edges, utility areas, drainage routes, views, shade, privacy concerns, and furniture zones before finalizing the patio shape.
For small deck paver patio designs, use one strong focal point and fewer surface changes. Built-in seating, perimeter benches, vertical planting, wall-mounted lighting, and slim privacy screens can create function without filling the centre of the patio.
Large yards can support distinct outdoor rooms. A pergola can identify dining. A fire feature can anchor a lounge. A path can connect the deck, pool, shed, or garden. Planting beds and low walls can separate uses while preserving clear circulation.
Deck-to-patio transitions should be planned around thresholds, stair landings, water movement, and handrail needs where applicable. A flush-looking transition still needs a properly designed grade and drainage path so water does not sit against the deck, foundation, retaining wall, or neighbouring property.
Sloped yards need terraces, retaining walls, and engineered grading where conditions require them. Trying to force a flat patio into a sloped site without addressing water and soil movement creates a long-term paver patio problem.
Accessible-transition callout: Stable surfaces, carefully managed level changes, and clear routes make a patio easier to use. Exact route widths, slopes, guards, steps, and accessibility details should be confirmed against applicable Ontario Building Code and municipal requirements for the specific project.
Build for Freeze-Thaw Winters: Base, Drainage and Edge Restraints
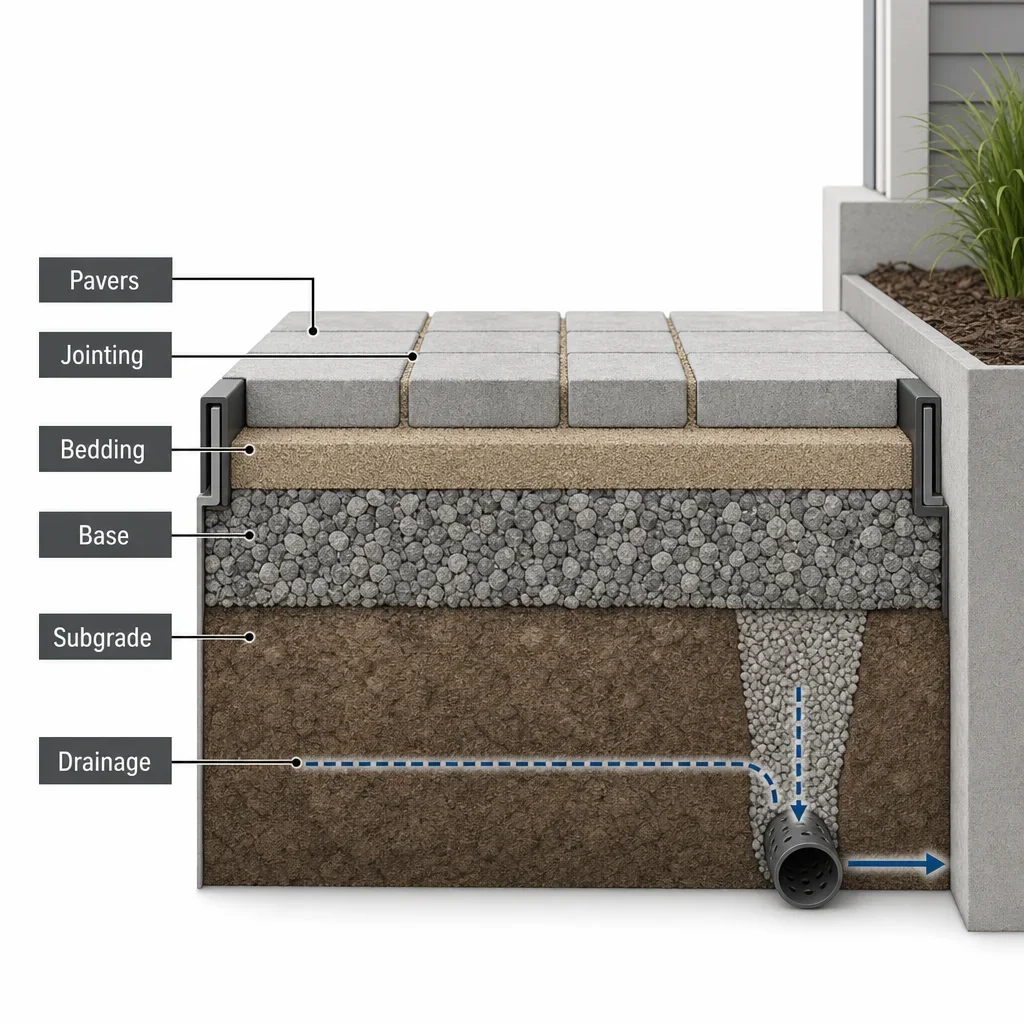
Freeze-thaw performance is determined below the pavers. The visible surface sits on a system of excavation, compacted granular base, bedding material, jointing material, edge restraint, and drainage control.
Poor compaction and trapped water can contribute to settlement, heaving, shifting, ponding, and joint loss. A proper design directs water away from structures, manages roof runoff, and avoids sending water onto adjacent properties.
A typical paver assembly, from the surface down:
- Pavers
- Jointing material
- Bedding layer
- Compacted granular base
- Prepared subgrade
- Controlled drainage path
Along the side edges, a restraint system holds the assembly in place.
Permeable pavers can support a drainage strategy where site conditions allow. They are not automatically suitable for every GTA property. Underlying soils, groundwater conditions, runoff sources, base design, surrounding grades, and municipal requirements must be assessed.
Do not trap water against foundations, decks, retaining walls, or neighbouring lots. That is the main construction principle behind a climate-ready paver patio design GTA homeowners can use through changing seasons.
Add Outdoor-Living Features That Complete the Patio
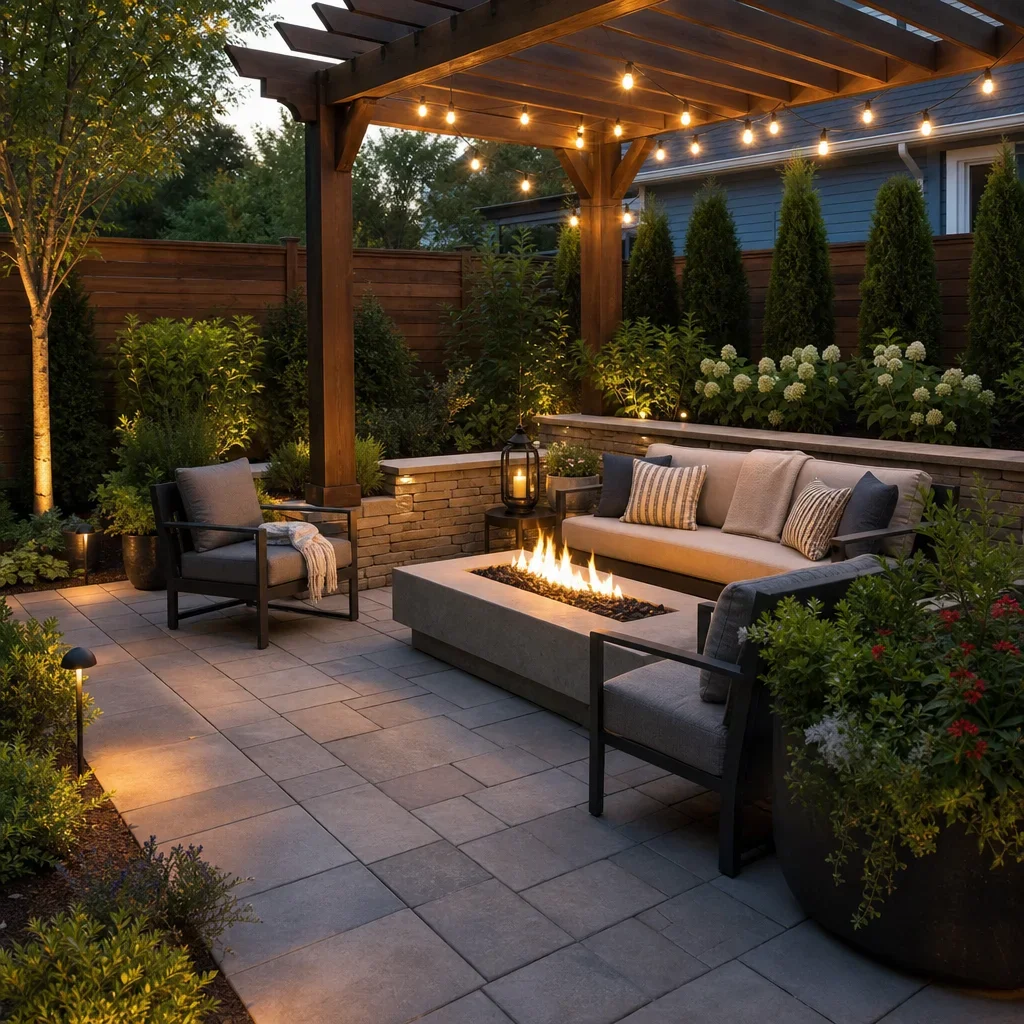
A patio feels finished when the surface, furniture, lighting, privacy, planting, and focal point work together. The outdoor-room formula is simple: a defined surface zone, seating zone, focal point, overhead definition, lighting layers, and a planting buffer.
A paver patio fire pit creates warmth and a natural gathering point, but placement must preserve circulation and follow local fire, manufacturer, and servicing requirements. A fire feature should never be treated as an afterthought once furniture and planting are installed.
A pergola patio can define dining or lounging while supporting shade, lighting, and privacy elements. Its posts, foundations, drainage, and relationship to the house or deck must be coordinated before paving is finalized.
An outdoor kitchen patio needs more than counter space. It needs servicing, ventilation considerations, durable finishes, drainage, storage, and enough room to move around cooking and seating zones.
Patio lighting should support safe routes, stair visibility, dining ambience, planting accents, and feature walls. Run conduits before hardscape work closes access to the base.
Privacy screens can combine woodwork, fencing, planting, and layered lighting. Water features can add movement and sound, but they also introduce electrical, drainage, winterization, and maintenance requirements.
Common Paver Patio Mistakes to Avoid
The biggest paver patio installation mistakes happen before the first stone is placed. They are usually drainage, layout, base, elevation, or coordination failures rather than colour choices.
- Designing the patio before checking drainage and grades.
- Reducing excavation or base work to lower the initial quote.
- Skipping edge restraints or treating them as cosmetic.
- Ignoring deck thresholds, stairs, doors, and retaining-wall interfaces.
- Choosing materials before confirming availability and intended use.
- Installing features without planning gas, electrical, drainage, or conduits.
- Creating low points that hold water beside the house or deck.
- Forgetting snow-storage and winter-access routes.
- Treating slopes, retaining walls, pool zones, and utilities as simple DIY work.
A small, simple pedestrian patio may suit an experienced homeowner with the right tools and product instructions. Slopes, drainage changes, retaining walls, deck interfaces, pool areas, gas, electrical, and structural work should trigger professional and site-specific review.
Paver Patio Cleaning, Maintenance and Winter Care
Routine maintenance is straightforward when problems are handled early. Sweep debris, manage leaves, inspect joints and edges, address settlement promptly, and follow the paver manufacturer’s guidance for cleaners, jointing products, and sealers.
A mild Dawn dish-soap solution may help remove light surface dirt from some pavers after testing an inconspicuous area. It is not a universal solution for oil, rust, efflorescence, deep organic staining, or product-specific surface issues.
Pressure washing can remove joint material or damage surfaces when used incorrectly. Conservative cleaning and professional advice are safer than aggressive pressure or harsh chemicals.
Winter care should protect both the paver surface and joint system. Use manufacturer-compatible de-icing guidance, avoid damaging metal snow tools where practical, and repair loose joints or edge issues before winter weather arrives.
Sealing is not automatically required for every paver patio. The right approach depends on the material, finish, exposure, staining risk, prior treatments, and manufacturer instructions.
How RockLeaf Designs Climate-Ready Deck Paver Patios in the GTA
RockLeaf designs integrated outdoor spaces that connect interlocking patios, drainage, planting, lighting, woodwork, pools, retaining walls, and outdoor-living features. A coordinated design reduces the risk of discovering drainage conflicts, awkward levels, or missing service routes after construction begins.
An in-house design process and 3D visualization help homeowners compare material combinations, patio elevations, planting, furniture zones, and feature placement before site work starts. The final scope should identify what is included in grading, drainage, excavation, paving, woodwork, planting, and lighting.
Bring inspiration photos, rough property dimensions, desired uses, wish-list features, timeline expectations, and known drainage concerns to the first design discussion. That information helps a landscape design Markham team assess whether a deck, interlocking patio, retaining wall, or phased plan suits the site.
For Toronto, Markham, and the wider GTA, RockLeaf offers a free 3D design and quote for qualified outdoor projects. Share the style you like, how you want to use the space, and any drainage or elevation concerns before finalizing a patio direction.
Deck Paver Patio Design FAQs
Best paver pattern for patios
The best pattern matches the patio scale, house style, and intended use. Herringbone adds visual energy, running bond can guide the eye through a narrow yard, and stacked bond suits modern linear designs. Borders frame outdoor rooms but add cuts and detail.
Deck versus paver patio cost
Neither surface is always cheaper. Deck costs depend on height, framing, footings, stairs, railings, and materials. Paver costs depend on excavation, base preparation, drainage, access, edging, cuts, and grading. Compare the complete scope, not only the visible surface.
Cost of a 20×20 paver patio
A 20×20 patio contains 400 square feet, but installed pricing cannot be set from square footage alone. Access, demolition, excavation, base work, drainage, retaining walls, paver selection, borders, and features can materially change the scope.
Latest patio trends
Current design direction favours integrated outdoor rooms, large-format pavers, layered lighting, pergolas, planting-rich layouts, low-profile fire features, warm neutral palettes, and practical drainage planning. Trends should support the architecture and site instead of overriding them.
Common mistakes when laying pavers
The main mistakes are poor drainage planning, inadequate excavation or compaction, weak edge restraint, ignored transitions, and unplanned utilities. Cosmetic pattern errors can be corrected more easily than water-management or structural mistakes.
Cost of a 20×20 deck
A 20×20 deck is 400 square feet, but price depends on height, foundations, framing, decking choice, stairs, railings, access, and permit requirements. A site review is needed before comparing it fairly with a patio.
Disadvantages of pavers
Pavers have joints to maintain, can develop weeds if neglected, may settle if the base or drainage is poor, and require thoughtful snow removal. Their modular format helps with repairs, but it does not eliminate maintenance.
Pavers versus concrete cost
A basic concrete slab may be less expensive in some simple projects. Pavers usually provide more pattern flexibility and modular repair options. Either surface becomes more complex when drainage, access, demolition, elevation changes, or retaining work are involved.
Dawn soap for cleaning pavers
Mild dish soap can help with light surface dirt after an inconspicuous test area. It may not remove oil, rust, efflorescence, or embedded stains, and harsh cleaners can damage materials or nearby planting. Follow manufacturer guidance.
Most popular paver colours
Warm greys, charcoal, taupe, beige, and mixed earth tones are common choices because they work with many GTA homes. The right colour should reflect the home exterior, sun exposure, garden palette, and desired contrast.
Patio trends for 2026
For 2026, the strongest patio direction is likely to remain practical rather than decorative alone: flexible outdoor rooms, integrated planting, shade, lighting, drainage-conscious design, and materials that suit the architecture. Product availability and local design preferences should be checked during selection.
Permeable pavers for GTA patios
Permeable pavers can be a good choice where infiltration, soils, runoff sources, base design, and local requirements support them. They are a drainage system, not simply a paver style, and need site-specific planning.
Pavers beside an existing deck
Pavers can be installed beside a deck when the transition, drainage path, stair landings, structure, and finished grades are planned together. Water should not be trapped against deck framing, foundations, or adjacent structures.
Preventing pavers from shifting or sinking
Prevent movement through proper excavation, compacted base preparation, bedding, edge restraint, jointing material, and controlled drainage. If a patio is already moving, identify the water or base problem before replacing surface pavers.
The best next step is to choose the outdoor use first, then compare surface systems, drainage needs, and transition details before committing to a pattern or colour.