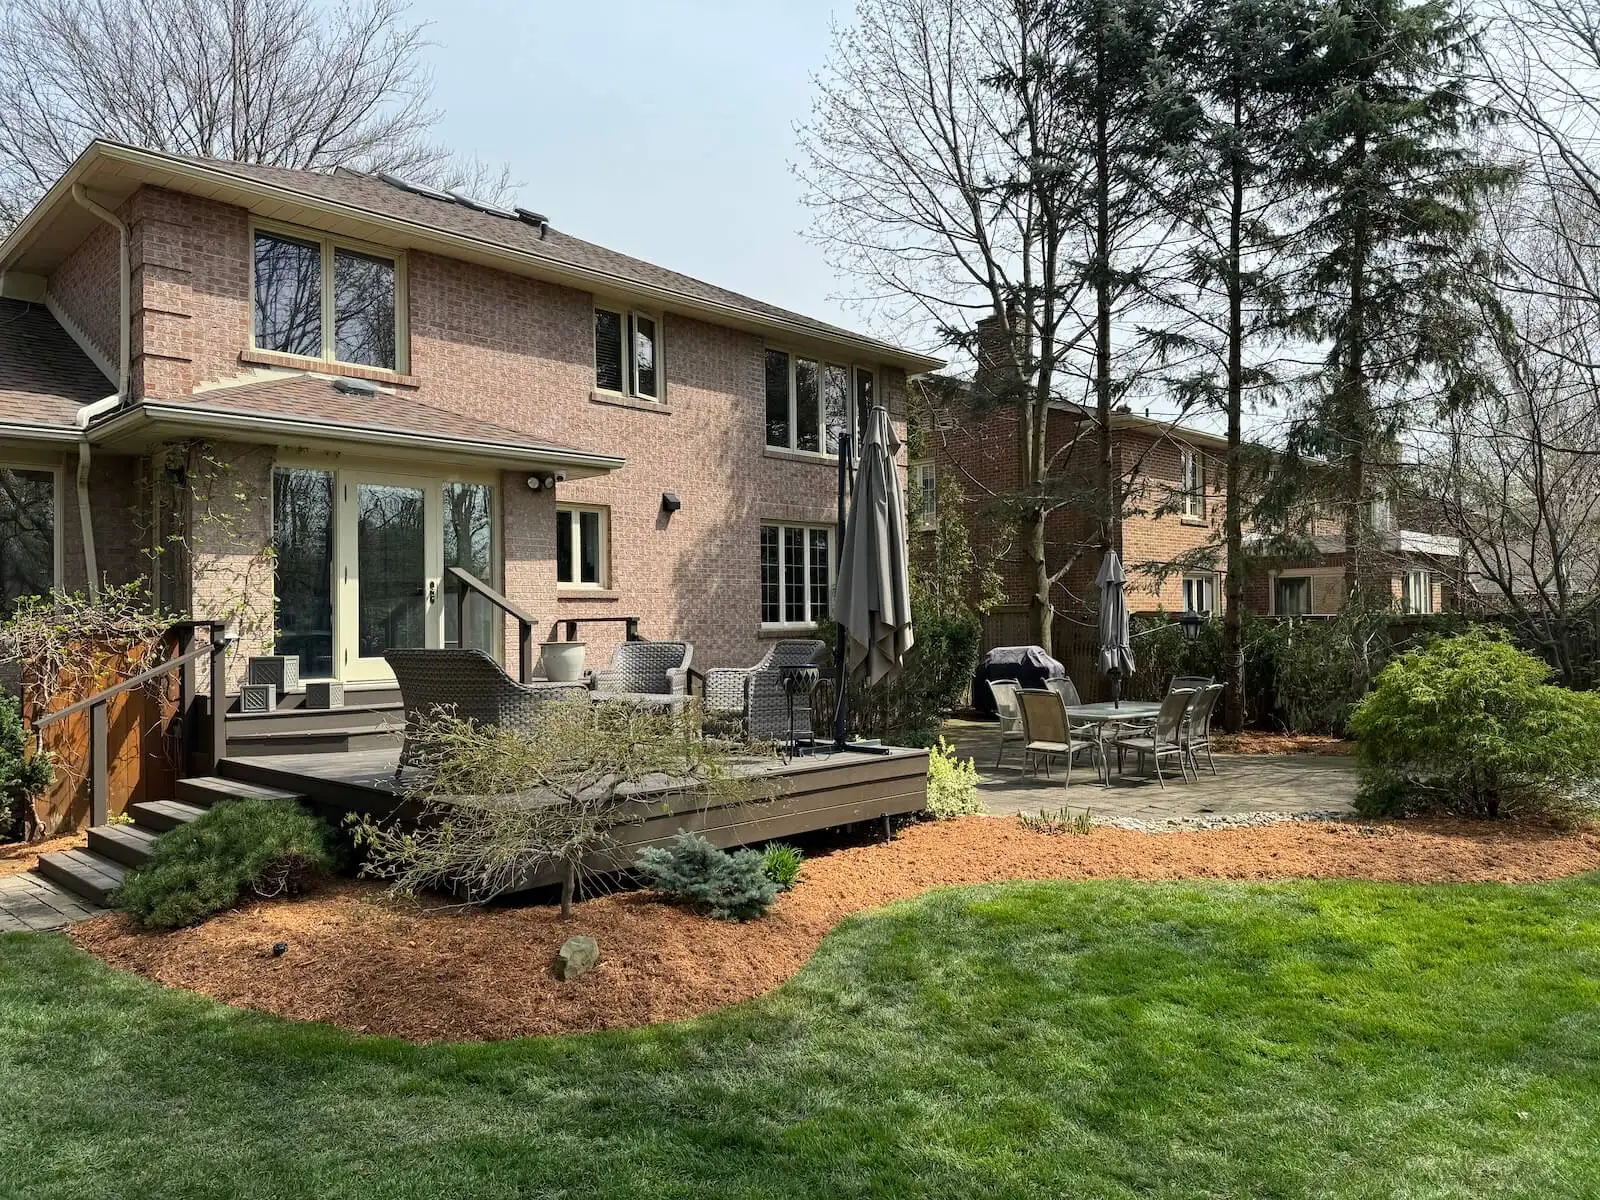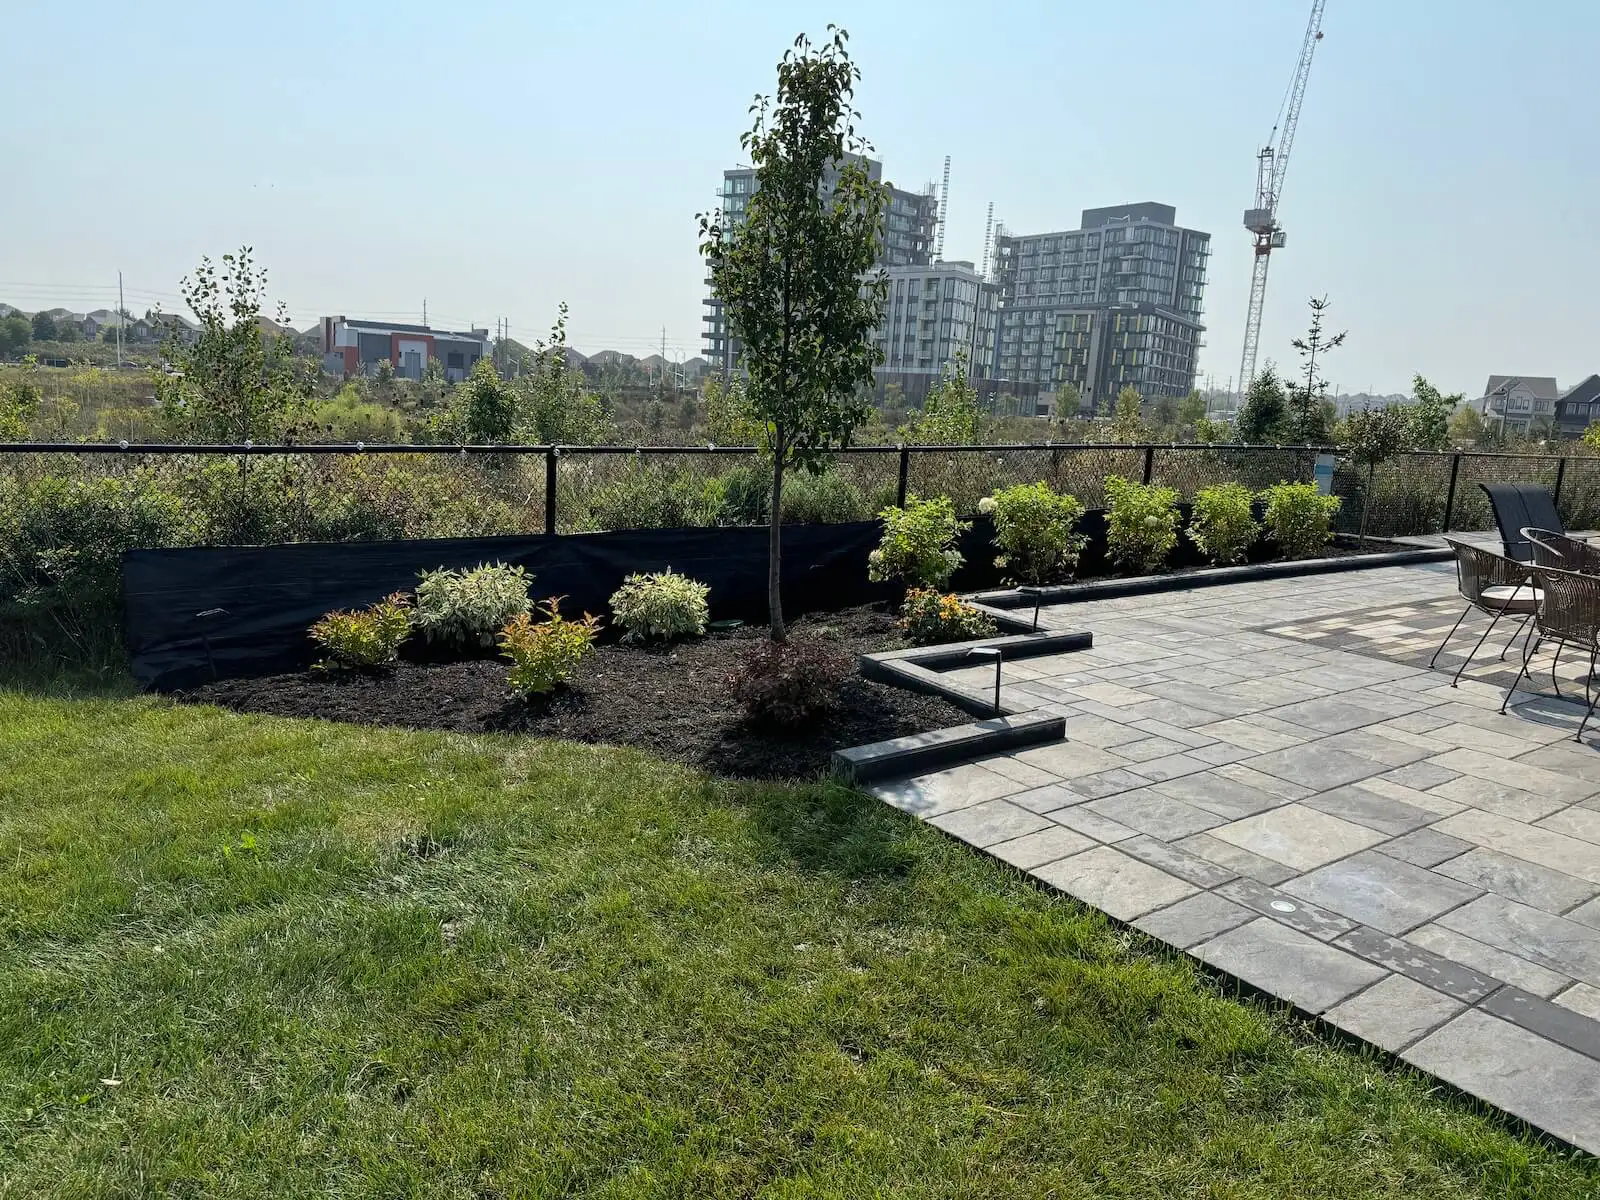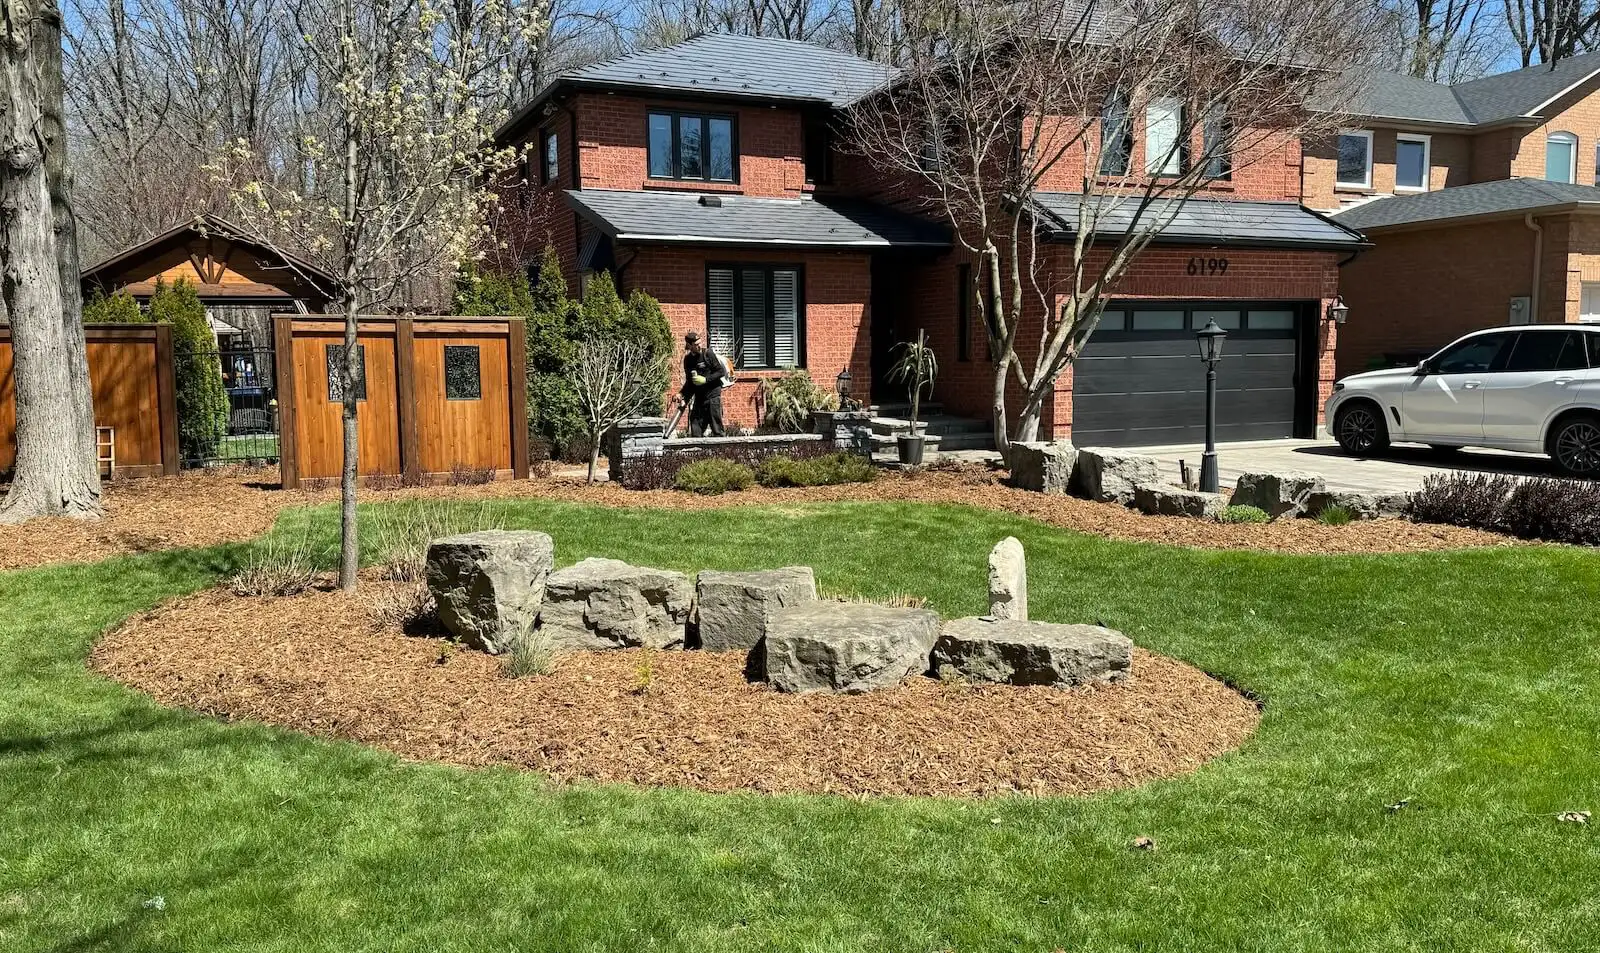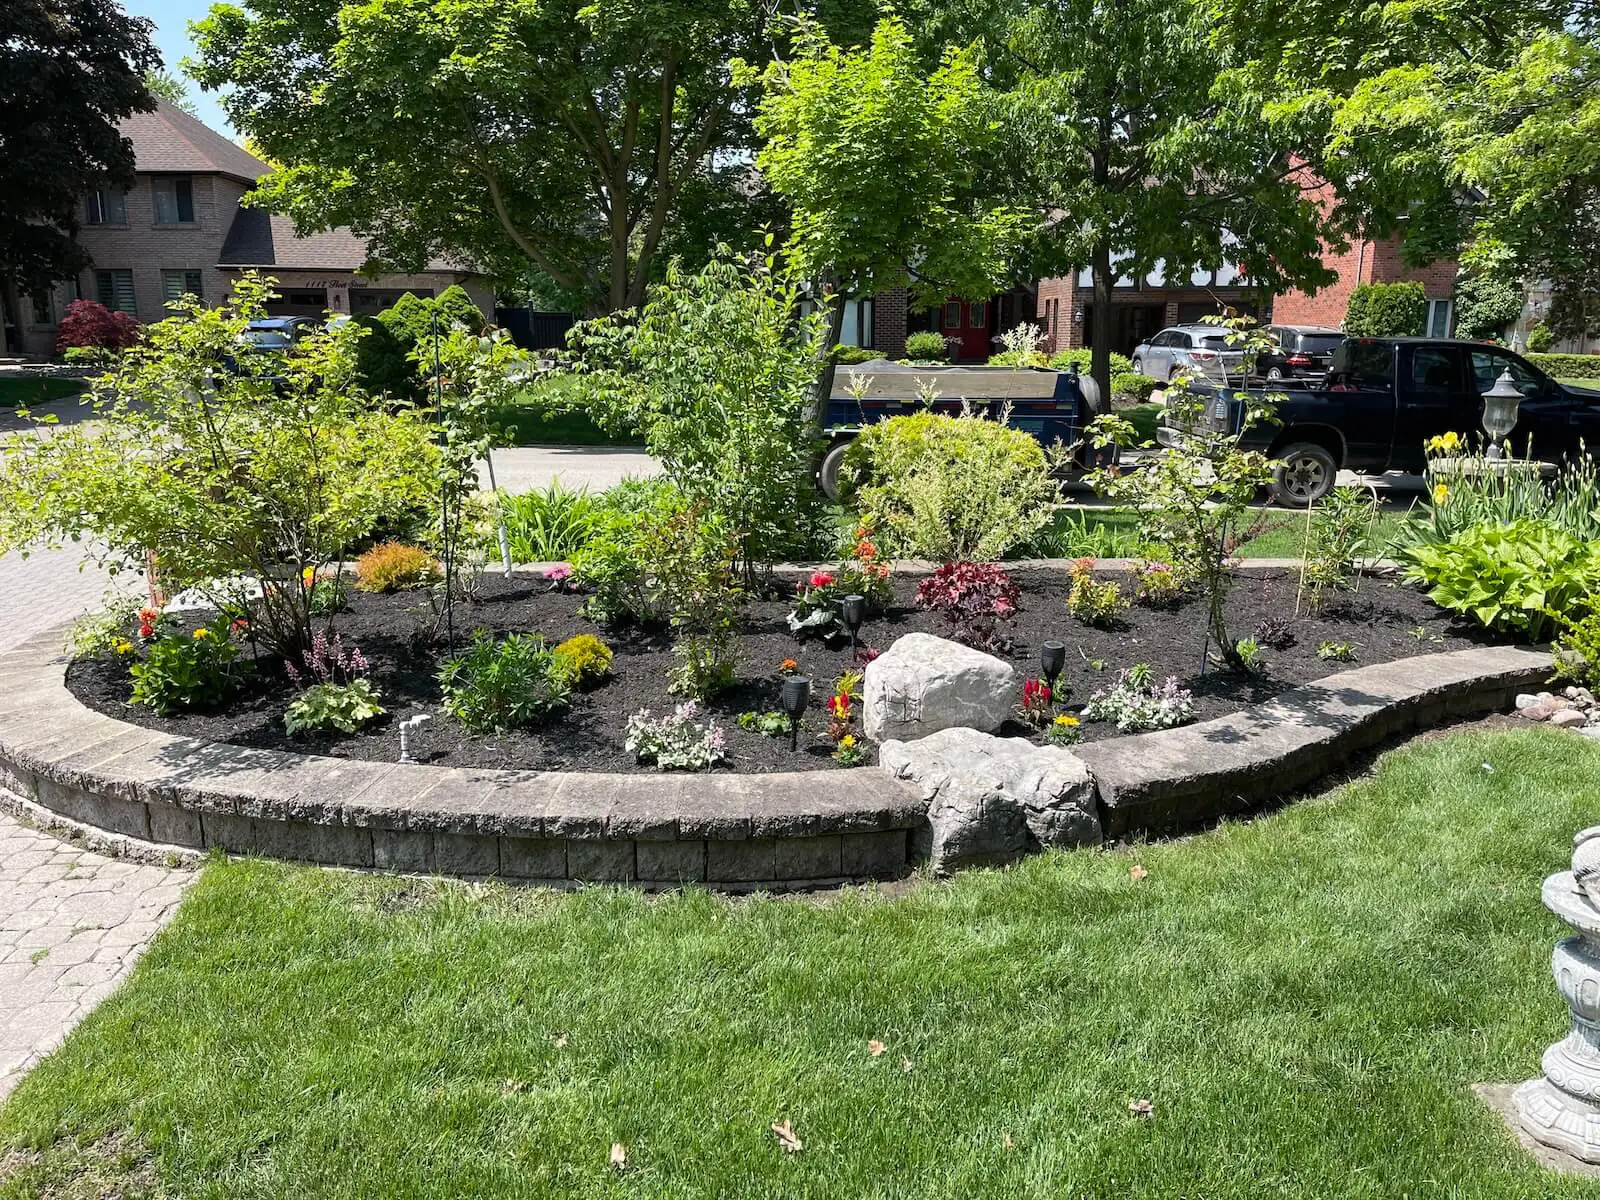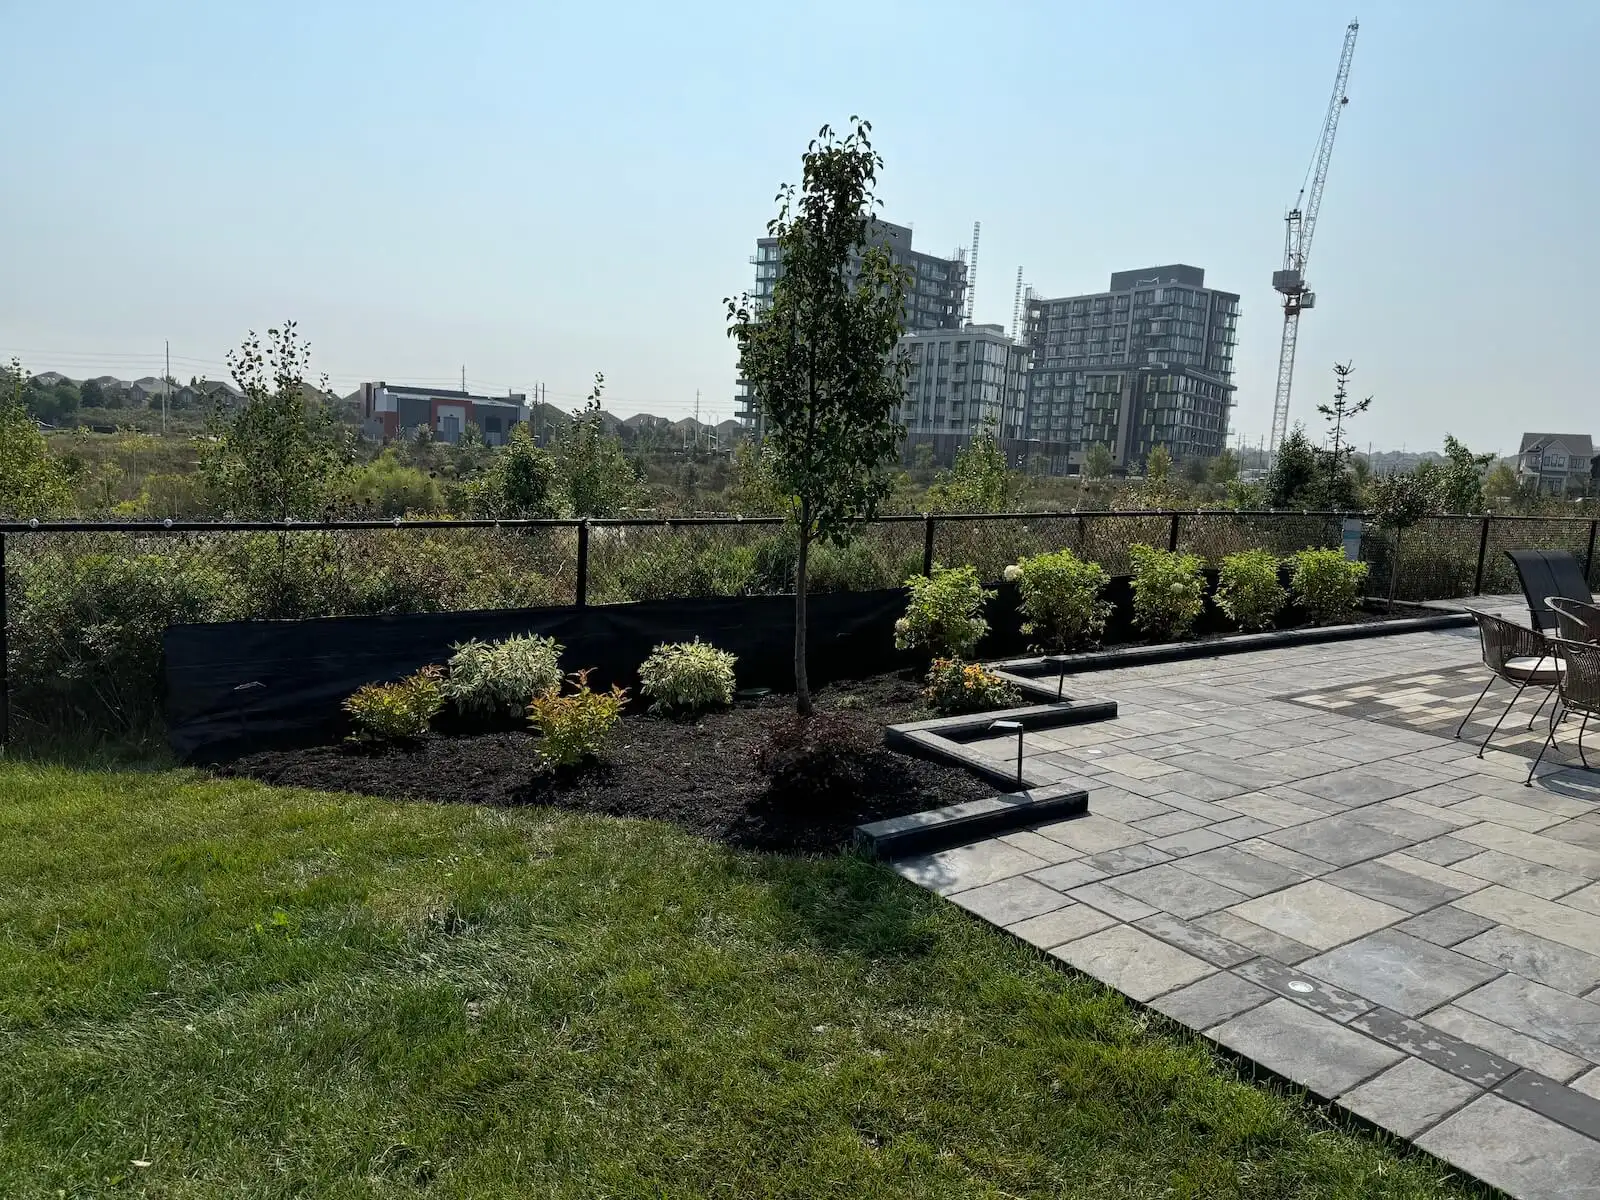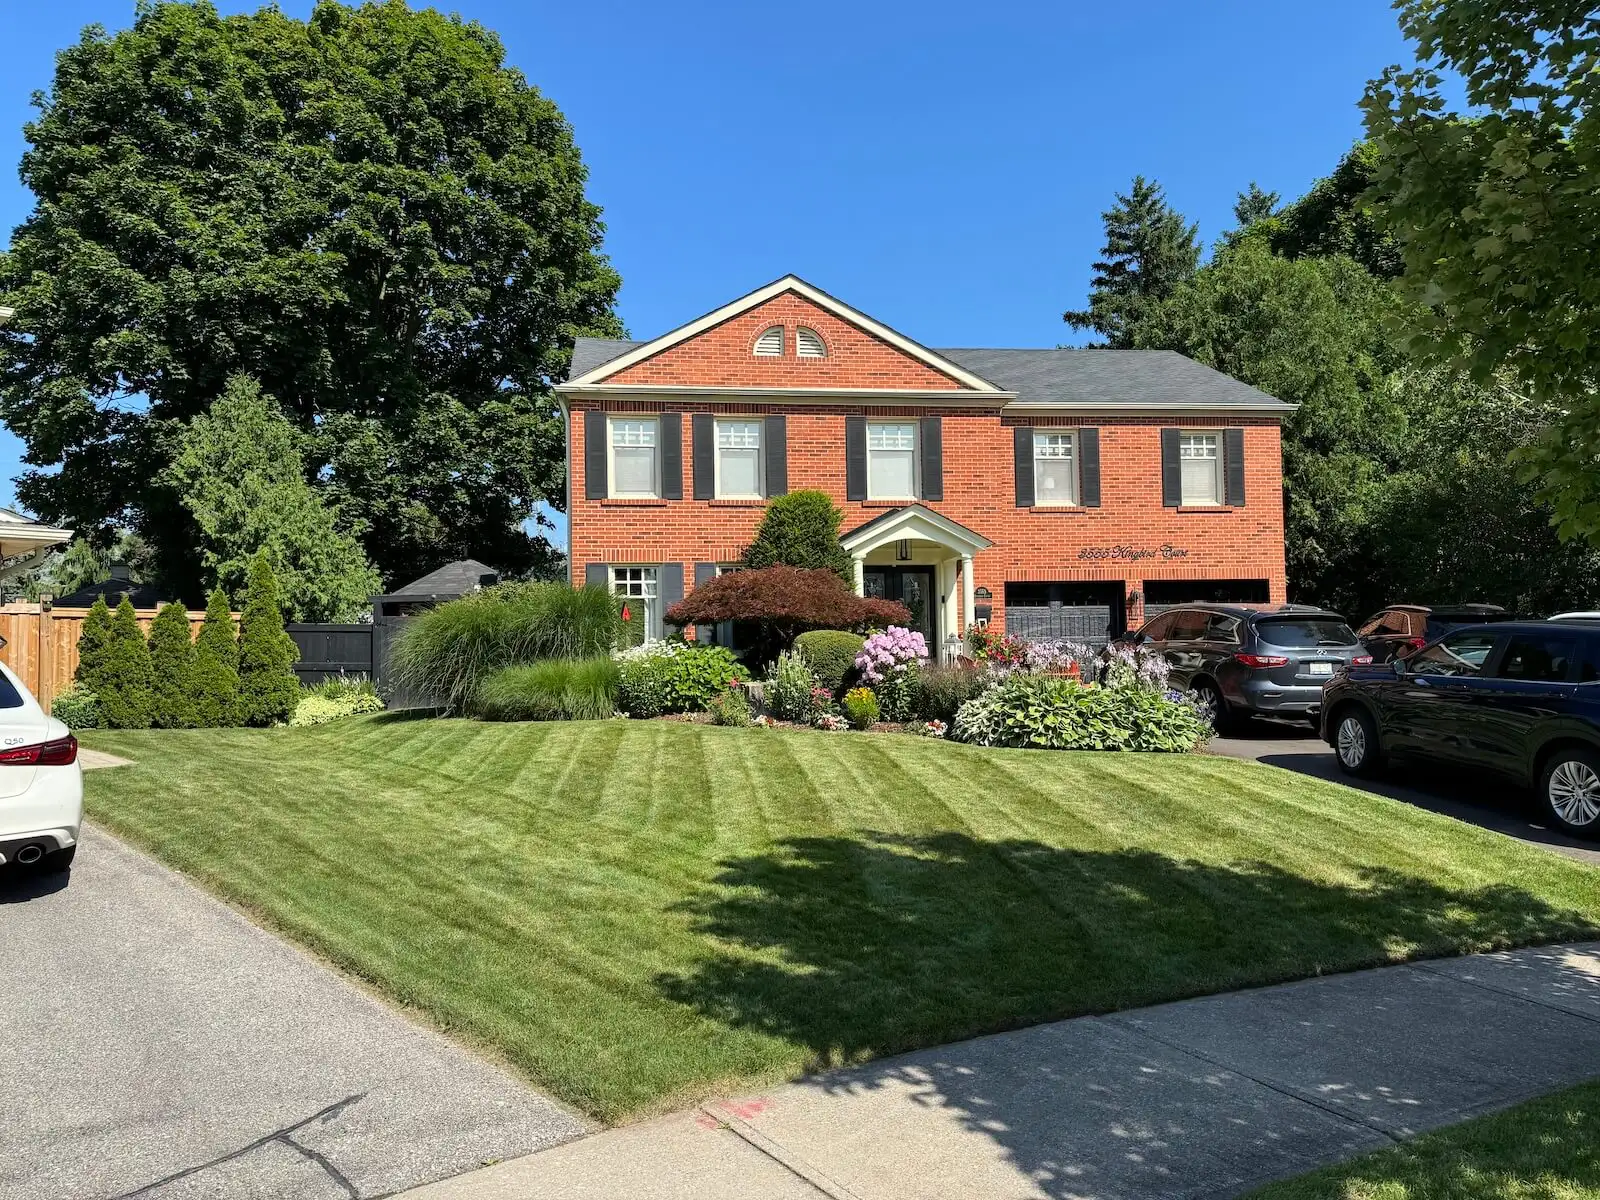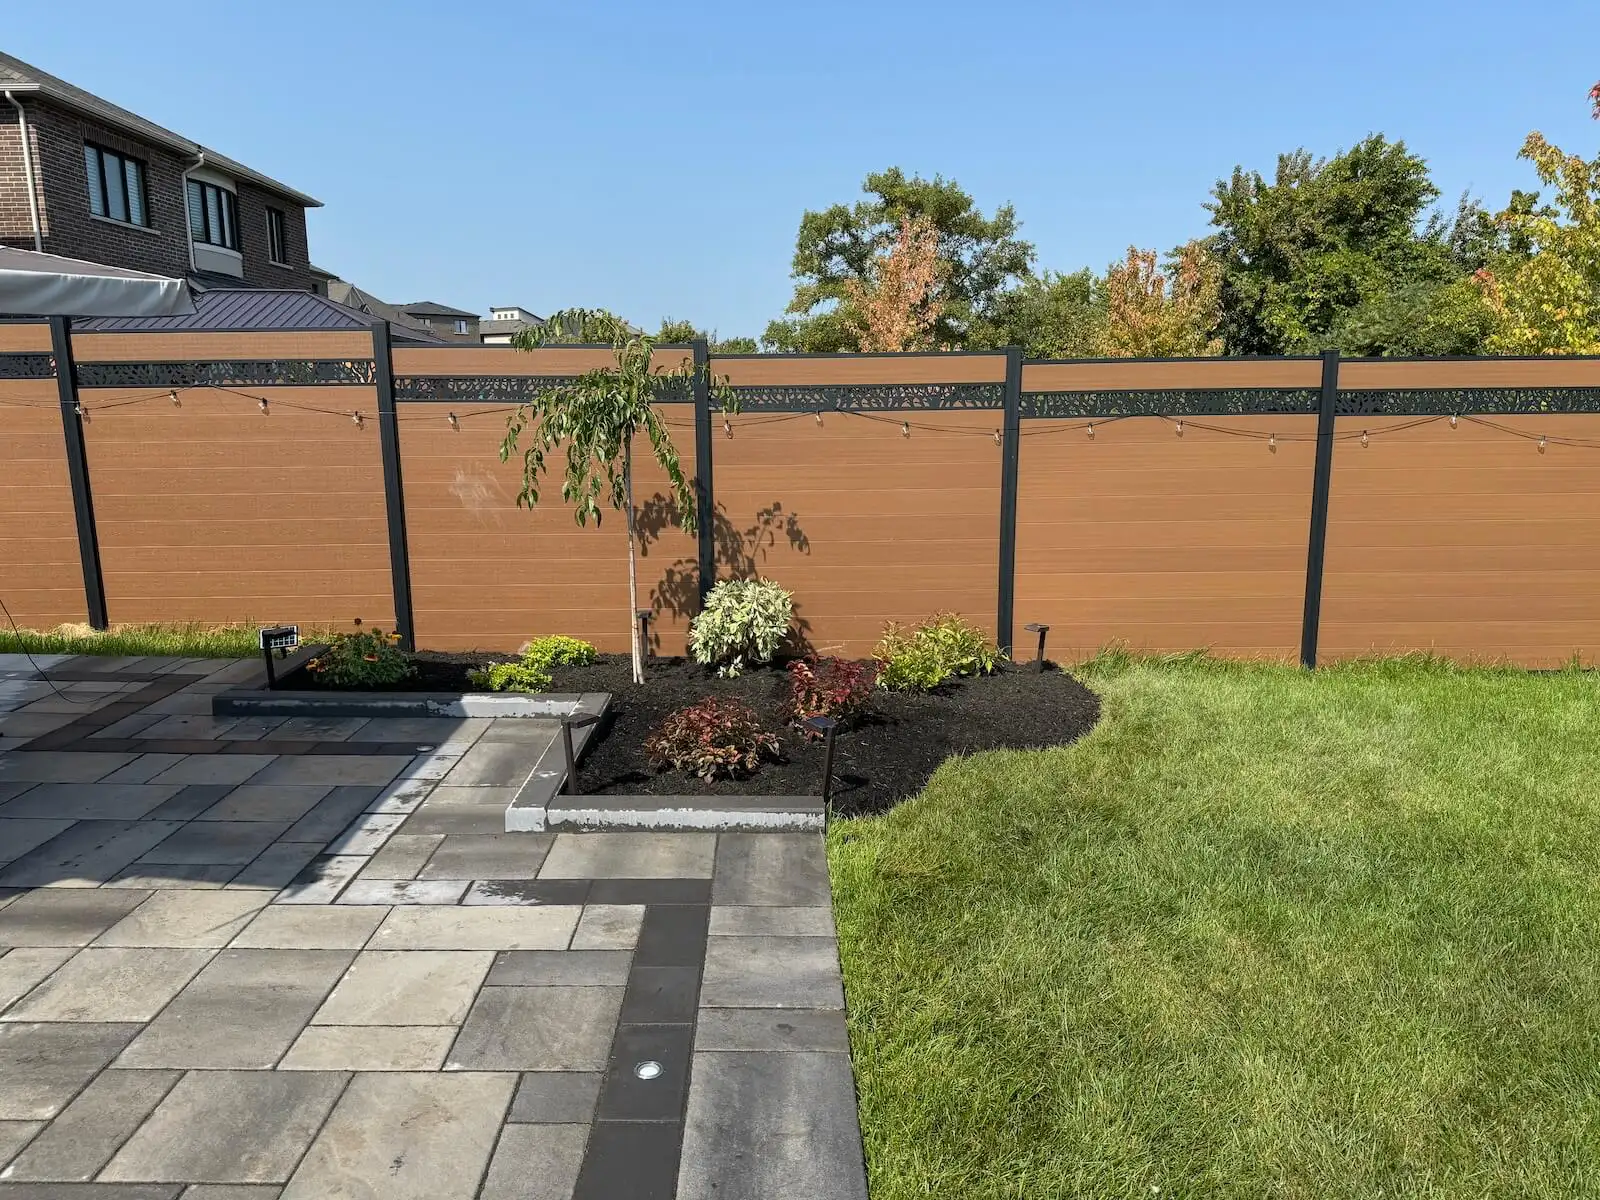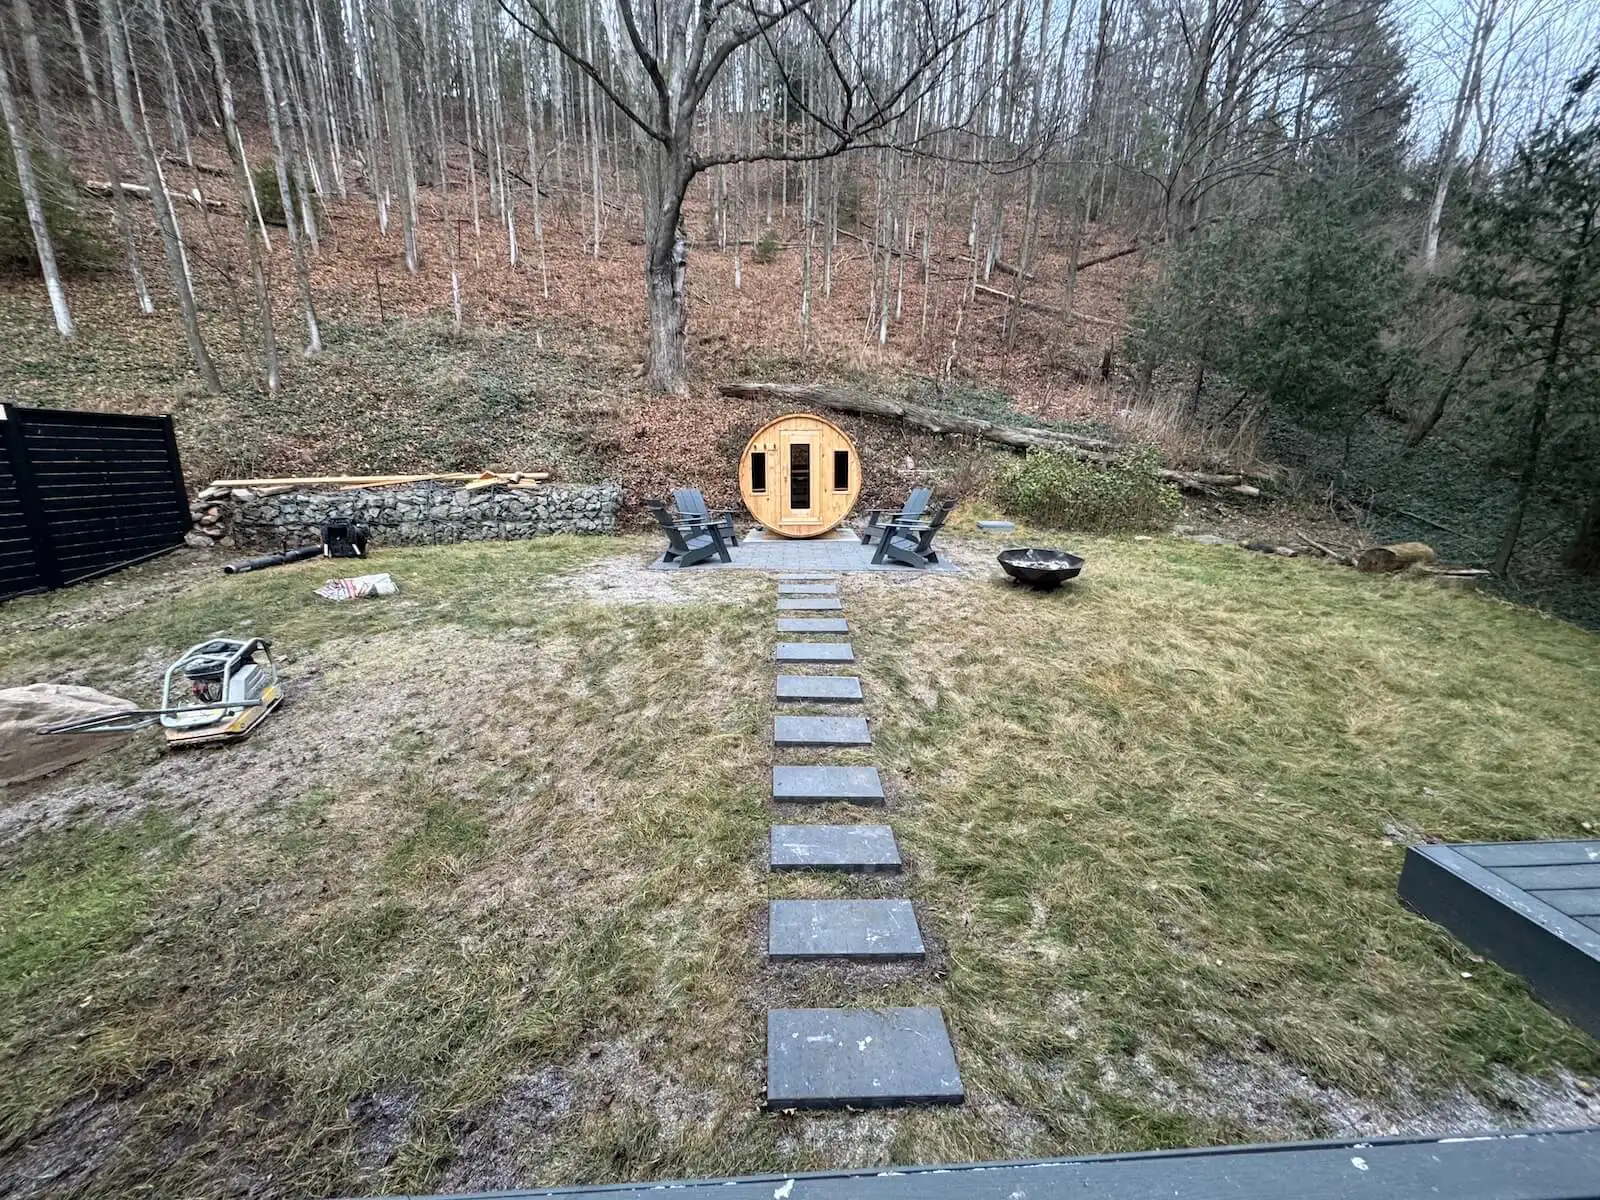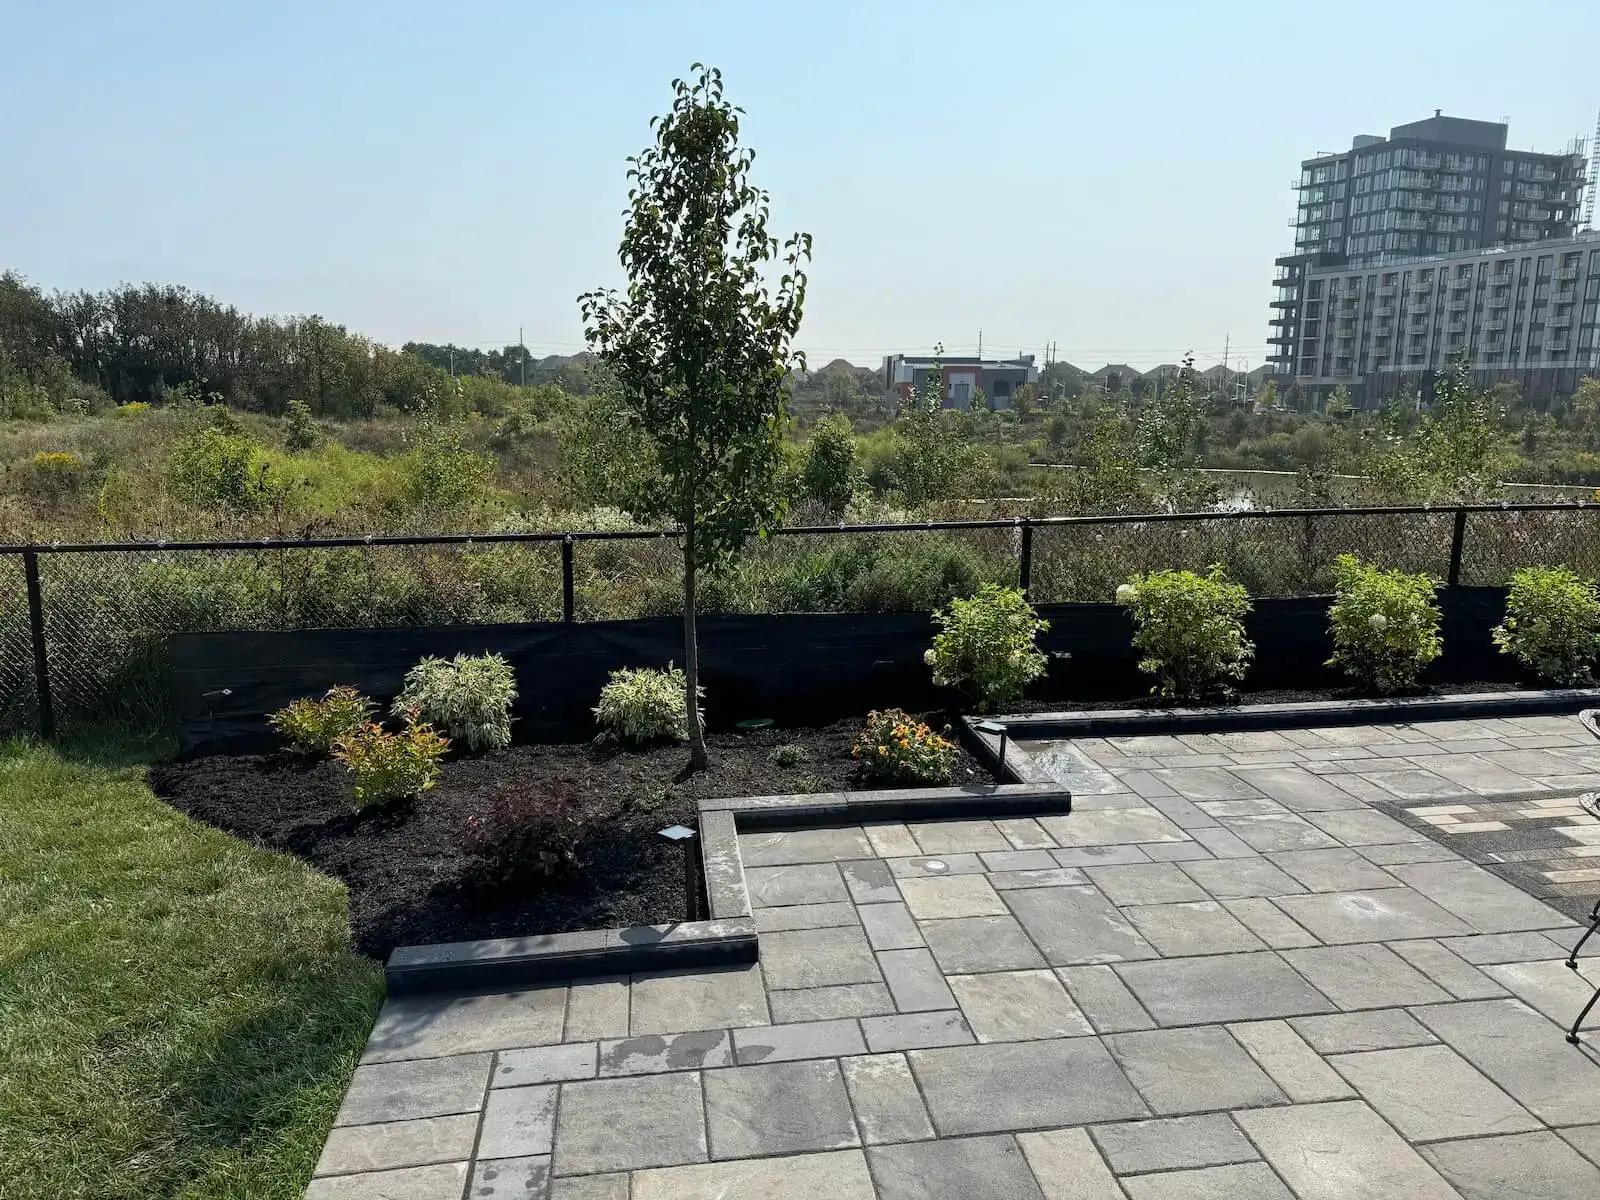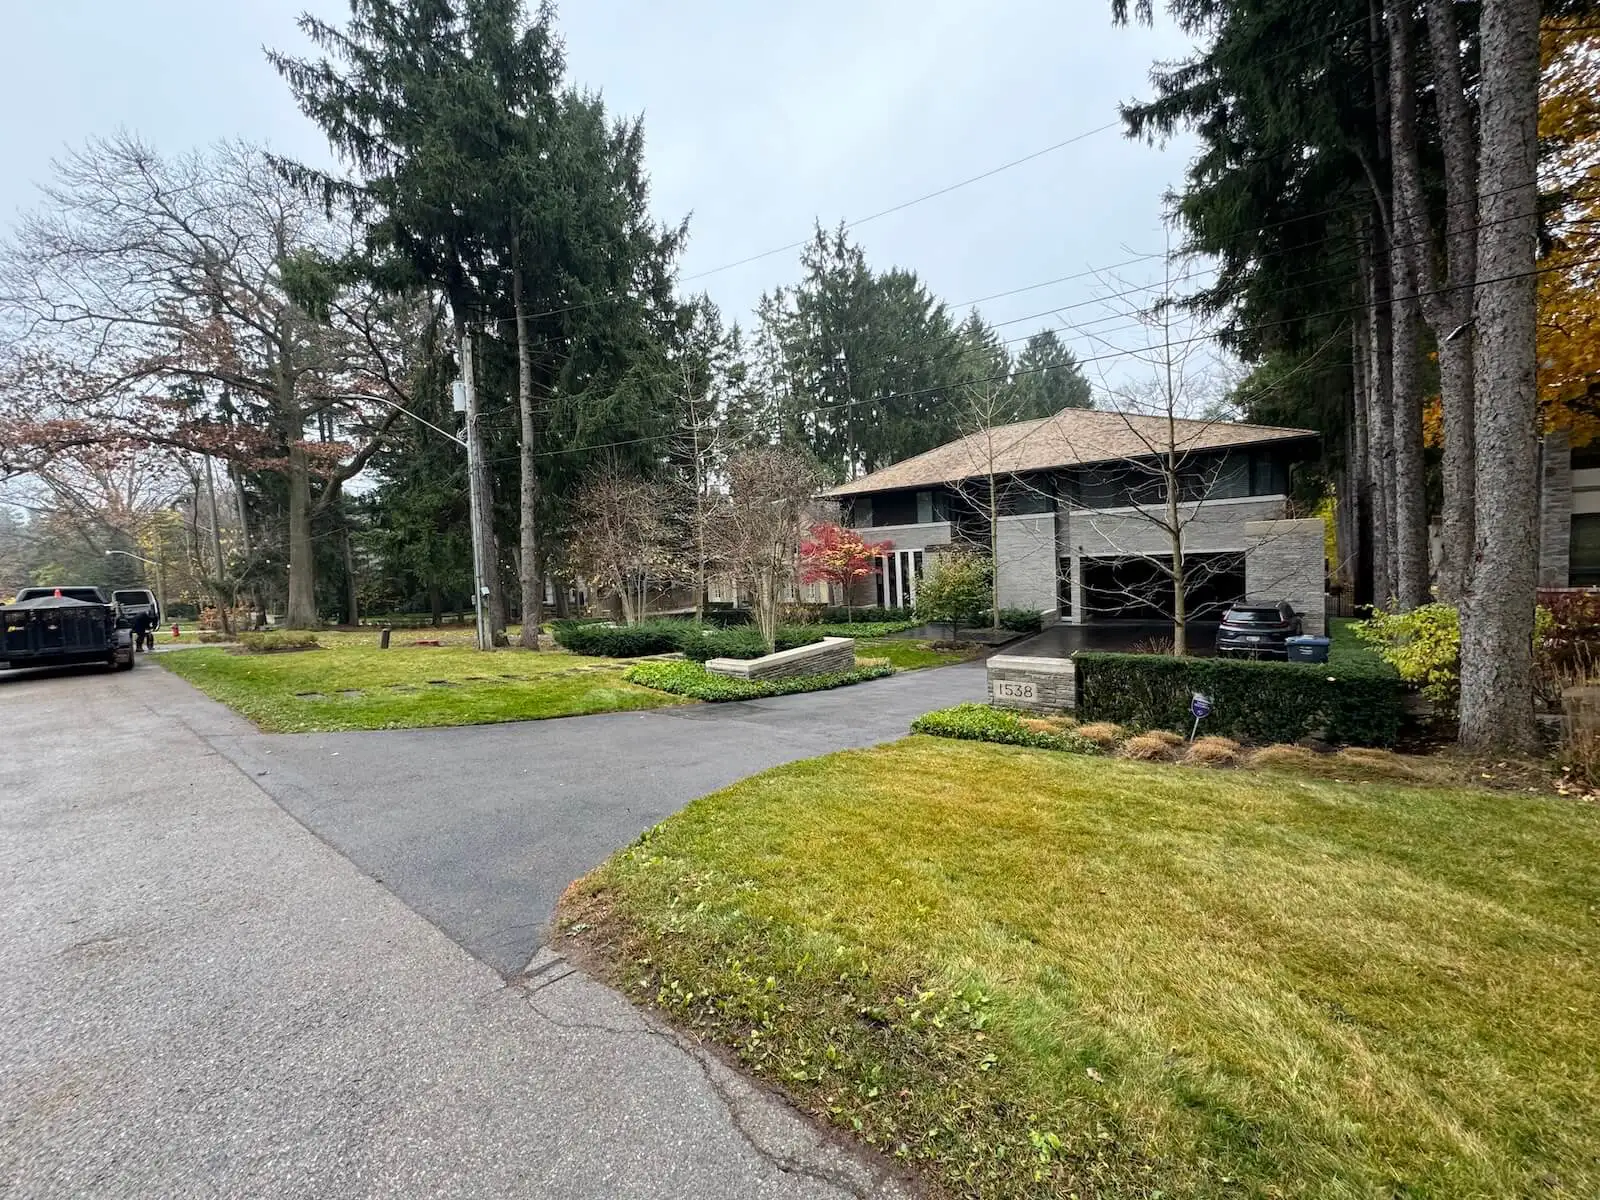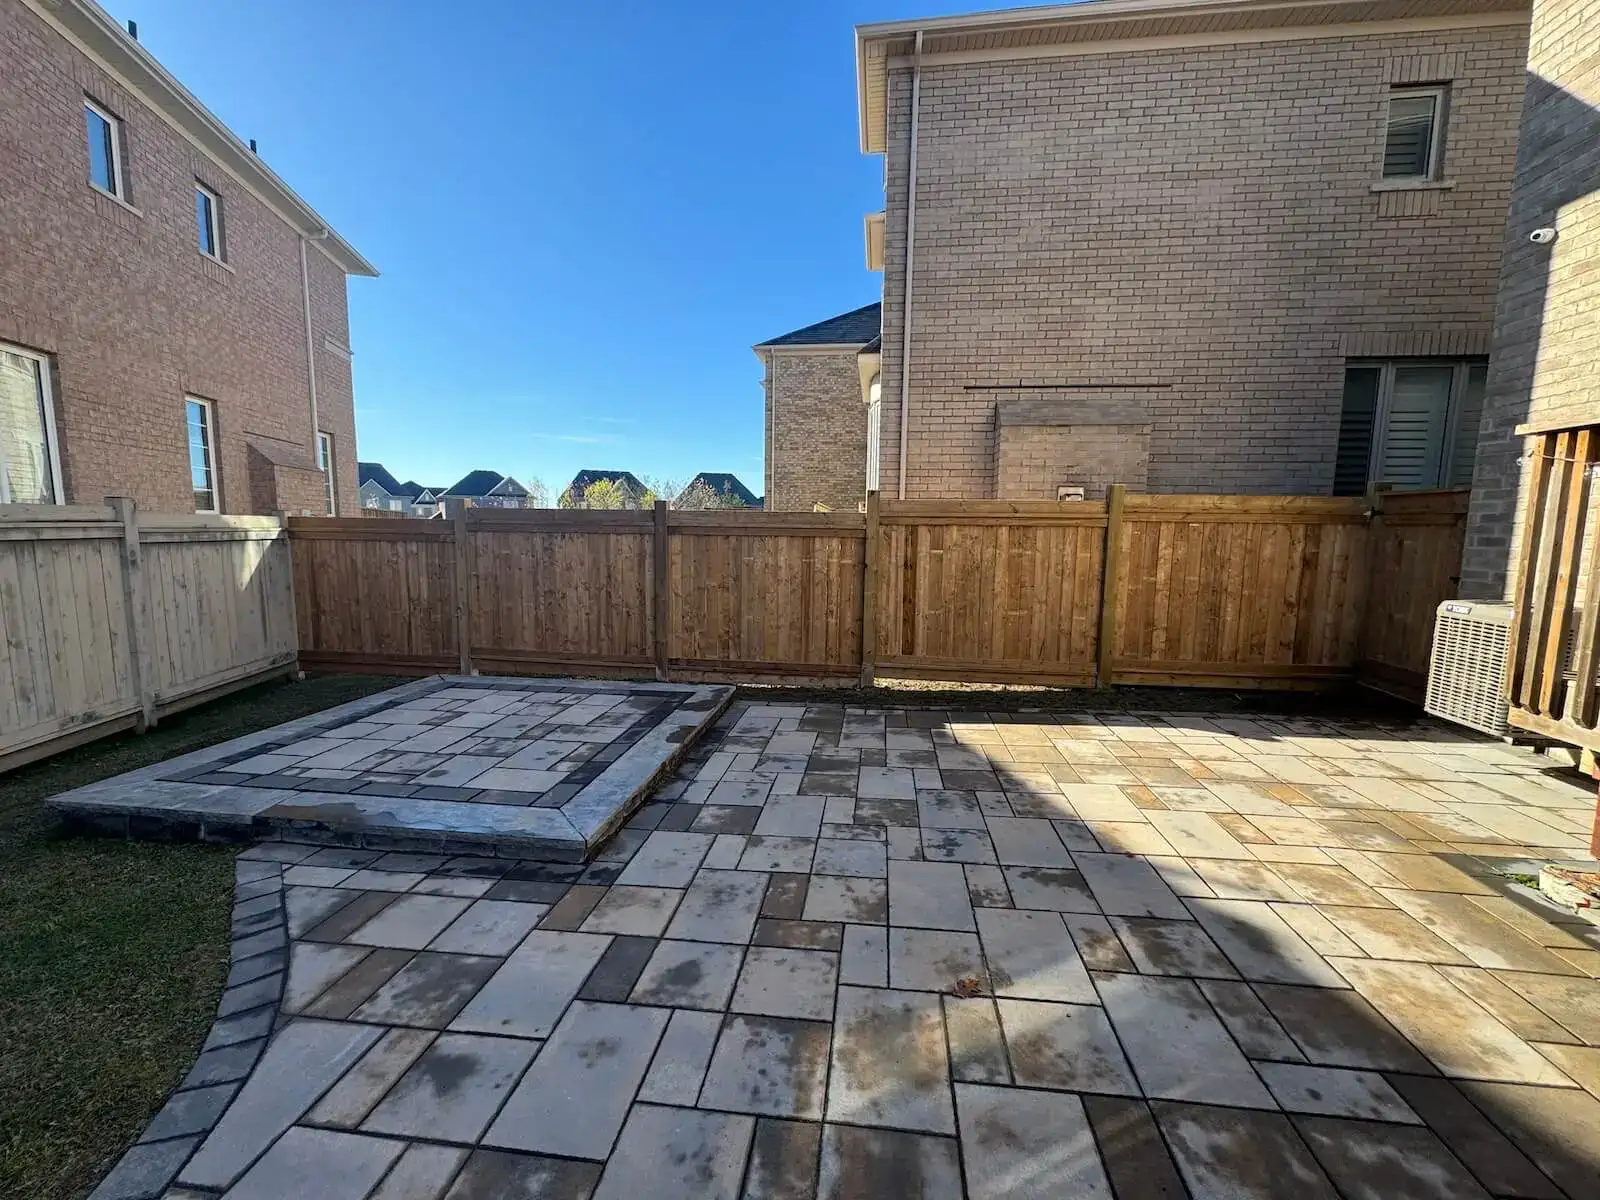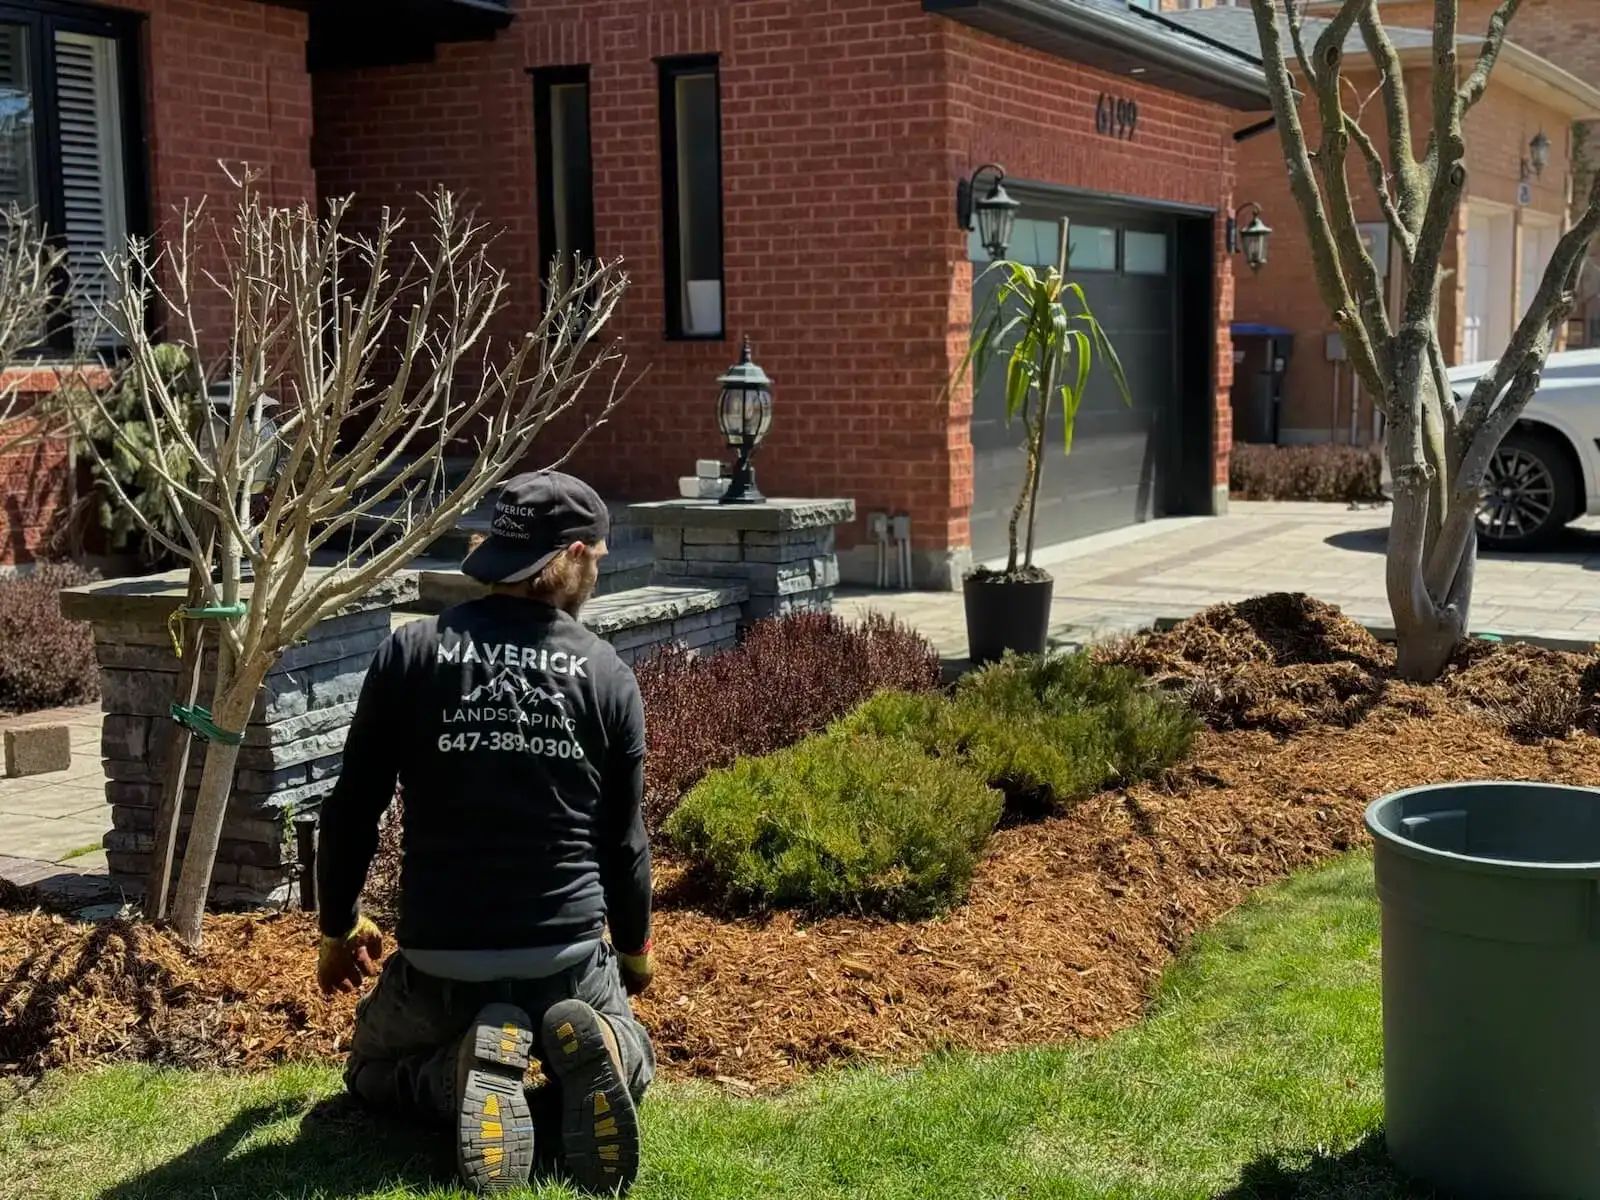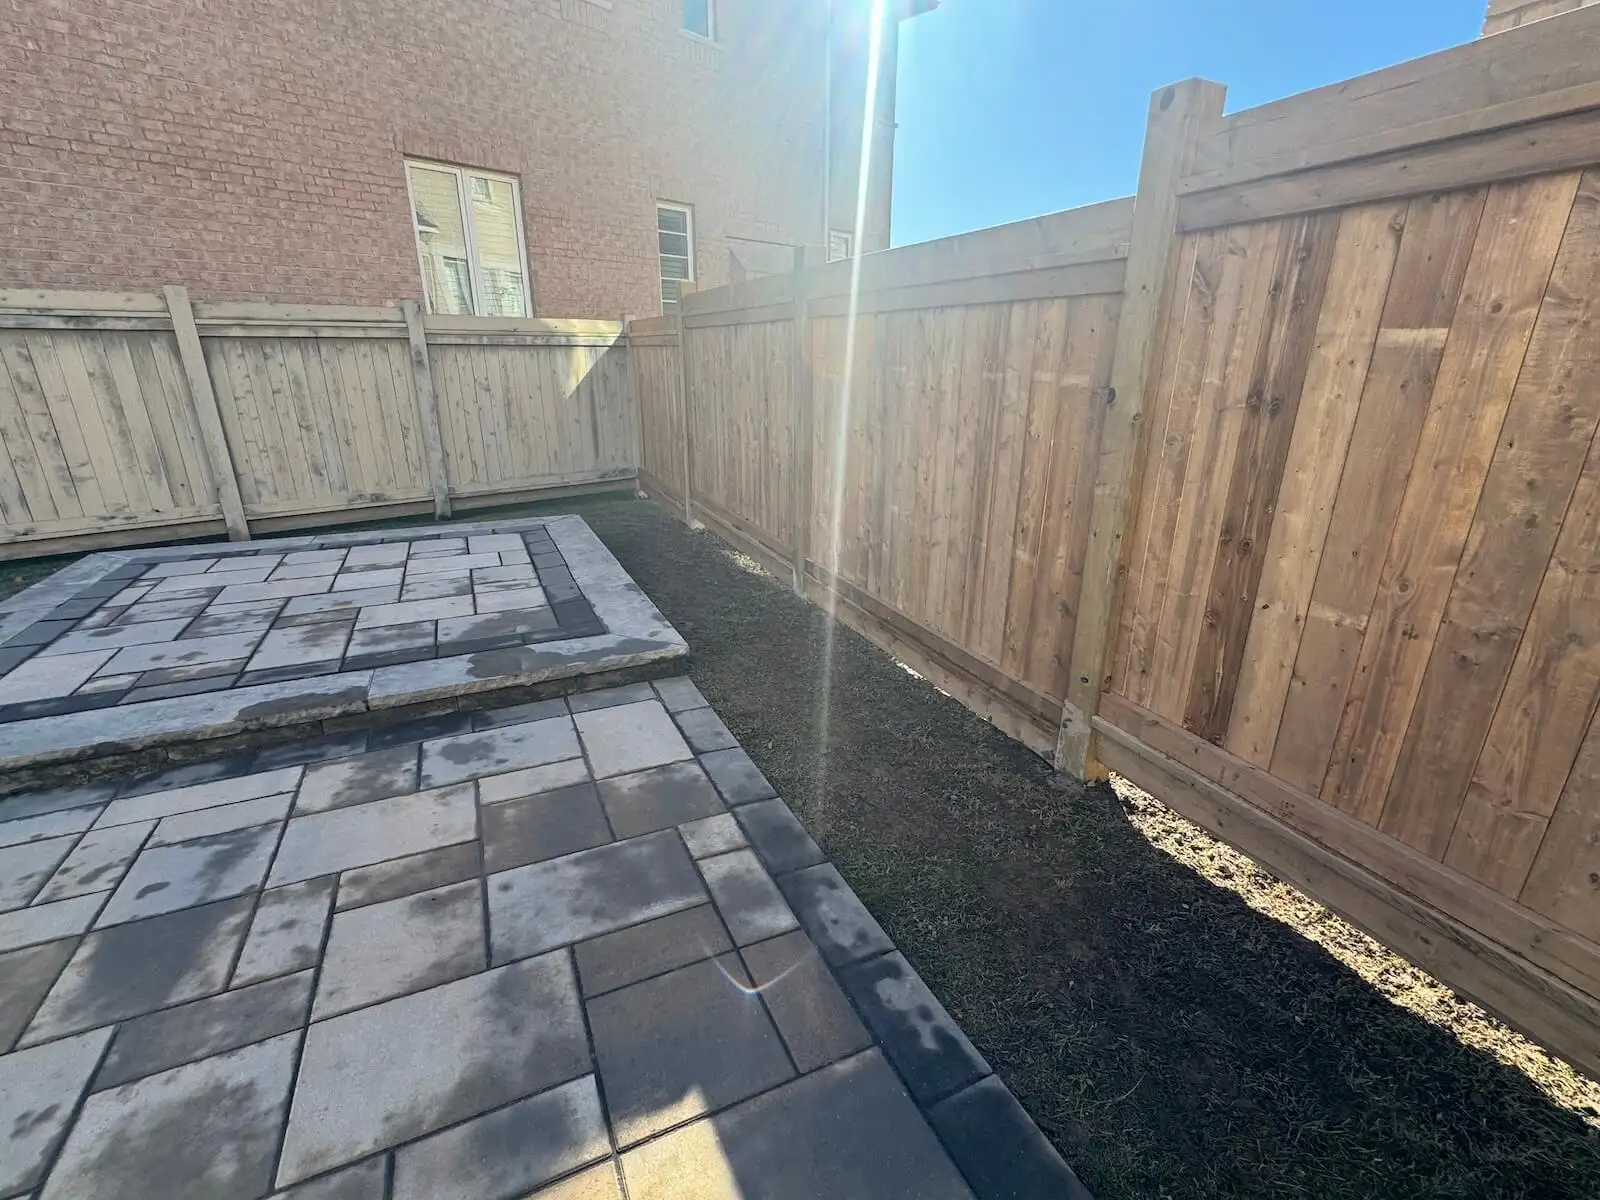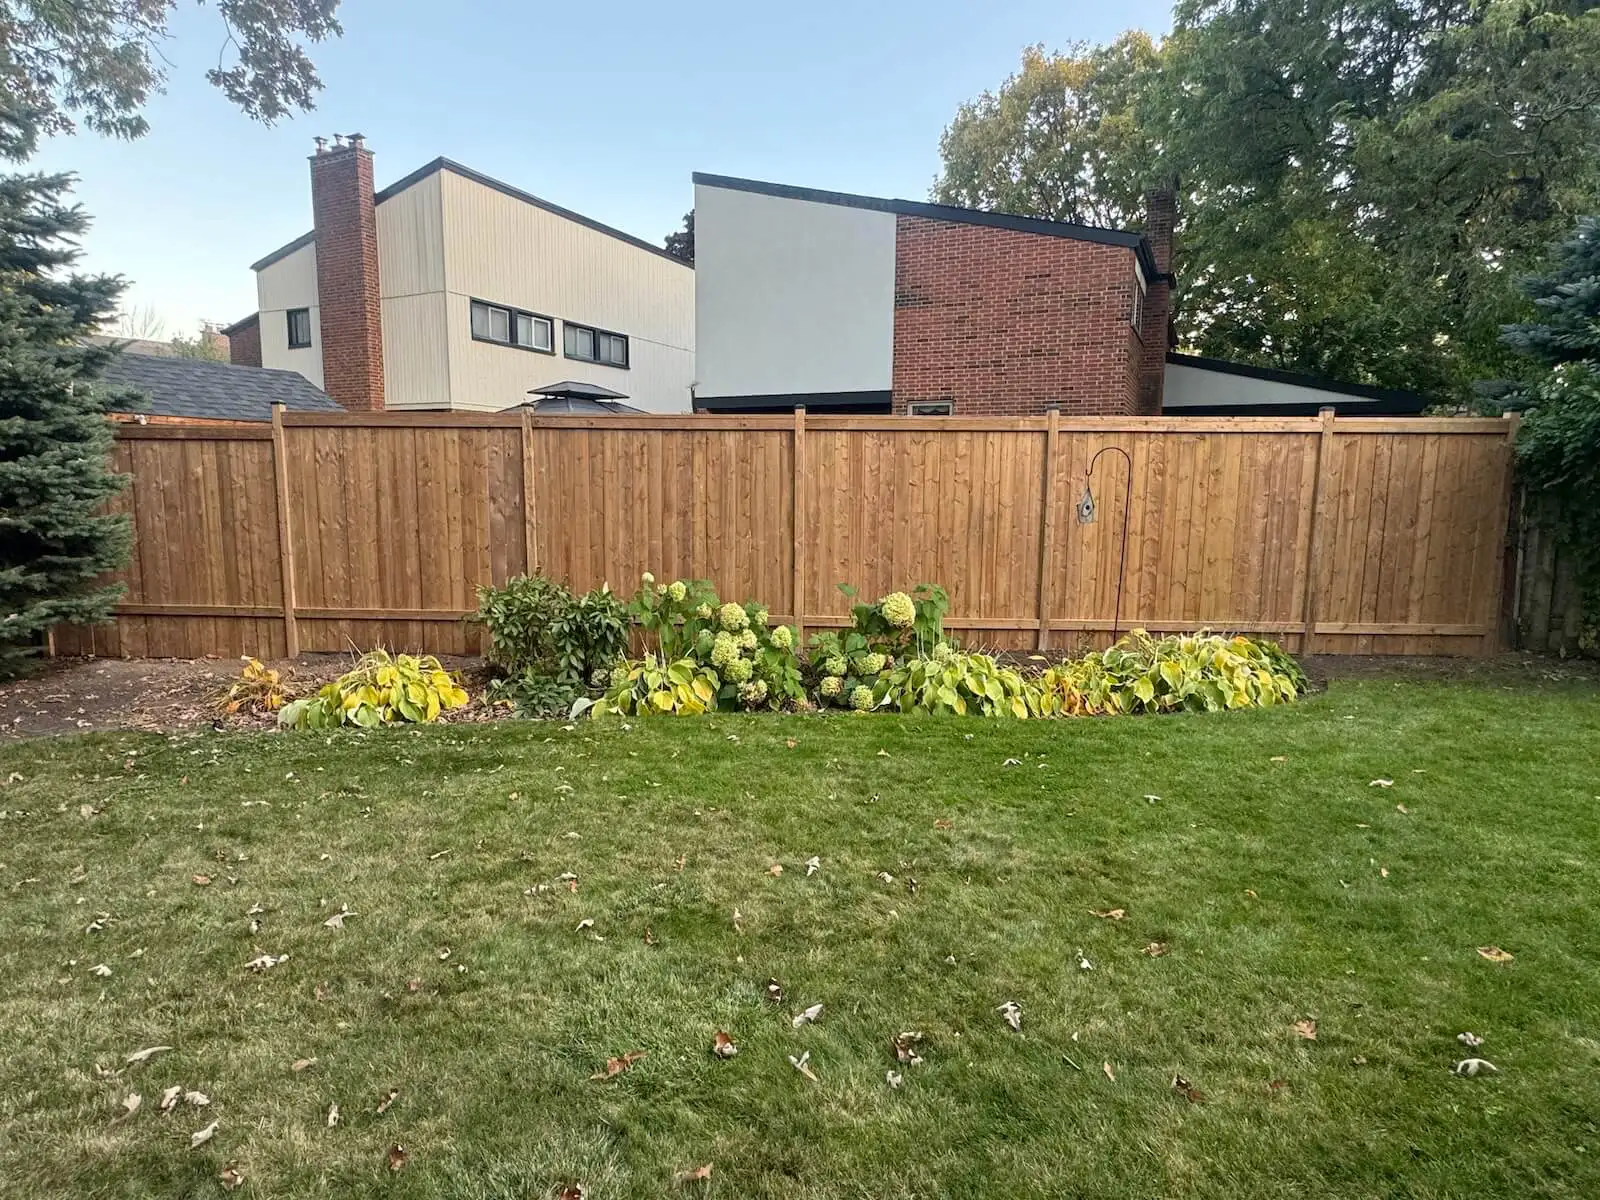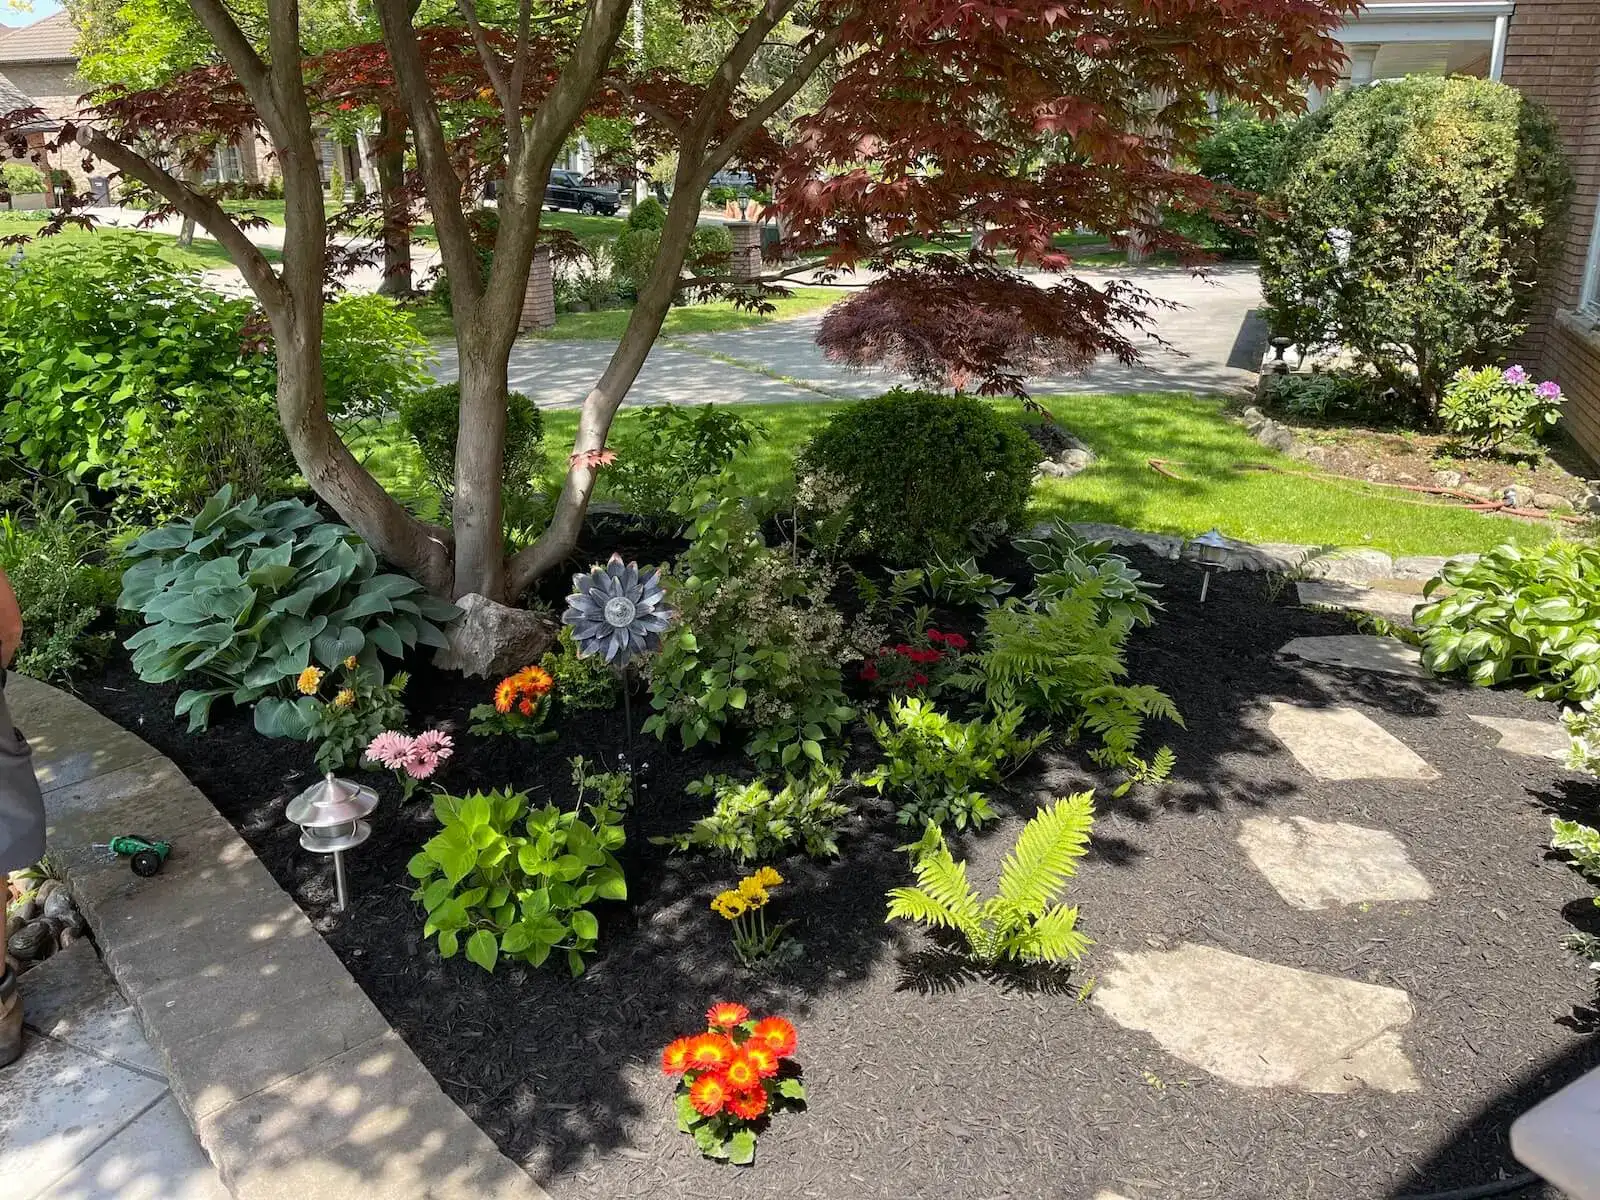









Most house border landscaping problems start with the wrong order. People pick stone, mulch, or edging first, then try to force the rest of the yard to fit. A good border works better when you plan it as one perimeter system around the house, not three separate beds.
What house border landscaping is and why it matters
House border landscaping is the planted and edged perimeter around the front, side, and back areas near the home. It is also called a foundation bed, garden border, lawn edge, or edging border, depending on the zone and the material.
A good border does four jobs at once: it frames the house, separates lawn from planting beds, helps protect the foundation zone, and reduces maintenance. That is why the best garden border ideas do more than look neat from the street.
The border around landscaping is usually called edging, curbing, a bed edge, or a garden border. The edging is the physical or cut line that holds the bed shape, while the border is the full planted and finished area inside it.
How to plan house border landscaping from scratch
The best way to plan from scratch is to map the whole perimeter before you choose materials or plants. Measure the house edge, note sun and shade on each side, mark downspouts, identify walk paths, and check where meters, hose bibs, window wells, and AC units need access.
Foundation planting beds usually work best when they are about 3–8 feet deep, depending on house scale and mature plant size. Narrower beds can look undersized and become harder to maintain because plants outgrow them quickly.
Service equipment should stay accessible, and practical clearance around AC units and similar equipment is usually about 24–36 inches. Your exact layout still needs to respect the manufacturer’s clearance requirements and the property conditions.
A hose, rope, or marking paint helps you mock up curves before digging. This matters because formal front yard border landscaping usually looks cleaner with straighter runs and deliberate arcs, while side yard landscaping and backyard edges can handle softer lines.
A whole-house layout feels cohesive when you repeat one or two core materials across all zones. For example, you might carry steel or stone edging from the entry border into the side yard, then repeat the same mulch or gravel tone at the back.
Step-by-step planning checklist
- Measure the house perimeter and the bed lengths.
- Note full sun, part sun, and shade by side.
- Mark downspouts, splash zones, and soggy areas.
- Locate utilities before any digging.
- Leave access to AC units, meters, and service paths.
- Sketch front, side, and backyard zones as one system.
- Test curves with a hose before cutting edges.
- Repeat core materials so the design does not look disconnected.
If you want a full-perimeter plan before construction, this is where a design-build team earns its keep. RockLeaf offers a free 3D design and quote for GTA homeowners who want to see the whole layout first; conditions apply, ask an agent.
Best border sizes, shapes, and the 3 inch edging rule
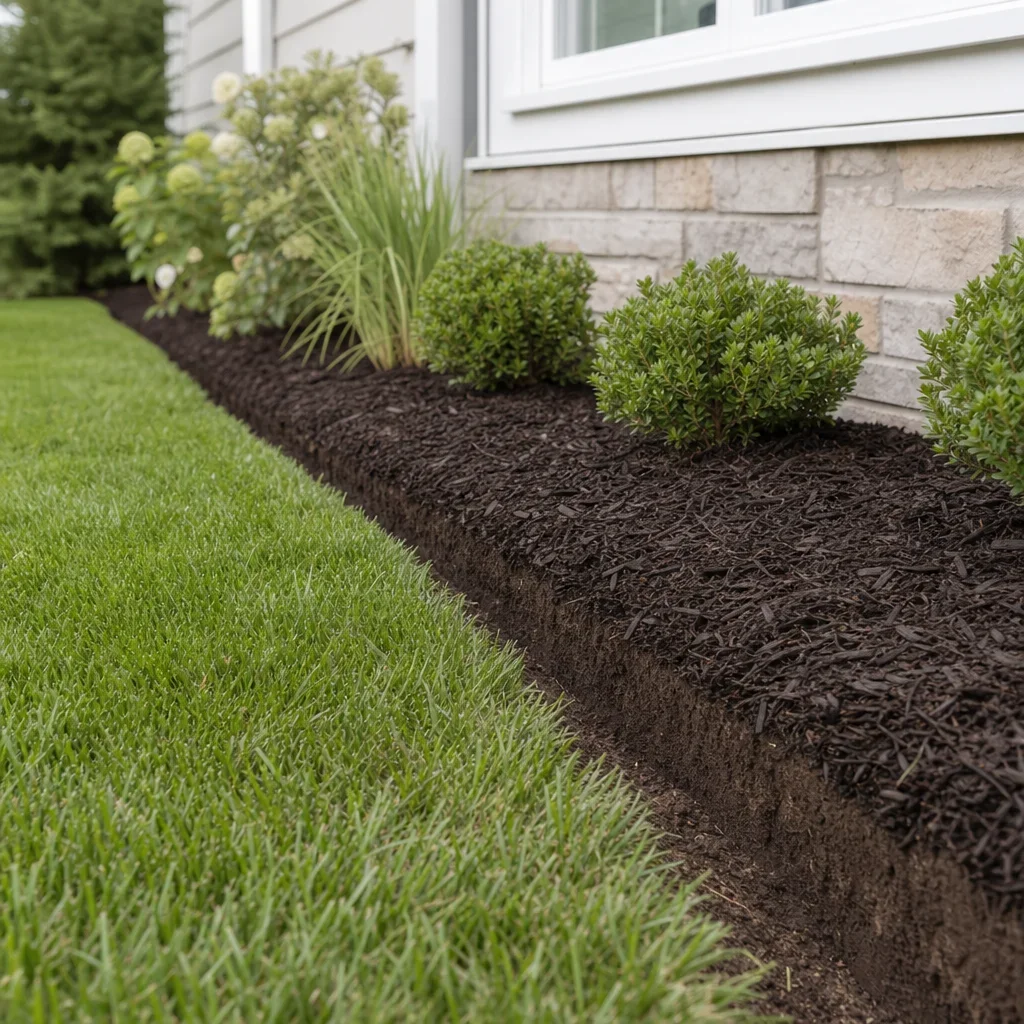
A good border size depends on the house scale, the mature size of the plants, and whether the bed is decorative or functional. Long flat wall sections can stay shallower, but corners usually need deeper planting pockets to avoid a thin, underbuilt look.
The so-called 3 inch edging rule is a rule of thumb, not a code. A natural trench edge is commonly cut about 3 inches deep to create visible separation between lawn and bed and to slow grass creep.
Mulch depth is a different measurement from edging depth. Mulch is typically installed at about 2–3 inches deep, and piling it higher can smother roots and spill onto the lawn edge.
Visible bed width should match the home. Tiny strips against a large front elevation usually look like an afterthought, while deeper borders give you room for layering, better drainage transitions, and easier mower control.
The best edging materials for a house border
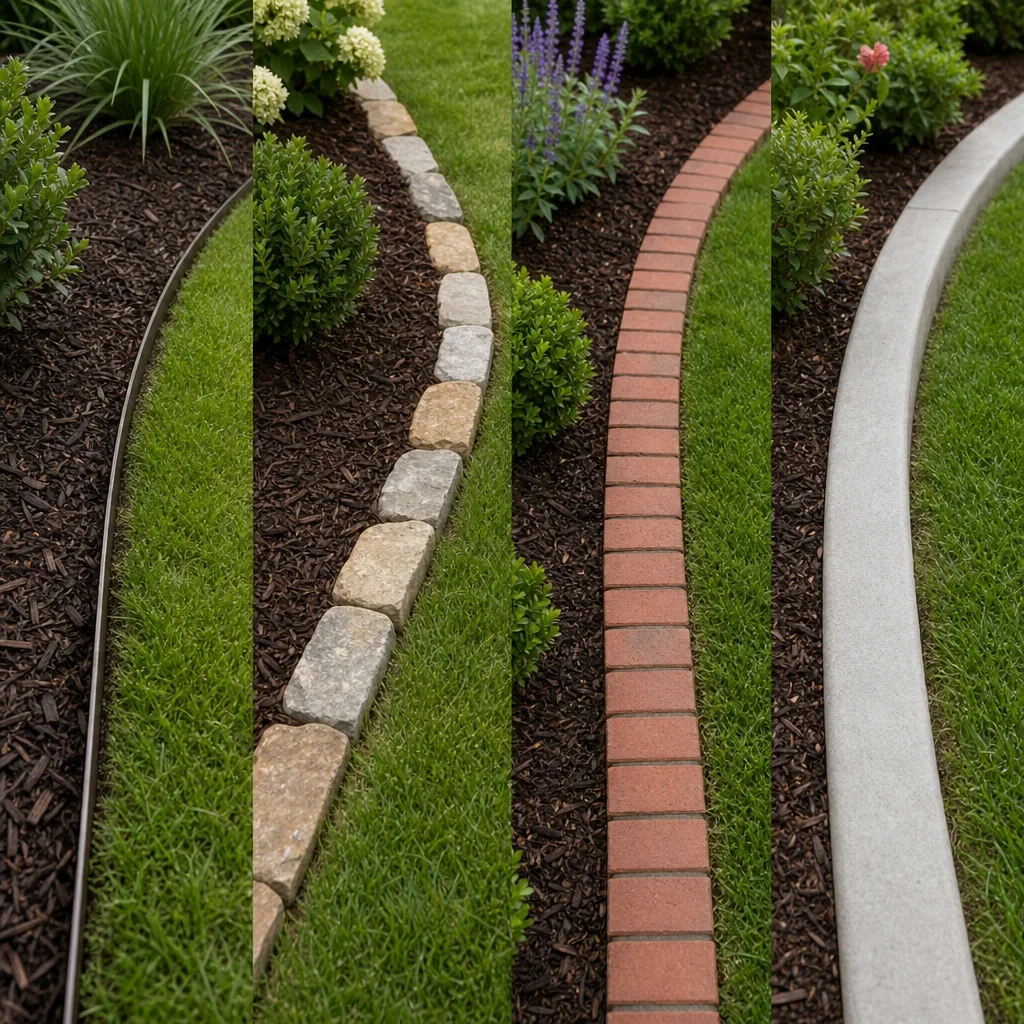
The best edging material is the one that matches the style of the house, holds its line through freeze-thaw cycles, and fits the maintenance level you want. In premium GTA projects, that usually means steel or aluminum edging, natural stone, brick or interlock soldier courses, or concrete in the right context.
Plastic edging is usually the cheapest installed option, but it can lift, wave, or crack over time and often looks weak against high-end stonework. It may suit a budget refresh, but it rarely gives the cleanest long-term result.
Metal edging creates a crisp line, curves well, and stays visually quiet in modern or transitional landscapes. It is one of the strongest low-maintenance landscape borders when the base and drainage are handled properly.
Stone edging has a heavier, more natural look and works well with natural rock border edging, planting beds, and interlock features. It usually holds mulch well, but the look depends on consistent sizing and proper base prep.
Brick edging and soldier-course interlock are good when you want the border to tie directly into walks, patios, or driveways. These systems often outperform standalone edging because the border becomes part of the hardscape layout.
Concrete edging can create a continuous line, but freeze-thaw movement matters. In GTA winters, performance depends as much on sub-base preparation and drainage as on the concrete itself.
A spade-cut trench edge is the cheapest true edging style and the most natural-looking in informal beds. It looks clean when maintained, but it needs regular re-cutting to stay sharp.
Gravel borders can work as drip edge gravel below roof lines or in utility side yards, especially where mulch would wash out. They still need proper grading, and they are not a cure for drainage problems on their own.
Material comparison table
| Edging material | Best use | Look | Maintenance | Curves well | Holds mulch | Freeze-thaw notes |
|---|---|---|---|---|---|---|
| Natural trench edge | Informal beds, budget installs | Soft, natural | Higher | Yes | Fair | Can deform without upkeep |
| Plastic edging | Budget refreshes | Basic | Medium to high | Yes | Fair | Can shift or crack |
| Metal edging | Modern and low-maintenance borders | Clean, minimal | Low | Yes | Good | Strong if properly installed |
| Stone edging | Classic or naturalistic beds | Premium, textured | Low to medium | Somewhat | Good | Base prep is critical |
| Brick edging | Traditional homes, tied hardscapes | Formal, warm | Medium | Somewhat | Good | Individual units are repairable |
| Concrete edging | Continuous curbs | Formal, defined | Low to medium | Limited after pour | Good | Sensitive to movement without prep |
| Gravel band | Tight side yards, drip zones | Functional, clean | Medium | Yes | Not for mulch | Needs drainage coordination |
What professionals use for edging in premium landscapes
Professionals do not use one edging material everywhere. We choose based on design intent, grade, drainage, traffic, snow management, and how the border connects to patios, walks, and driveways.
Pro-grade edging in premium landscapes commonly includes steel or aluminum edging, natural stone, brick or interlock soldier courses, cast concrete in selected areas, and crisp spade edges for naturalistic beds. The cleanest projects usually integrate edging into the hardscape instead of treating it like an add-on strip.
Drainage and sub-base prep matter as much as the visible edge. A high-end stone or concrete border can still fail if water sits behind it, if the base is thin, or if freeze-thaw movement is ignored.
Cheapest ways to do landscape edging without creating more maintenance
The cheapest way to do landscape edging is usually a spade-cut trench edge. It costs the least upfront because it uses labour instead of material, but it also needs the most ongoing touch-up.
Basic plastic edging is another low-cost option, and it is easier to install than stone, brick, or concrete edging. The trade-off is that cheap edging often creates more rework later through shifting, grass intrusion, or a wavy line.
House border landscaping ideas on a budget work best when you spend on layout, soil preparation, and drainage first. Decorative upgrades can come later, but a poorly shaped bed or wet side yard will stay frustrating no matter what edging you install.
The real budget drivers are linear footage, curves, corners, demolition, soil prep, and access constraints. That is why a simple straight lawn edging run costs less to build than a border with multiple curves, narrow access points, and plant pockets around corners.
How to create a clean edge between lawn and garden beds
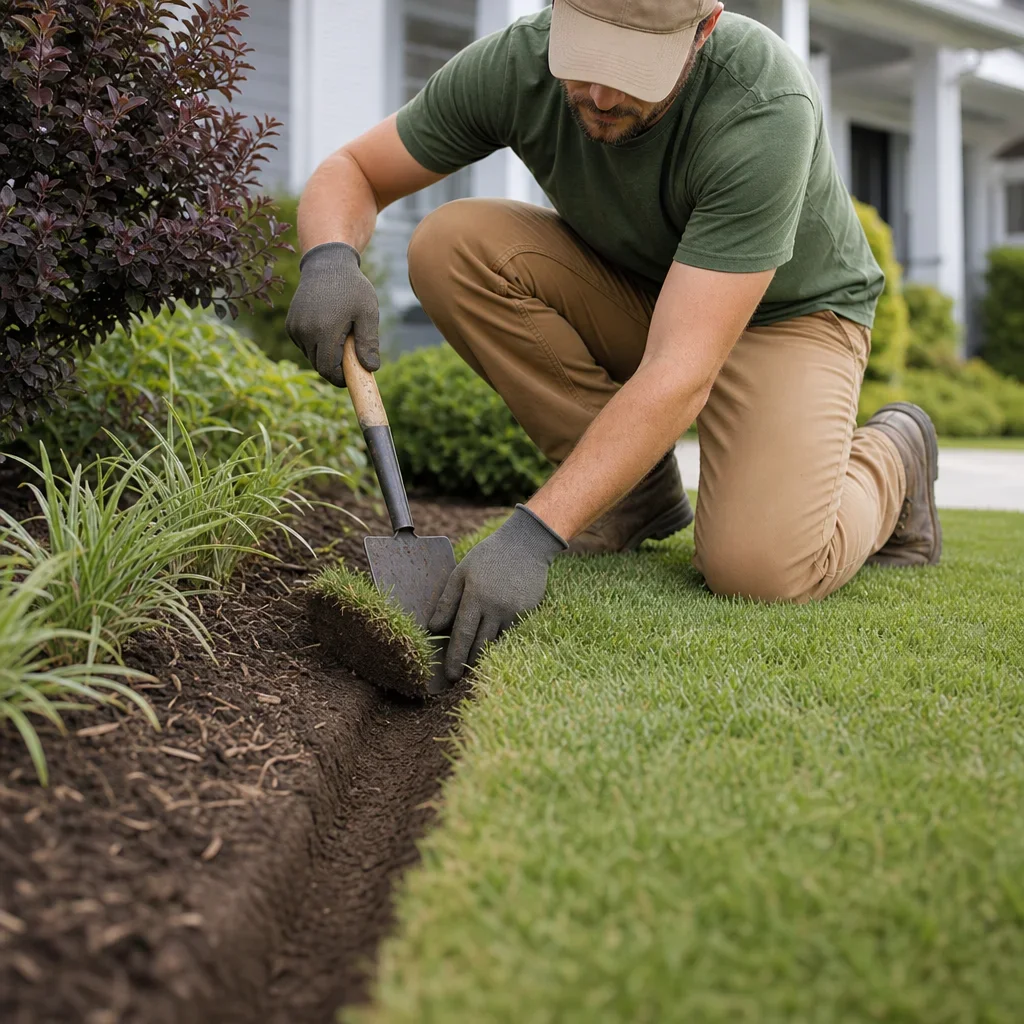
A clean edge comes from cutting a clear line, removing turf fully, and keeping the bed finish slightly below or flush with lawn grade. Mulch or soil sitting above the grass line spills into the lawn and makes mowing messy.
A natural trench edge is commonly cut about 3 inches deep with a slight angle toward the bed. That creates visual separation and slows grass runners from crossing into the planting area.
Barrier edging works when you want a more permanent line than a spade edge can provide. Metal, stone, brick, and concrete edging each reduce maintenance differently, but none of them are maintenance-free.
Grass stays out of landscape beds best when the edge is defined, the lawn line is maintained, and the bed is not overfilled with mulch. I tell homeowners to compare the upkeep system, not just the material.
Natural edges usually need touch-ups about once or twice a year to stay crisp. Front beds with formal lines tend to show edge drift faster than backyard borders with looser shapes.
Low maintenance house border landscaping: best materials and layouts
Low maintenance house border landscaping starts with fewer shapes, fewer materials, and more repetition. Simple bed lines are easier to mow, edge, mulch, and weed than a design full of micro-curves and tiny islands.
The lowest-maintenance layouts usually pair durable edging with repeated plant groupings and a stable surface finish. A common example is metal edging, shredded mulch, evergreen anchors, and drifts of hardy perennials.
Gravel can reduce mulch blowout in windy or tight side-yard conditions, but it is not always lower maintenance than mulch. Decorative stone can trap debris, heat up planting zones, and allow weeds to root in accumulated dust over time.
Overplanting creates maintenance. Beds that are too narrow, too crowded, or filled with too many species need more pruning, more dividing, and more frequent redesign than low-maintenance landscape borders built around mature plant size.
Irrigation planning matters as much as plant choice. Drip irrigation or targeted watering keeps foliage drier, reduces overspray on siding and stonework, and helps each zone get the right amount of water.
Front yard, side yard, and backyard border ideas by zone
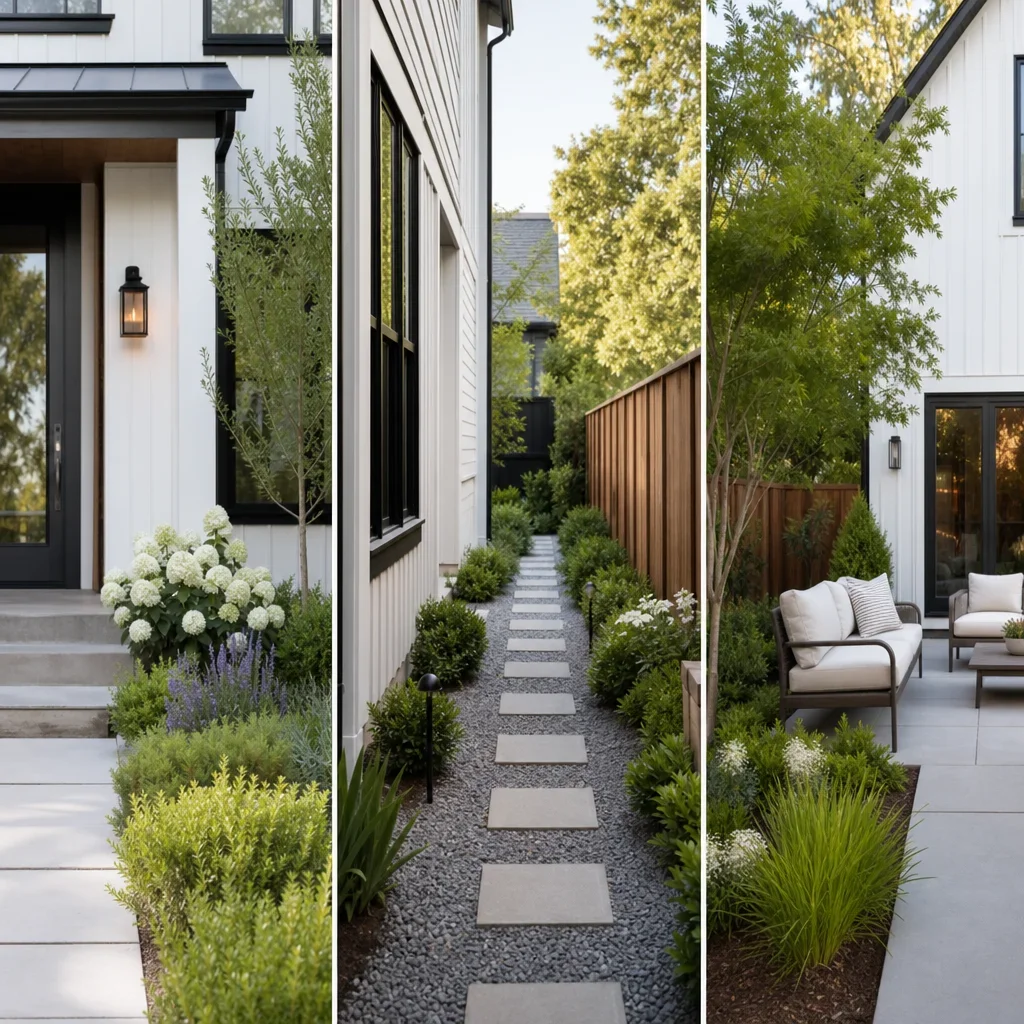
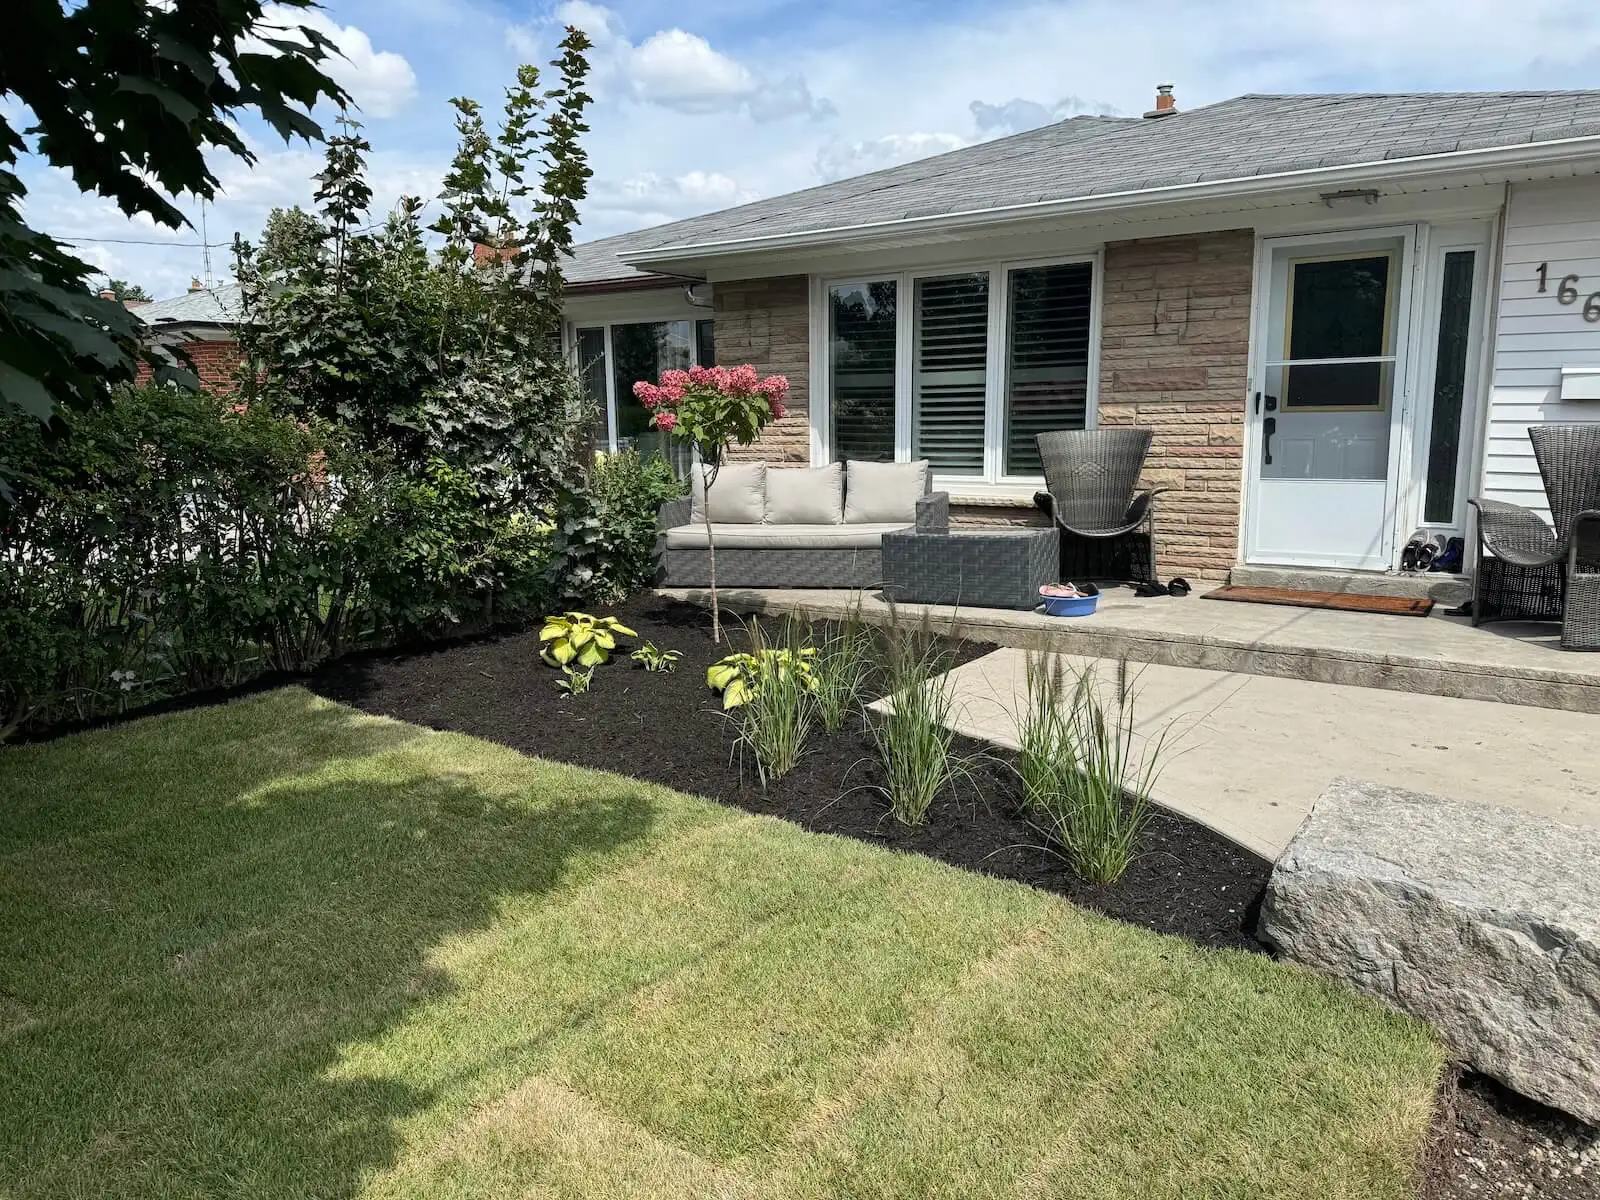
Front yard border landscaping should frame the entry, balance the façade, and protect clear sightlines from the street. The most successful front borders usually combine foundation planting, a crisp edge, and one or two focal planting areas near steps or the front walk.
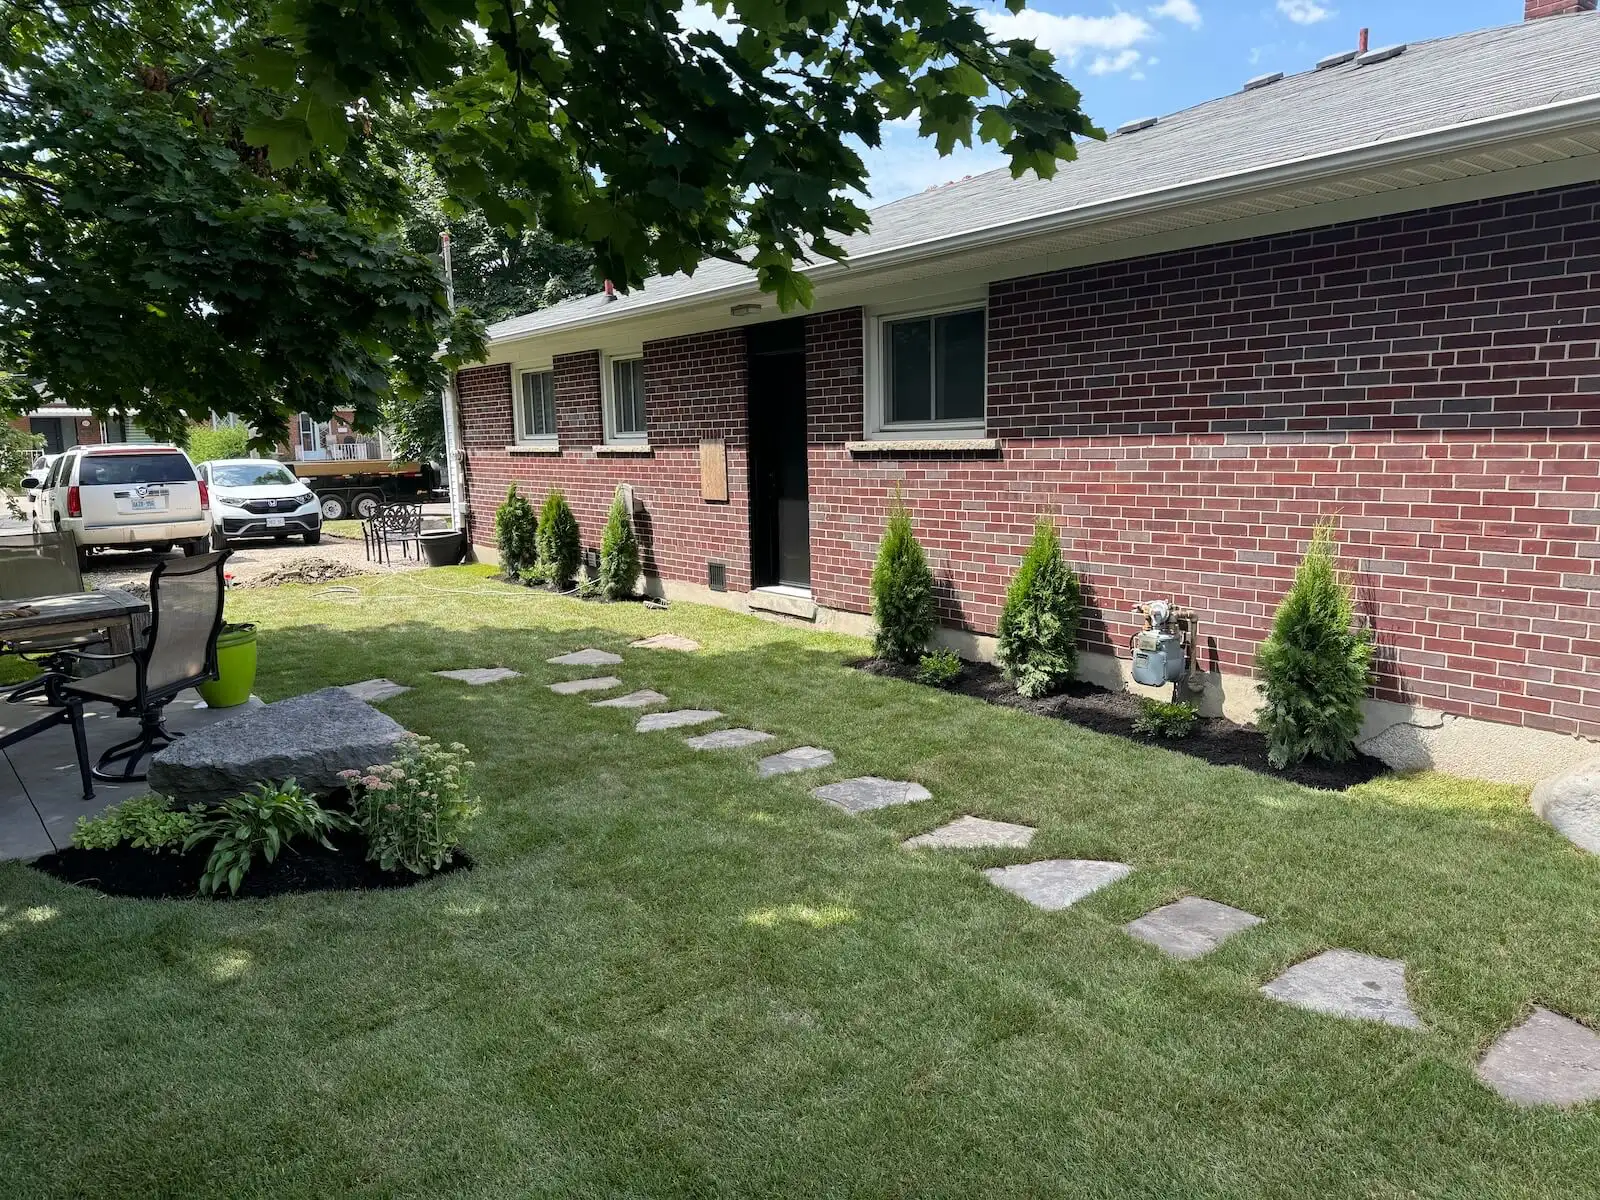
Side yard landscaping works best when it solves utility access and drainage first. Narrow side borders often benefit from gravel bands, stepping stones, shade-tolerant planting, and simple edges that do not snag mowers or snow tools.
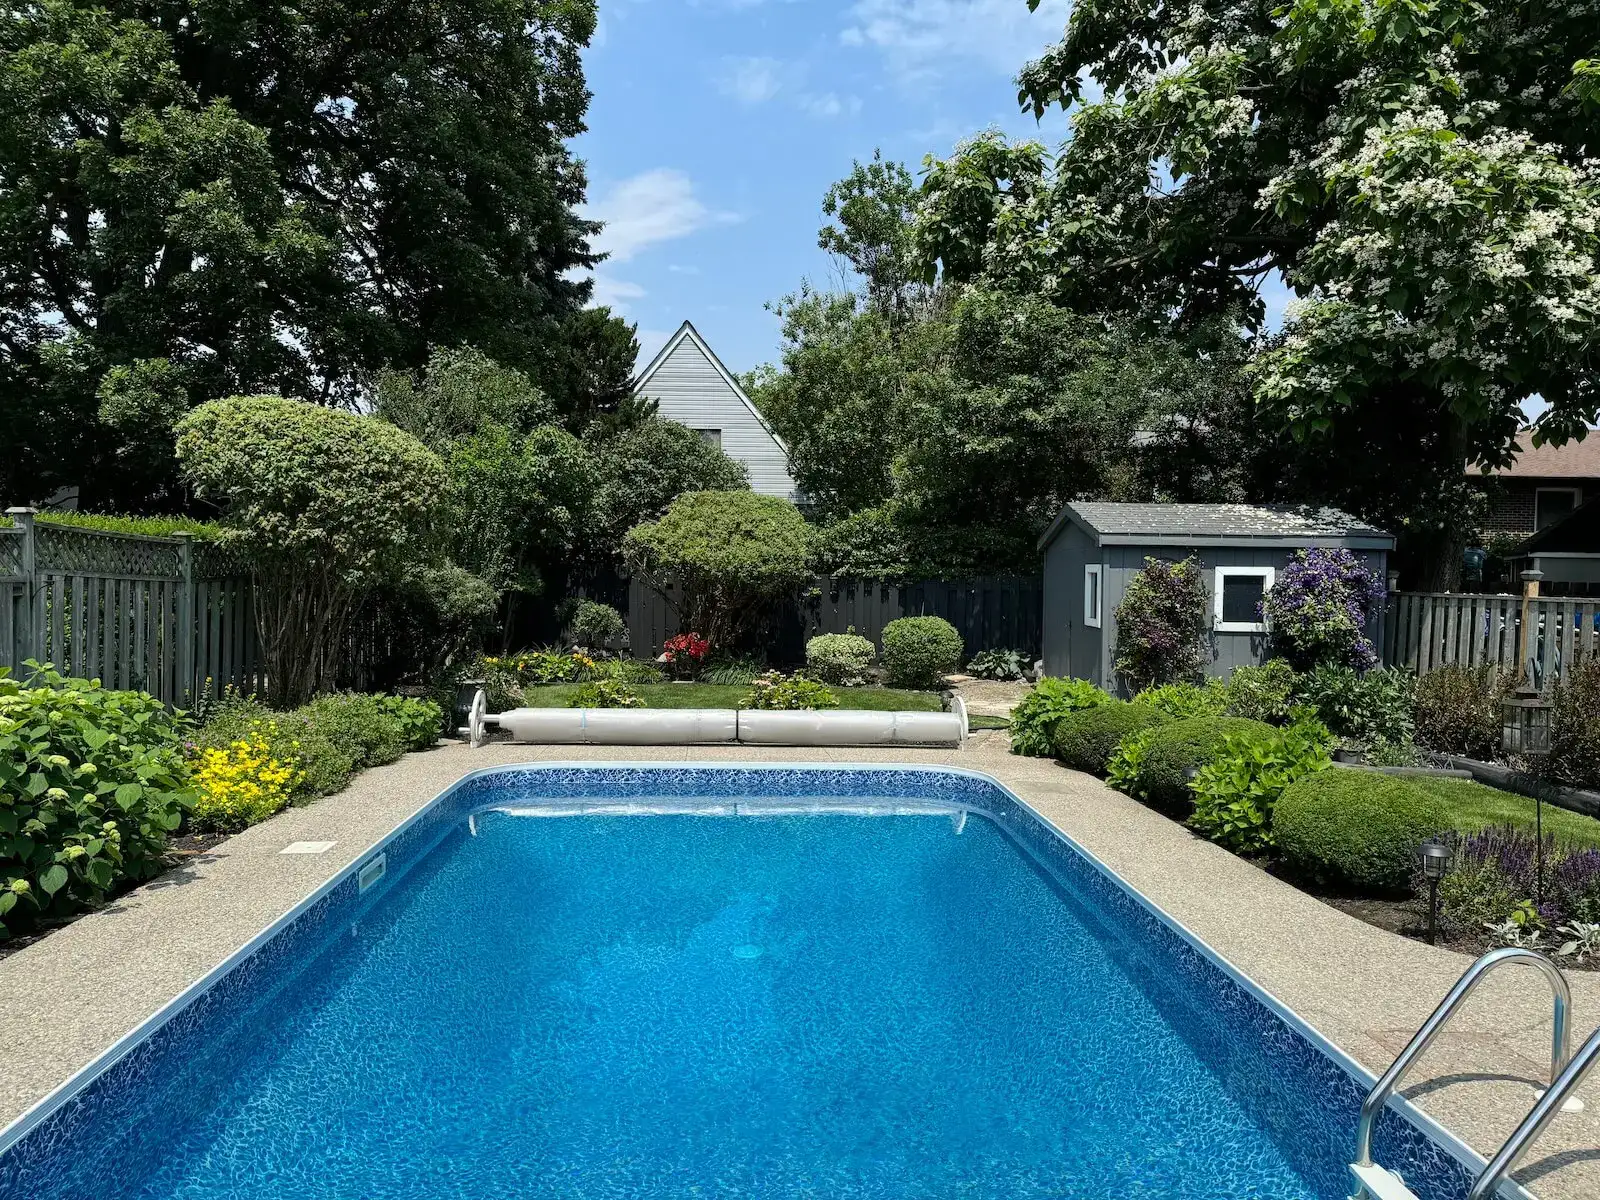
Backyard borders should support how the space is used. Around patios, fences, pools, or garden rooms, the border should connect visually to the hardscape instead of looking like a separate leftover strip.
Corners need deeper beds than straight wall runs. Outside corners can handle larger shrubs or ornamental grasses, while inside corners often need lower material and tighter plant spacing to avoid crowding paths.
Borders around trees, driveways, and walkways need special treatment. Tree beds should respect root flare and grade, while driveway and walkway edges should stay stable and mower-friendly where traffic and snow clearing are common.
Design examples by house area
- Front entry: crisp metal or brick edging, layered foundation planting, and repeated accents near steps.
- Utility side yard: drip edge gravel, stepping stones, and easy access to meters and hose bibs.
- Backyard patio edge: stone edging or integrated interlock, evergreen structure, and lower perennials near seating.
- Downspout zone: erosion-resistant finish, grading attention, and plant choices that can handle splash.
Best plants for house border landscaping by sun exposure and function
The best plants for border landscaping around a house are chosen by mature size, sun exposure, moisture, winter hardiness, and maintenance level, not by flower colour alone. For GTA conditions, plant selection should generally suit Zone 5–6 winters.
South and west sides of the house are usually hotter and drier, while north sides are often shadier and slower to dry. East-facing borders usually get gentler morning sun and can support a broader mix of shrubs and perennials.
Foundation plants work best when you layer them by height: taller anchors at the back, medium shrubs or perennials in the middle, and lower plants at the edge. That keeps windows, sightlines, and maintenance access clearer.
Plant spacing should be based on mature spread, and a common planning reference is to space plants at about one-half to full mature spread depending on how quickly you want the bed to fill in. Tight spacing gives a fuller look sooner, but it can also create future pruning and airflow problems.
Plant setback from the foundation should be based on the mature size of the plant, the width of the bed, and access needs. We see this constantly with foundation planting: the best-looking install on day one can become the worst-maintained bed three years later if shrubs are too close to the wall.
Simple plant-selection framework
| Exposure or condition | Plant types that usually fit | Design note |
|---|---|---|
| Full sun | Evergreen anchors, flowering shrubs, hardy perennials, ornamental grasses | Use heat-tolerant plants and allow room for mature width |
| Part sun | Mixed shrubs and perennials | Good for layered entry beds |
| Shade | Shade-tolerant shrubs, hosta-type foliage plants, ground covers | Keep the palette simple to avoid a patchy look |
| Dry or windy edge | Tough shrubs, grasses, gravel-tolerant plantings | Good for exposed corners and side yards |
| Splash zone | Durable shrubs and ground-level finishes | Coordinate with runoff, not just plant choice |
Mulch, gravel, river rock, and ground cover: what works around the house
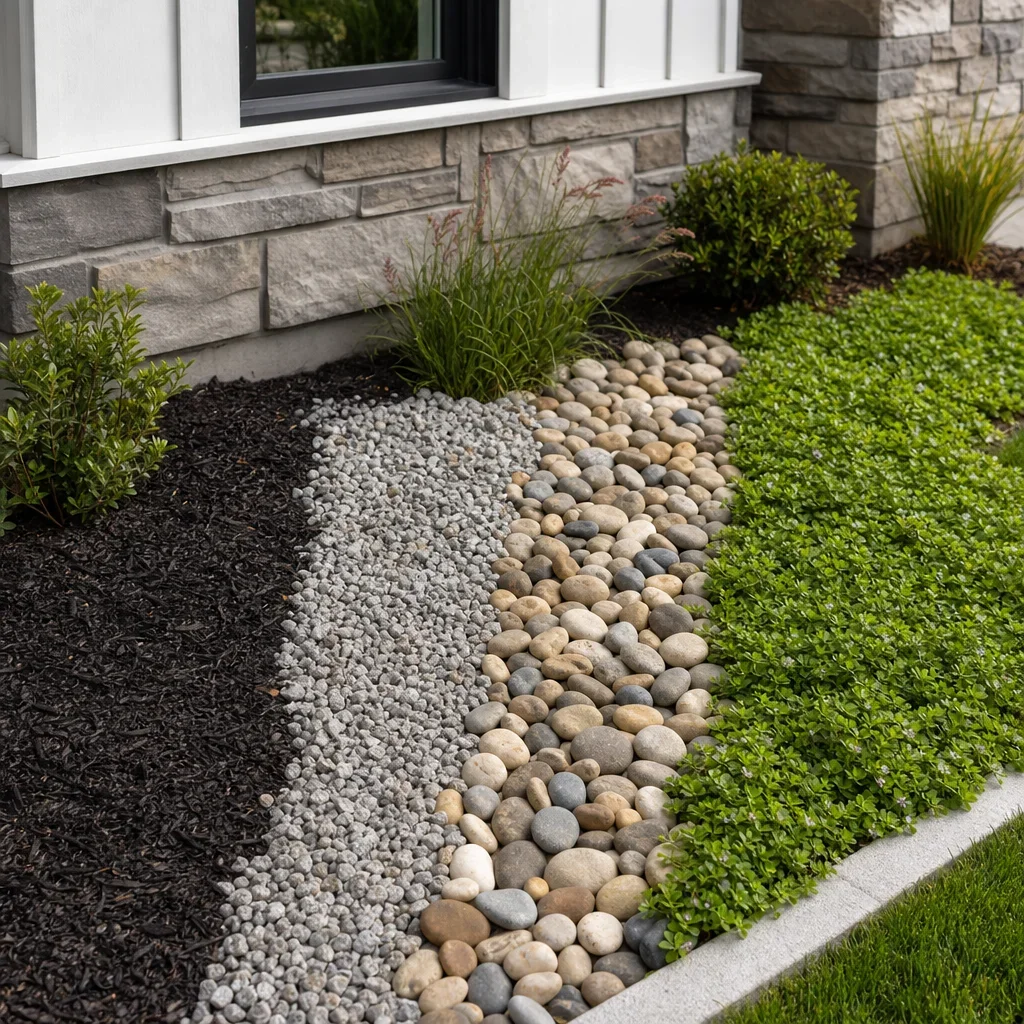
Mulch is usually the most forgiving surface cover around planted borders because it improves appearance, suppresses weeds, and supports soil moisture. It is typically applied at about 2–3 inches deep.
Gravel and river rock work best where drainage, roof drip, or wind make bark mulch harder to keep in place. Decorative gravel depth is commonly set in a broad range around 1–3 inches depending on the stone size and the application.
Drip edge gravel can make sense below roof lines, beside narrow side-yard walls, or near downspout-adjacent splash areas. It should still work with grading and runoff control, because stone alone does not move water away from the house.
River rock is heavier than light organic mulch, so it usually resists blowout better in exposed corners and splash zones. The trade-off is that rock can collect leaves, reflect heat, and be harder to clean when debris settles into it.
Living ground cover can soften a border and reduce exposed mulch, but it needs the right light and moisture conditions to fill in well. A ground cover that struggles in deep shade or dry heat usually creates more gaps and weeds, not less.
Drainage, grading, and irrigation: the part most edging guides miss
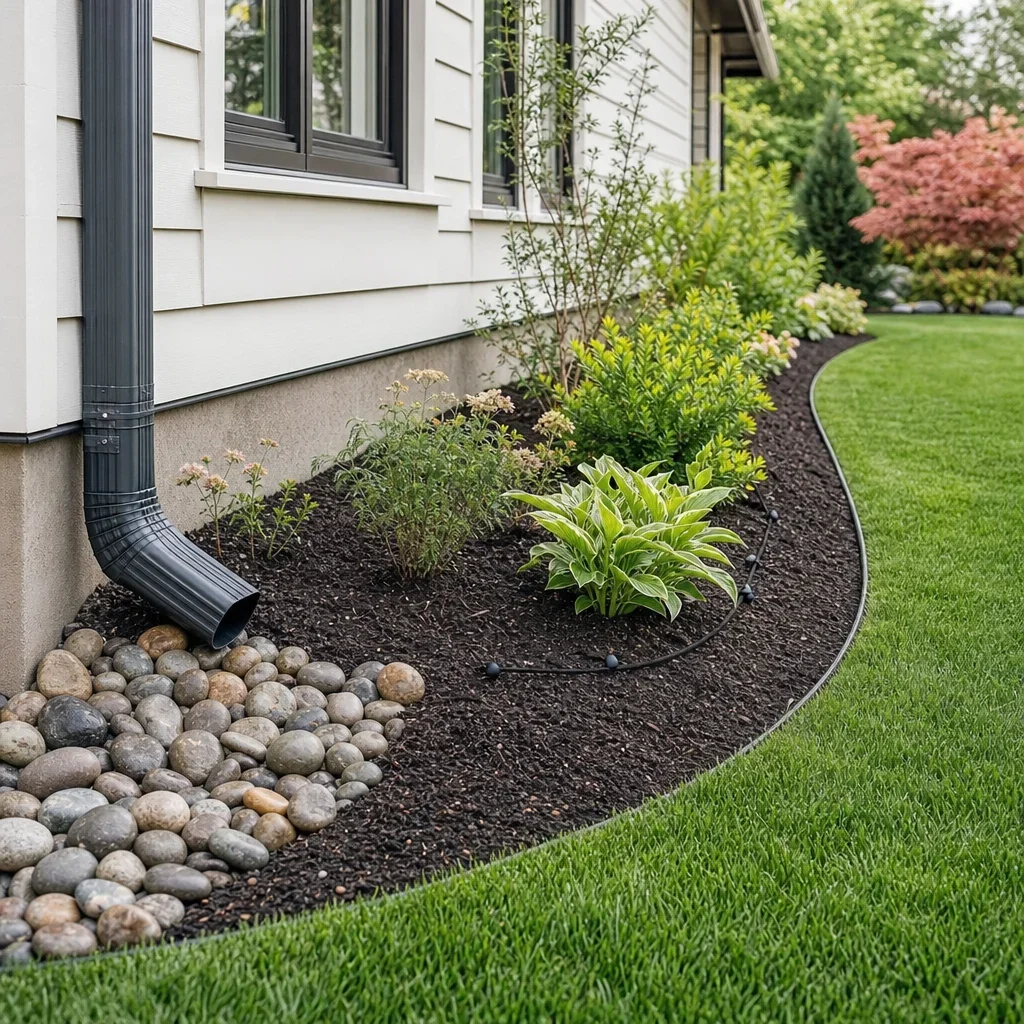
Borders should never trap water against the foundation or interfere with lot grading away from the house. That is the first rule I would follow before choosing any landscape edging ideas.
Downspouts, splash zones, and pooling side yards need to be mapped before bed shapes are finalized. A beautiful stone edging line can still fail if spring melt or gutter runoff keeps washing material into the same corner.
Some projects need drainage work before cosmetic upgrades. If the yard shows chronic pooling, erosion, soggy mulch, or repeated edge movement, the better fix may involve regrading, a drain, or a catch basin rather than new surface material.
Freeze-thaw cycles in the GTA add movement pressure to every border. Water in the base expands in winter, shifts the edge, and leaves gaps or heaving by spring if the install was not built to handle it.
Targeted irrigation is usually better than broad overspray around house borders. Drip systems or zoned watering help reduce wet siding, wasted water, and disease pressure in dense foundation beds.
Common edging mistakes and how to avoid them
The most common edging mistake is making the bed too narrow for the plants and the house. That forces constant pruning, weak layering, and a cramped look from the street.
Random curves are another frequent problem. Good border lines are deliberate and repeatable, not scalloped every few feet without a reason.
Choosing edging before solving drainage costs homeowners time and money. If runoff is still washing mulch away, the prettier edge just hides the real problem for one season.
Overfilling mulch above lawn grade creates spillover and mower frustration. Mulch should usually stay around 2–3 inches deep, not piled into a mound against plants or the edge.
Mixing too many materials makes the perimeter look disconnected. One stone at the front, plastic at the side, loose brick at the back, and random gravel patches rarely read as a unified design.
Planting too close to the house is a long-term mistake. Mature size, airflow, access, and window clearance matter more than the small nursery pot you see on install day.
Troubleshooting weeds, frost heave, sinking edges, mower damage, and mulch blowout
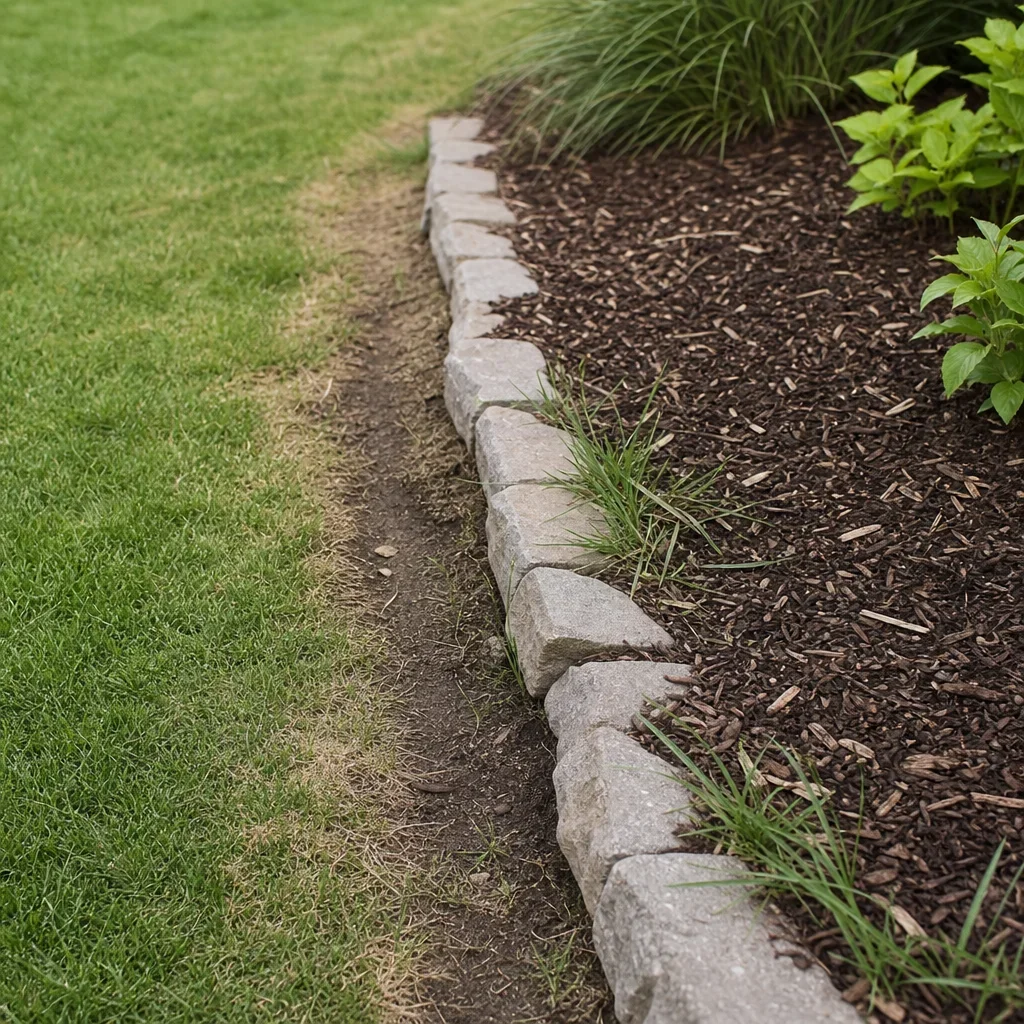
Grass invading the bed usually means the edge is too shallow, the lawn line has not been maintained, or the mulch has bridged the separation. Re-cutting the edge and lowering built-up material usually works better than just adding more mulch.
Frost heave is usually a base and water problem, not just a material problem. When edging moves every spring, the repair may need better excavation, drainage correction, or a more stable edging system.
Sinking stone or brick edging points to weak base prep or water movement below the edge. Small sections can sometimes be lifted and reset, but repeated settling often means the border needs partial rebuilding.
Weeds through decorative rock usually come from dust, organic debris, and light reaching the surface, not from the rock itself. Rock beds still need weed control, cleanup, and a maintenance plan.
Mulch blowout near downspouts or exposed corners means the finish does not match the water or wind conditions. Heavier mulch, a gravel transition, a lower edge profile, or drainage correction can all help depending on the cause.
Mower and snow-tool damage are common where borders meet driveways and walks. In those zones, a stable mow-friendly edge and enough setback from plow routes matter more than a delicate decorative strip.
Pet-friendly, child-safe, and accessibility-friendly border choices
Safer border choices avoid sharp transitions, unstable loose rock beside walkways, and thorny planting right at entry or play routes. That matters more in narrow side yards and front paths where people move quickly or carry equipment.
Accessibility-friendly landscaping usually means smoother grade changes, wider access routes, and edging that does not create hidden trip points. Stable surfaces near walkways matter more than decorative complexity.
Pet-friendly and child-safe planning should stay practical. I would focus on clear paths, durable edges, and plant placement first, then confirm any plant-specific safety concerns before installation.
Property lines, utilities, permits, and local considerations in the GTA
Utility locates should be confirmed before any digging. In Ontario, homeowners and contractors can request locates through Ontario One Call before excavation.
Property lines matter more than people think on perimeter work. A border that drifts over the line, redirects water, or changes grade at the edge of the lot can create problems that are much more expensive than the planting itself.
Simple border refreshes may not need permits, but projects that affect grading, drainage, retaining walls, pool areas, or municipal boulevard space can trigger additional review. Local rules vary by municipality, so confirm details with the city and the governing utility locate process.
Toronto landscaping and Markham-area projects should be planned with freeze-thaw conditions, spring runoff, and lot grading in mind. This is general information, not a legal or site-specific approval guide.
Seasonal maintenance plan for house borders in freeze-thaw climates
A seasonal maintenance plan keeps house borders looking better and failing less. In freeze-thaw climates, spring inspection is usually the most important check of the year.
Seasonal maintenance checklist
Spring
- Inspect edging for heave or movement after thaw.
- Re-cut natural edges if needed.
- Top up mulch to about 2–3 inches where it has thinned.
- Check washout zones near downspouts.
- Prune visible winter damage.
Summer
- Weed before seed set.
- Check irrigation coverage and overspray.
- Touch up lawn edging where grass starts to creep.
- Deadhead or trim where the design calls for it.
Fall
- Remove leaves from rock and mulch beds.
- Inspect drainage before freeze-up.
- Cut back only what should be cut back for winter.
- Protect tender plantings where appropriate.
Winter
- Keep snow piles off delicate border edges where possible.
- Watch plow and shovel routes along walks and driveways.
- Limit salt contact with sensitive beds where practical.
How to budget for house border landscaping
The main cost drivers are linear footage, bed depth, demolition, soil prep, edging type, plant size, access, irrigation, drainage fixes, and the number of curves and corners. That is why two houses with the same frontage can land in very different budget ranges.
Apparent edging-only pricing can change fast once drainage, grading, or hardscape transitions enter the scope. A border refresh and a full redesign are different jobs, even if both start with lawn edging and mulch.
A transparent quote should break the work into line items such as demolition, excavation, edging, soil, mulch or gravel, plants, and drainage adjustments. That is usually a better sign than a single lump sum with no explanation.
Before and after inspiration photos help with style decisions, but they should not be used as price shortcuts. Your actual cost depends on layout size, materials, access, and whether the site needs correction before finishes go in.
When to DIY and when to hire a landscape design-build team
DIY works best for short, straight bed edges, mulch refreshes, and simple garden border ideas that do not affect grading or drainage. If the work stays cosmetic and accessible, a homeowner can often manage the basics.
Professional help makes more sense when the project involves a full house border landscaping plan, drainage correction, stonework, integrated lighting or irrigation, major planting, or transitions between front, side, and backyard zones. That is especially true when you want the perimeter to read as one cohesive design.
A design-build team adds value by coordinating layout, materials, grading, and plant selection before installation starts. RockLeaf supports that with an in-house design team, line-by-line pricing, a 5-year total warranty, a plant-survival guarantee, and a 14-day start promise.
The easiest next step is to decide whether you need a cosmetic refresh or a full-perimeter plan. If the answer is the second one, get the layout right before you buy edging.
FAQ
What is the best border around a house?
The best border around a house is usually one that combines a clear edge, appropriate plant spacing, and a surface finish that matches drainage and maintenance needs. For many GTA homes, metal, stone, brick, or integrated hardscape edging gives the cleanest long-term result.
What is the 3 inch edging rule?
The 3 inch edging rule is a common rule of thumb for a natural trench edge, not a legal requirement. A trench edge is often cut about 3 inches deep to help define the bed and slow grass creep.
What is the cheapest way to do landscape edging?
A spade-cut trench edge is usually the cheapest edging method upfront. It uses labour instead of material, but it needs regular maintenance to stay neat.
What do professionals use for edging?
Professionals usually use steel or aluminum edging, natural stone, brick or interlock courses, concrete in selected areas, or clean spade edges for naturalistic beds. The right choice depends on grade, drainage, and design intent.
How wide should a border be around a house?
Foundation border depth often falls in a broad range of about 3–8 feet depending on the house size and plant plan. Corners usually need deeper beds than long straight wall sections.
What plants are best for foundation borders in the GTA?
Plants that suit Zone 5–6 winters, the side of the house, and the mature bed size tend to perform best. Evergreen anchors, flowering shrubs, hardy perennials, grasses, and shade-tolerant foliage plants can all work when the exposure and drainage are right.
Is rock or mulch better around a house?
Mulch is usually better for planted beds because it supports soil moisture and is easier to refresh. Rock works better in splash zones, tight side yards, or windy areas when coordinated with grading and cleanup expectations.
How do I keep grass and weeds out of my landscape beds?
Keep the edge defined, prevent mulch from bridging over the lawn line, and maintain the bed through the season. Grass invasion is usually an edge-maintenance problem, while weeds often follow debris buildup and weak bed coverage.
What edging works best in freeze-thaw climates?
Stable systems with good base prep and drainage perform best in freeze-thaw climates. Material matters, but water management matters just as much.
Do I need to worry about drainage before adding landscape borders?
Yes. Borders should never trap water against the foundation or redirect runoff toward the house. If the site already has pooling, erosion, or spring movement, fix the water issue before you spend on finishes.