


Retaining walls are a popular feature in many Mississauga backyards. They hold back soil to create level areas on sloped terrain, prevent erosion, and add visual interest by terracing your landscape. Whether it’s a short garden wall or a taller structure along a driveway, a well-built retaining wall can transform a hilly yard into a more usable space. However, like any structure, retaining walls can develop problems over time.
The most common issue homeowners face is a failing wall that starts to lean or bulge outward, and if left unaddressed it can even collapse. In this article, we’ll explain why these failures happen (especially in Mississauga’s climate), what signs to watch for, and how you can prevent problems with your retaining wall.
What Are Retaining Walls Used For?
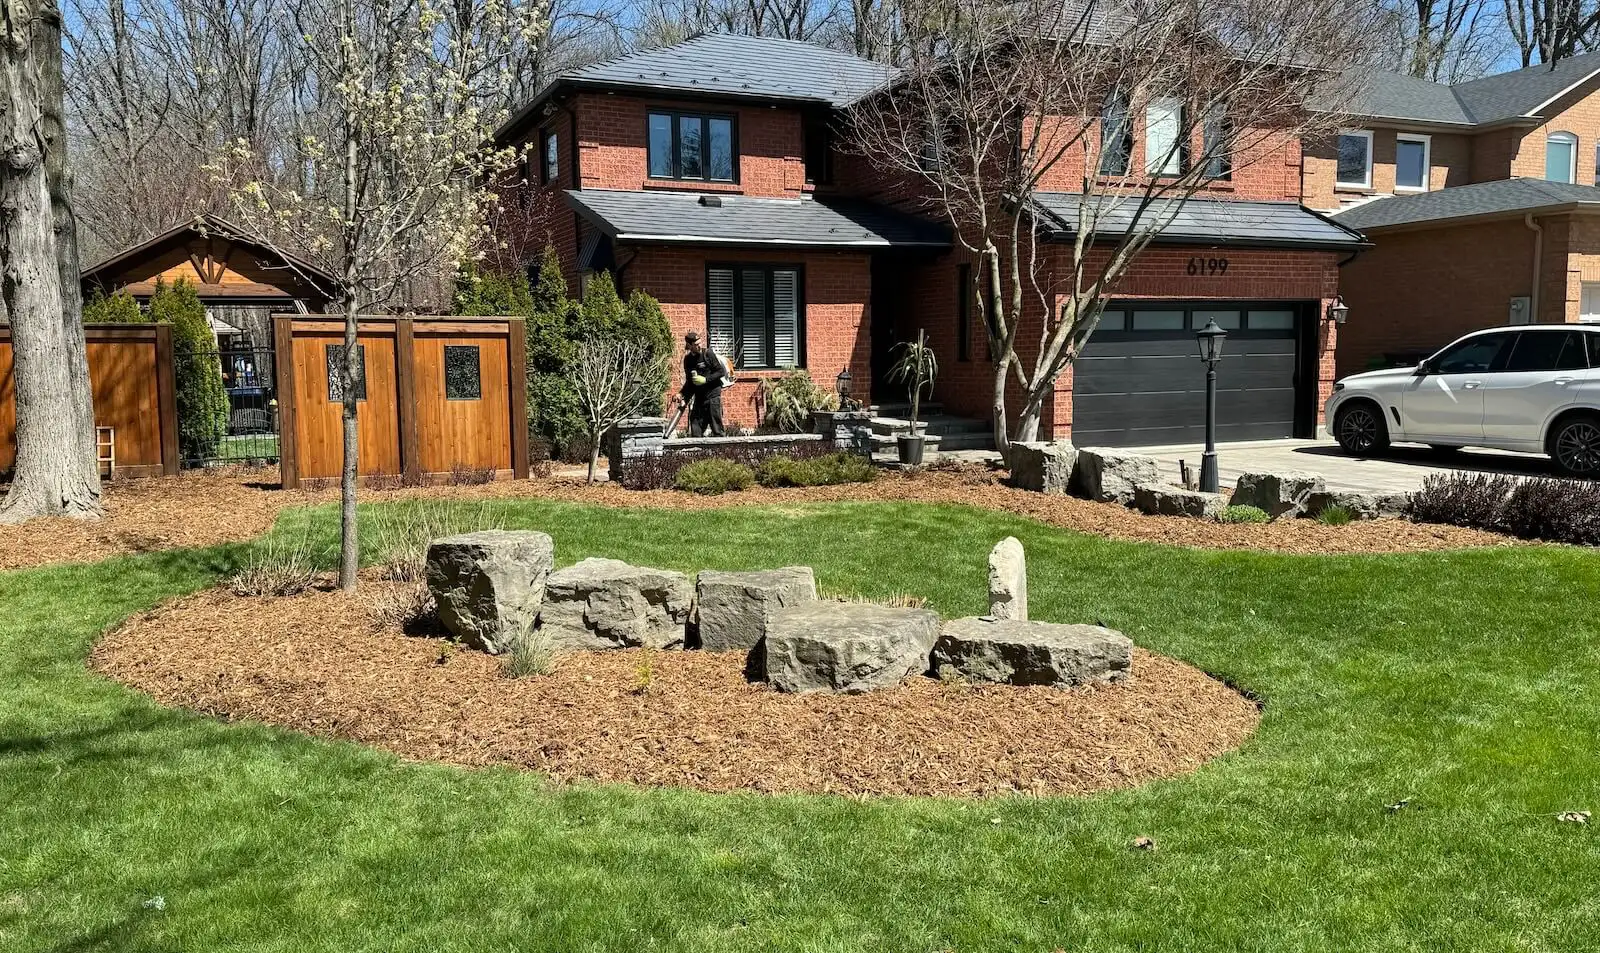
In residential landscaping, retaining walls are essentially outdoor walls that hold back soil. They let you carve out flat terraces on a slope or keep an embankment in place. For example, if your backyard has a hill, a retaining wall allows you to level off part of the hill to create a patio, garden, or play area on one side while the soil stays put on the other. By retaining (holding in) the soil, these walls prevent it from eroding or sliding down. This is especially useful in areas with heavy rain, where water runoff could wash away soil from garden beds or cause slopes to slump. Retaining walls also help manage grade changes between properties or alongside driveways and walkouts, giving a neat, structured look to the landscape. In short, they provide structural support to keep soil where you want it, making hilly or uneven land more stable and functional.

The Most Common Retaining Wall Failure: Tilting Outward
If you’ve noticed a retaining wall in your yard starting to lean forward, bulge in the middle, or develop large cracks, you’re seeing the early signs of failure. The most common type of retaining wall failure in residential yards is this kind of gradual tilting outward. Usually, the top of the wall begins to tip away from the soil it’s holding back. In some cases, sections of the wall might bulge outward or separate, especially if it’s made of blocks or stones. Cracks may appear, and you might even observe gaps forming between the wall and the soil behind it. All of these are warning signs that the wall is under stress.
Why do walls start to lean like this? The primary reason is almost always pressure building up behind the wall. Think of the soil behind a retaining wall as exerting a constant push. When everything is built correctly, the wall can handle that pressure. But if something adds extra force – most often water – the pressure can exceed what the wall was designed for. Water buildup is enemy number one for retaining walls. When water soaks into the soil behind the wall, the soil gets heavier (wet soil weighs much more than dry soil) and it also expands, pushing harder against the wall. If that water has nowhere to go (poor drainage), it creates hydrostatic pressure – like a big hand pushing on the wall from behind. Over time, this pressure can cause the wall to bow outward or tip. In Mississauga’s climate, this problem is amplified by our winters: when that water in the soil freezes, it expands even more, often ratcheting the wall forward bit by bit with each freeze-thaw cycle. Homeowners in Mississauga frequently see their retaining walls lean over a period of years due to this freeze-thaw effect, where each winter the frozen ground pushes the wall a little further outward, and when it thaws, the soil settles slightly shifted. This repeating cycle (sometimes nicknamed “frost heave” or “frost ratcheting”) can eventually lead to a visibly tilted wall or even sections of the wall breaking apart.
The good news is that total collapse – where a wall completely topples over – is rare in residential settings. Walls usually fail slowly, giving you plenty of warning signs (like leaning and cracking) before a catastrophic failure. If you do see a wall starting to lean, it’s important to take action sooner rather than later, because the problem won’t fix itself. Without intervention, a leaning wall can eventually crumble or fall, leading to a messy and potentially unsafe collapse. Soil could spill out, and anything above the wall (a patio, fence, or garden) could slump down as well. So, catching that common tilting failure early is key to avoiding bigger headaches.
7 Common Mistakes Made When Installing Retaining Wall Blocks
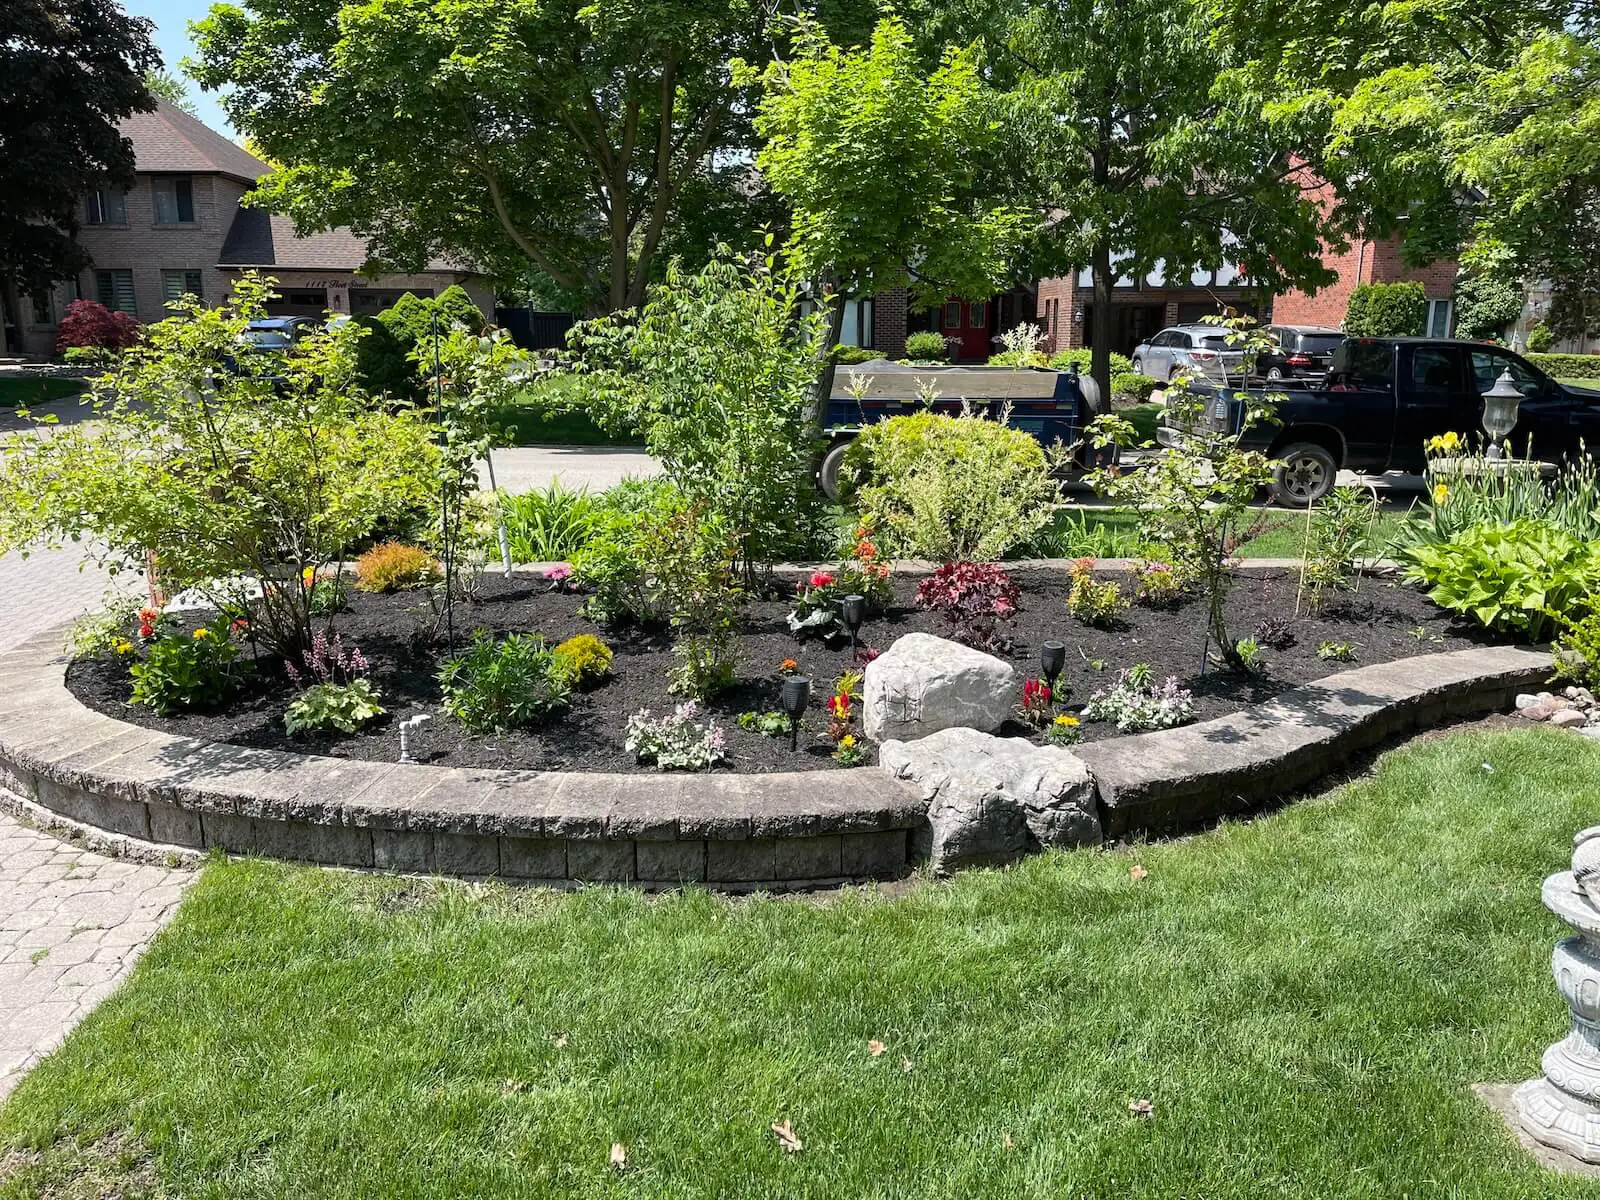
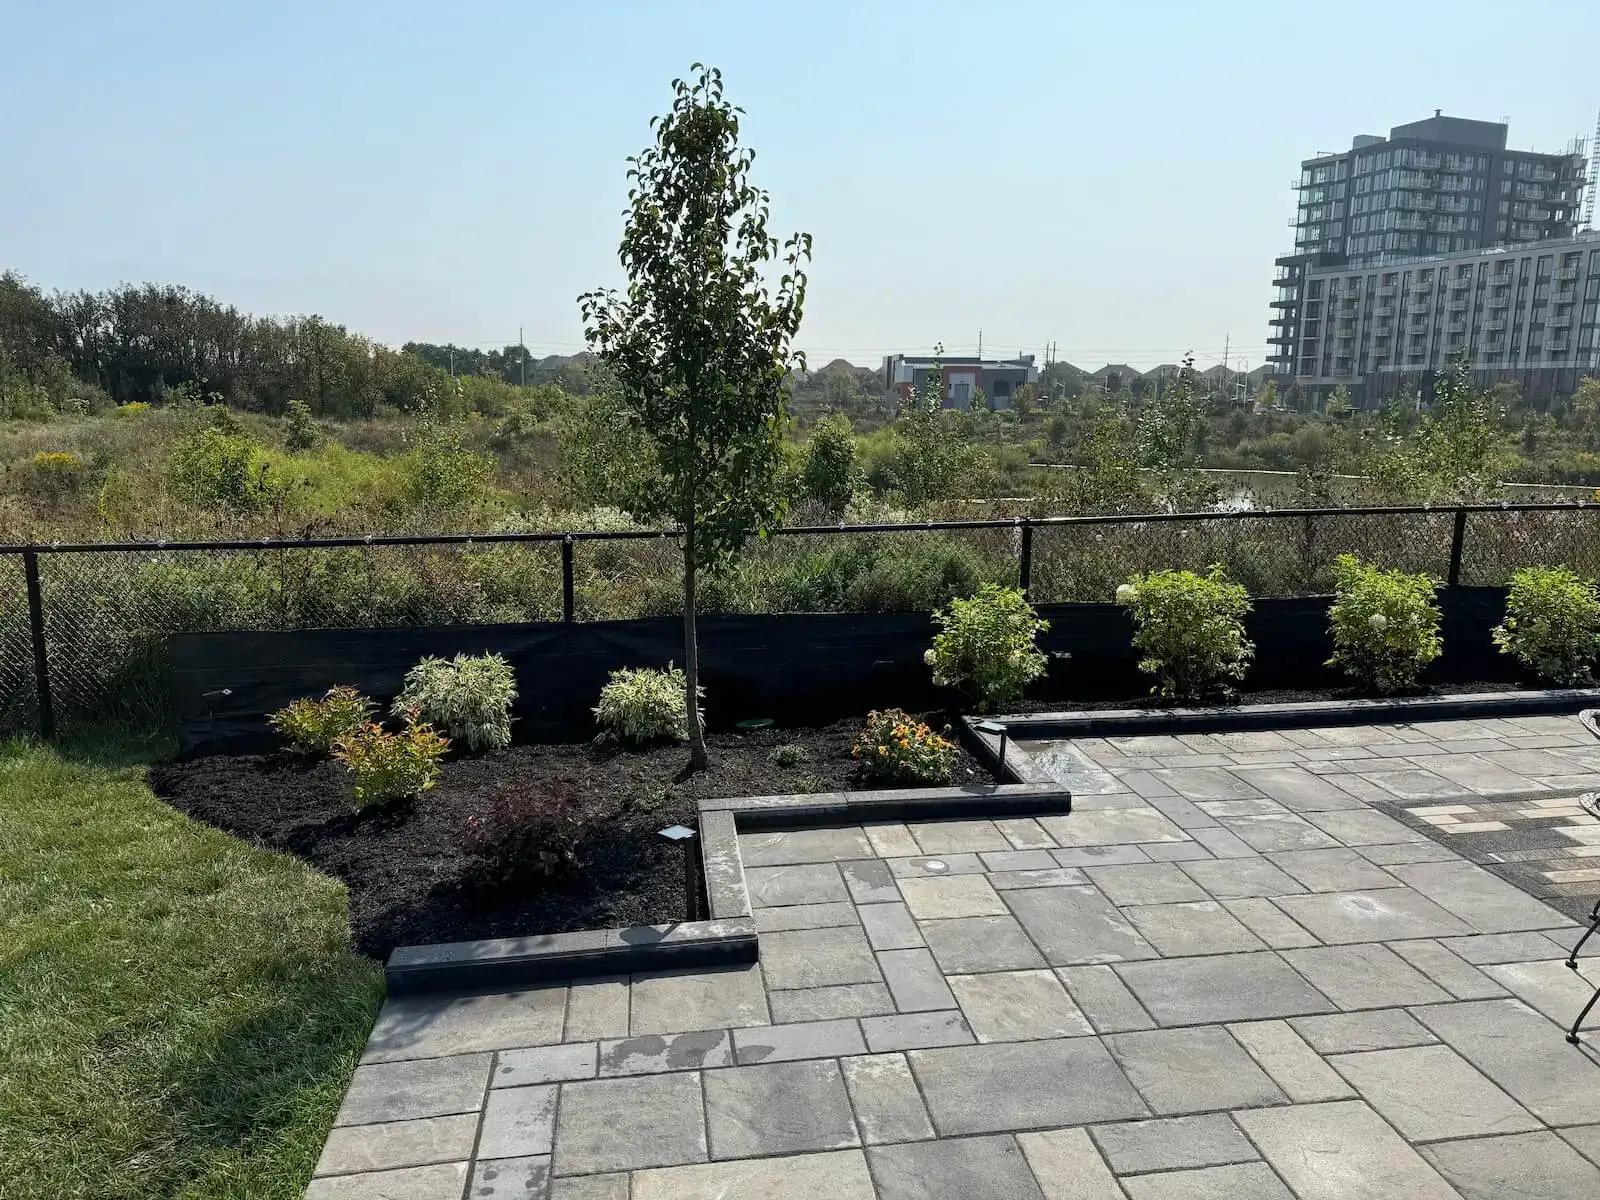
Retaining wall blocks can add structure and beauty to a landscape when installed correctly, as seen in this terraced garden. But if built incorrectly, these walls can fail prematurely. Retaining wall blocks can transform a sloped yard into flat, usable space, adding both function and style to a landscape. However, building a retaining wall isn’t as simple as stacking toy bricks. Small mistakes during installation can lead to big headaches down the line – think bulging walls, cracks, or even total collapse. In Canada’s harsh climate, issues like poor drainage or frost heave can quickly wreak havoc on a poorly built wall. To help you avoid these troubles, here are seven common mistakes homeowners should steer clear of when installing a block retaining wall.
1. Not Starting with a Solid Base (Skipping the Foundation)
One of the biggest mistakes DIYers make is building the wall on soft, unprepared soil. It’s tempting to start laying blocks right on the ground, but without a proper base, your wall is doomed to shift or settle. An un-compacted or uneven foundation will cause parts of the wall to sink over time, leading to an ugly lean or cracks in the structure. Imagine spending a weekend stacking blocks, only to find them tilting after the first heavy rain! Always begin with a solid footing of compacted gravel or crushed stone, at least several inches thick, to create a stable, level platform. Skipping this step is like building a house on sand – the first sign of pressure or movement in the soil, and your wall can start coming apart.
The base should extend a bit wider than the wall and be well-tamped down. In Canada, it’s also wise to bury the first course of blocks partly below grade, especially on the low side of a slope, for added stability. If you don’t lay a proper foundation now, you’re likely to face shifting blocks and a costly rebuild later when the wall buckles or overturns.

2. Ignoring Proper Drainage
Water is the silent enemy of retaining walls. A retaining wall’s job is to hold back soil, and that soil often holds water – especially during Canadian freeze-thaw cycles and spring melts. If you fail to provide drainage, water will accumulate behind the wall, turning the soil into heavy, mud soup that pushes hard against your blocks. The increased pressure can cause the wall to bulge outward, crack, or even collapse under the stress. In winter, trapped water can freeze and expand, popping blocks out of place or shifting the wall suddenly.
To avoid this, never backfill with purely dense, water-trapping soil without any drainage plan. A common mistake is forgetting to install a perforated drain pipe (weeping tile) at the base of the wall, wrapped in gravel. This simple addition lets water escape instead of building up pressure. Equally important is backfilling directly behind the wall with coarse gravel or clear stone (at least 30 – 60 cm thick layer) rather than clay or topsoil. The gravel creates a drainage corridor for water to flow down to the drain pipe. Also include weep holes in the wall if using solid blocks, or leave small gaps (with filters) if appropriate, so water can trickle out. In short, don’t trap water behind your wall – give it a way out. Homeowners who ignore drainage often end up staring at a wall that’s bulging or has sections pushed apart by forces they never saw, but should have planned for.
3. Forgetting the Frost Line
Canada’s cold winters present a unique challenge: frost heave. When the ground freezes, the soil expands and can push structures upward. A common mistake is not building the wall’s base deep enough below the frost line. The frost line is the depth at which soil freezes in winter – this can range from a few dozen centimeters to over a meter deep in parts of Canada. If your wall’s foundation is too shallow, the soil beneath it can freeze and swell, jacking the wall up and out of alignment. As the ground thaws, the wall then settles unevenly, leading to cracks, gaps, or a tilted structure.
Retaining walls that aren’t set below frost depth will move up and down as the ground freezes and thaws – eventually coming loose or collapsing. It’s crucial to dig your trench deep enough so that the bottom of the gravel footing is below the local frost line. For example, if the frost line in your area is 1.2 m, you should dig at least that deep (or a bit more for safety) for the wall’s footing. In practice, for smaller walls, this often means burying at least one full block (or more) underground as the base course. Using a layer of compacted gravel under the wall is also important because well-drained gravel won’t hold water that can freeze and expand. If you forget about frost, you might build a great-looking wall in summer, only to have frost heave tear it apart by the next spring as sections lift or tilt.
4. Using the Wrong Materials or Blocks
Not all retaining wall blocks and materials are created equal. Homeowners sometimes assume any block or even leftover bricks will do, or they try to use landscape timbers or untreated wood because it’s cheap. Choosing the wrong material for your wall is a recipe for failure. For instance, using basic cinder blocks or bricks not designed for retaining walls can lead to a collapse, because they might not interlock or handle lateral pressure well. Similarly, using wood in a wet or cold climate can be problematic – untreated wood will rot, and even “weather-treated” timbers can deteriorate or be invaded by termites over time, especially in damp conditions.
Your material should suit your climate and soil. In a rainy or coastal Canadian climate, wood ties or flimsy decorative blocks might not last long; they’ll weaken and could give out. If your soil is very soft or peat-like, a heavy rigid material like mortared brick could crack unless properly reinforced. High-quality interlocking concrete blocks are a popular choice for DIY walls because they are engineered for this purpose – they have built-in lips or pins to help them hold together and often are designed to accommodate slight movement without failing.
Stone and poured concrete are other options, each with pros and cons. The key is to avoid low-grade, inferior materials. Cutting corners by using leftover fill dirt as backfill, or cheap, lightweight hollow blocks can lead to a wall that crumbles with the first hard rain or frost. Choose materials that can withstand freeze-thaw cycles and moisture common in Canada’s climate. In short, don’t use the wrong blocks or poor-quality fill, or you’ll be rebuilding that wall sooner than you think.

5. Overloading the Wall (Building Too High Without Support)
Retaining walls might look simple, but they are holding back tons of earth – literally. A very common mistake is underestimating the force of the soil and any additional load behind the wall. Homeowners often build a wall that’s too tall or ask it to hold back too steep a slope without realizing that taller walls need exponentially more reinforcement. If you stack blocks beyond the recommended height without geogrid reinforcement, deadman anchors, or proper design, the wall can start to bow out or even topple. The higher your wall, the more weight and pressure it must resist. Gravity is pulling that soil downhill 24/7.
How to Prevent Retaining Wall Failures
The old saying “an ounce of prevention is worth a pound of cure” definitely applies to retaining walls. Building the wall correctly in the first place and doing a bit of upkeep can save you from major repairs down the road. Here are some ways to prevent retaining wall problems, especially the common tilting failure:
- Ensure Proper Drainage: Since water pressure is the #1 enemy, make sure any new retaining wall has a good drainage plan. This typically means using free-draining material (gravel) as backfill directly behind the wall, instead of clay soil. Gravel or coarse sand allows water to flow down to the bottom. There, a drainage pipe (perforated weeping tile) can carry water away from behind the wall. Many walls also have weep holes – small openings that let water escape through the face of the wall. Keep these from getting clogged. The goal is to never let water build up behind the wall. If you already have a wall and suspect drainage issues, you might need to retrofit better drainage by adding a French drain or clearing any blocked outlets. Remember, dry soil exerts far less pressure on the wall than soggy soil, so drainage is critical.
- Use the Right Backfill and Base: As mentioned, use gravel or crushed stone as backfill against the wall, and lay the wall’s base on compacted gravel as well. A compact, gravel base helps the wall sit evenly and provides drainage underneath. Additionally, putting a layer of landscape fabric (geotextile) between the gravel backfill and the native soil is a good practice. This prevents the native soil (especially if it’s clay) from seeping into and clogging the gravel over time. If you’re building or rebuilding a wall, avoid backfilling with high-clay content soil. It might be extra work to haul it out and replace with better material, but it’s worth it for the wall’s longevity.
- Build on a Solid, Frost-Protected Foundation: In Mississauga, make sure the wall’s footing or base is below the frost line (about 4 feet deep) if the design allows. Smaller interlocking-block walls often don’t have deep footings like a house foundation, but they should still be started on well-compacted soil and a thick gravel base to minimize movement. For taller walls, a concrete footing that extends below frost depth can prevent the whole wall from heaving upward when the ground freezes. It’s also wise to step the base into the slope (instead of just on top of soil) so the wall is keyed in place. Essentially, the foundation needs to be deep and stable enough to resist shifting from heavy, wet soil and frost.
- Reinforce as Needed: If your wall is over a certain height (usually 3-4 feet for many styles) or under heavy loads, it may need reinforcement. This could be internal geogrid mesh laid into the backfill and tied into the wall, or using heavier construction like interlocking concrete units or poured concrete with steel rebar. Timber retaining walls sometimes use “deadman” timbers buried into the hillside for support. Ensure the design matches the wall’s job – a common failure cause is simply that the wall was underbuilt for the pressure behind it. When in doubt, consult a professional engineer or experienced contractor, especially for walls taller than 1 meter or so. In Mississauga, walls above a certain height might also require a permit and engineering (the threshold can be around 1m to 1.2m, depending on local regulations).
- Account for Winter Conditions: To combat freeze-thaw issues, in addition to good drainage, some builders in cold climates add a layer of rigid foam insulation behind or on top of the footing of the wall. This isn’t always done in residential projects, but the idea is to keep the ground just behind the wall from freezing as deeply by retaining some warmth. The most practical step for homeowners is still ensuring drainage – keep water away from the wall before winter hits. This might mean sloping the ground at the top of the wall so water runs away, and not allowing water to pool at the base either. Also, if you use de-icing salt on areas near the wall (like a driveway or sidewalk atop a retaining wall), be aware that melting snow can send a lot of salt-laden water behind the wall which might affect concrete and promote water infiltration. Try to direct meltwater runoff away from the wall.
Now that we’ve covered building and design tips, let’s talk about maintenance. Even a well-built wall needs a little care to stay in top shape, especially given Mississauga’s weather. Here are some maintenance and monitoring tips for homeowners:
- Inspect Your Wall Each Season: Take a walk along your retaining wall a few times a year (especially after winter and after heavy rains). Look for any new cracks, areas that are bulging outward, or sections where the wall is starting to lean. Early signs of trouble include sagging or bowing in the wall face, cracks between blocks or stones, or gaps opening between the back of the wall and the soil. If you catch these signs early, you can often arrange a repair or reinforcement before it becomes a bigger issue.
- Watch for Water Issues: After a good rain, check if water is pooling behind or at the base of the wall. Also inspect any drainage outlets or weep holes – make sure they’re clear of dirt and debris so water can flow through. If you see water trickling through the wall in some spots but not others, that might be okay (it means drainage is working), but water spurting through cracks is a red flag. Over the winter, try to avoid big piles of snow right against your retaining wall. As that snow melts, it can add a lot of moisture to the soil behind the wall. If possible, shovel accumulating snow a couple of feet away from the wall rather than up against it.
- Maintain the Backfill and Surface: The ground behind the wall is part of the system. Over time, soil can settle or erode near the top of the wall, especially with our mix of winter melt and spring rains. If you notice low spots or eroded gullies behind the wall, fill them in and re-grade the surface so it slopes away from the wall again. This keeps water from funneling straight down behind the wall. Planting some shallow-rooted groundcover or grass can also help stabilize soil and reduce surface erosion (just avoid deep-rooted trees right next to the wall; roots can exert pressure too).
- Don’t Overload the Wall: Be mindful of what’s directly above your retaining wall. Try not to park vehicles or place heavy structures right at the edge of a wall unless it was designed for that. Similarly, if you’re doing landscaping, don’t stack heavy materials (like large piles of soil or bricks) against the wall temporarily. The wall can handle the soil it was built for, but additional loads can push it towards its limit. If you plan to add weight (like installing a new shed or a hot tub on the high side, near the wall), consult with an expert to see if the wall needs reinforcement.
By following these prevention and maintenance tips, you can greatly extend the life of your retaining wall and avoid the most common failure scenario of tilting and collapse. Remember that in Mississauga’s environment, water management is the key – keep the water out from behind the wall as much as possible, and give it an easy way out when it does get in. A well-built, well-drained wall will shrug off our heavy rains and winter freezes much better than one that’s unprepared.

Bottom Line
Retaining walls are both functional and attractive additions to a landscape, but they must contend with powerful natural forces. In Mississauga, the combination of abundant precipitation and freeze-thaw cycles means your retaining wall is often battling water and ice. The most common failure you’ll see is a wall starting to lean outward due to these pressures. The good news is that this usually happens slowly, and with attentive care you can catch issues early. By ensuring proper drainage, using sturdy construction methods, and performing a bit of seasonal maintenance, you can prevent the majority of retaining wall problems. Keep an eye on your wall, especially after winter, and it will continue to protect your landscape for many years. If you do notice serious shifting or damage, don’t hesitate to call a local professional for advice – it’s better to address small problems now than big problems later. With the right precautions, your retaining wall will stand strong against the elements, keeping your Mississauga yard beautiful, safe, and erosion-free.


